
How to Start a Clothing Brand in Toronto: Small Drops, Pop-Up Markets and Printing Without a Minimum
The Toronto companion to our national clothing-brand guide. Why the city is both the best and the hardest place to start, why the first drop is 12–24 pieces and not 200, how to read the blank price ladder without leaning on brand names, which method fits each drop size, the neck labels, hang tags and stickers that turn a printed blank into a brand, and how to sell it at a pop-up market before you print the second run — with no minimum on DTF or DTG and a human designer checking every file.
- Minimum order
- None on DTF or DTG — we will print one shirt. Screen printing starts around 6 pieces and becomes the best value past roughly 24–50.
- Typical cost
- Roughly $12–$18 CAD per screen-printed tee at 50 pieces, dropping under $10 each in the hundreds. Full-colour DTF sits slightly higher per piece with no setup fee. Every quote is free and includes a mockup.
- Turnaround to Toronto
- Standard turnaround on clothing is 1–2 weeks once the free mockup is approved and the order is paid. Most apparel orders can rush — 4–5 business days or 1–3 business days, priced at checkout — and every order shows the dates it will be ready before you pay. Then typically 1–2 days in transit from Ottawa.
- Artwork check
- A human designer reviews every order before it goes to press — resolution, colour, sizing and placement. Not an automated preflight.
- Design it yourself
- Free online studio at yayaprints.ca/mockup-creator for tees, long-sleeves, hoodies, polos and caps. No account, no deposit, real garments and colours, and the price updates as you build it.
- The first drop
- 12–24 pieces: one design, two colourways, weighted to medium and large. Sell it at a market before printing the second run, and reorder by style number so the restock matches.
- Where it is printed
- In-house in Ottawa, Ontario, then shipped to Toronto. No Toronto storefront or pickup. Printed in Canada, so no cross-border customs holds or surprise duties.
Toronto is the best and the hardest place to start
Toronto is the largest city in Canada, close to three million people inside the city limits and more than six million across the region, and for a new clothing label that is the whole case in one line: nowhere else in the country can you print twelve shirts on a Tuesday and have strangers who buy clothes holding them by Saturday. The weekend markets, the holiday markets, the pop-up shops that take an empty storefront for a month, and the run of independent boutiques along Queen West, through Kensington Market and up Ossington mean a first drop gets seen without a website, an ad budget or a wholesale account.
The same density is the problem. Every one of those markets has a table beside yours selling a heavyweight tee with a small chest print, and the buyer walking past has seen forty of them this month. Toronto tells a label fast whether the design is any good, which is a gift if you printed twelve and an expensive lesson if you printed two hundred. This post is the Toronto companion to our national guide, how to start a clothing brand in Canada, which covers the business side: the labelling rules, the blank-to-retail arithmetic and what you must not print. None of that is repeated here. This one is about the print decisions a Toronto founder actually makes: how many, on what, by which method, what turns a printed blank into a brand, and how to sell it from a market table without a warehouse behind you.
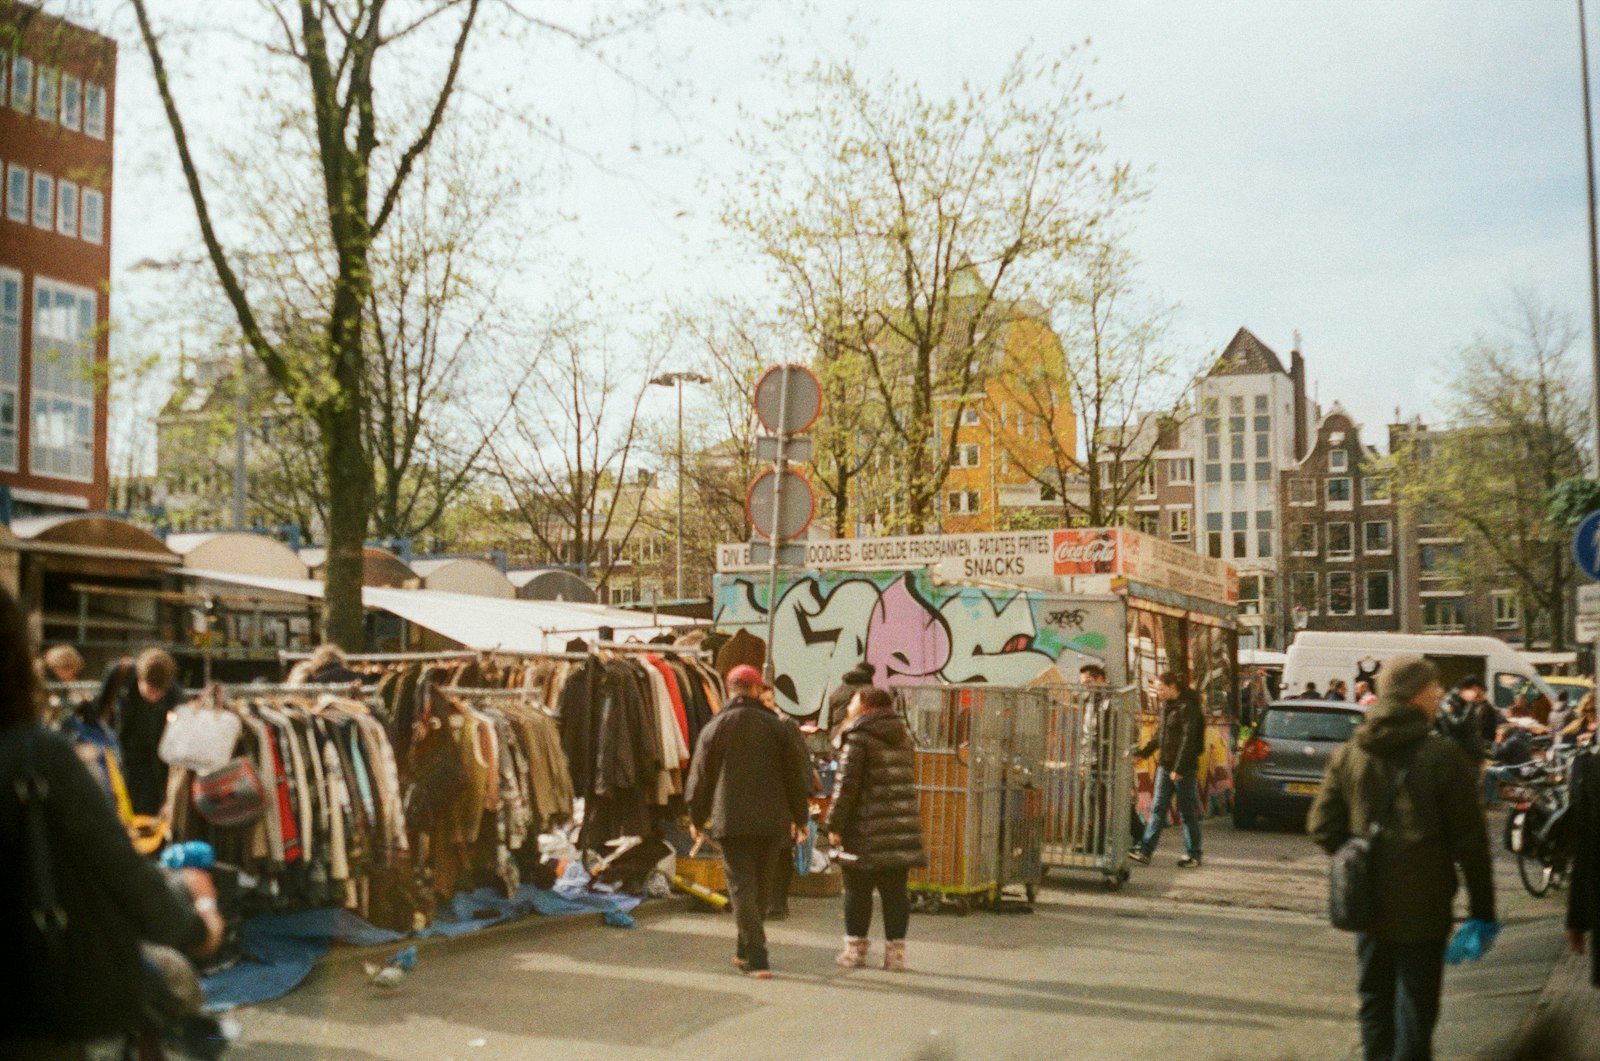
One thing to say plainly before anything else: we print in-house in Ottawa and ship to Toronto. There is no storefront, counter or pickup anywhere in the city, so nobody collects a box on Queen West that afternoon; it arrives by courier, typically 1–2 days after it leaves the shop. We print for labels that sell from Kensington Market stalls, Queen West pop-ups and a folding table at a Sunday market in the east end, and the ones that reach a third run share habits that have little to do with talent. Those habits are the rest of this article. The clothing brands page is the short version, and the Toronto page covers everything else we ship into the city.
The first drop is 12–24 pieces, not 200
Twelve to twenty-four pieces. One design, two colourways: the same graphic on a black tee and on a cream one, six to twelve of each, weighted to medium and large. That is a complete first drop, and it is enough to stand behind a table for a weekend and learn more than a year of planning would tell you. It works because there is no minimum on DTF or DTG; we will print a single shirt, and full-colour DTF carries no setup fee, so twelve pieces cost twelve pieces rather than a screen charge spread thin. No-minimum custom t-shirt printing in Canada explains how that is possible.
Two colourways matter more than two designs. A second design doubles the art you have to get right and halves the sample you learn from; a second colourway costs nothing in artwork and tells you something specific, which is what the hand at the table reaches for. Sell the drop before you print the second run, and sell it to strangers at a market rather than to friends online, because you need to watch what gets picked up, what gets put back and which size sells out first. No amount of time in a design app replaces that.
Then reorder what moved. The second run is usually the same design in the colour that sold, in the sizes that sold, at two or three times the count, and if the design has real legs it is the one that eventually goes to screen printing. The labels with no boxes of unsold mediums in a closet are the ones that keep a 12–24 test drop as a standing habit for every new design. For the arithmetic of why a small digital run beats a big screen run at this count, the cheapest way to print custom shirts in Toronto lays it out.
Blanks: the price ladder and the style number
Nobody picks up a shirt at a market and asks which method printed it. They feel the fabric, and that decides whether the price on the tag looks fair before they have looked at the graphic. So the blank is the first real decision, and it runs on a ladder with three rungs.
Standard cotton is the everyday tee: light, inexpensive, the shirt every event and team order uses, and what most first-time founders print on because it is what a quote defaults to. Heavyweight is the boxy, thick tee the streetwear buyer expects; the denser fabric holds a print flat and hangs straight, it costs more per blank, and on a table it reads as a product rather than a giveaway. Ring-spun premium is spun from a finer, combed yarn, so it is softer and smoother to print on, and its weight is often lower than a standard tee even though it feels better in the hand. Weight is thickness, not quality. Hoodies run the same ladder in fleece, and the gap between a mid-weight and a heavyweight hoodie is obvious the moment someone lifts it; custom hoodies in Toronto goes through it.
Read the spec sheet, not the marketing name. Fabric weight is given in ounces per square yard: a standard tee sits around five, a heavyweight tee at six or more, and hoodie fleece is heavier again. That number tells you what the shirt will feel like and roughly where it lands on the price ladder before anyone prints on it, and at twelve or twenty-four pieces the blank moves the per-piece price more than the print does. Work back from what you intend to charge, as the national guide says, and pick the rung that leaves room. The best t-shirt fabric for printing covers how each one takes ink.
Then write down the style number. Every blank has a manufacturer’s style code and a named colour, and a reorder only matches the first drop if it is the same code in the same colour; “black heavyweight tee” from two mills is two different blacks and two different cuts. Ask for the style number and colour name on the quote, keep it with the artwork, and the spring restock will sit beside the first drop without anyone noticing. We keep it on file too.
DTF first, screen printing once it proves itself, embroidery for caps
Method follows drop size, and the order most labels move through is the same. Choose by what the design has earned, not by what sounds most authentic.
| Method | Where it sits in a label’s life | Practical minimum | Colour handling |
|---|---|---|---|
| DTF | First drops, test runs, full-colour and photographic art | 1 piece | Unlimited colours, every piece can differ; no setup fee |
| DTG | One-offs and the softest hand on light cotton | 1 piece | Unlimited colours; flat per-piece price |
| Screen printing | A proven design past roughly 50 pieces, 1–3 flat colours | ~6 pieces | Priced per colour; brightest, most solid ink on coloured tees |
| Embroidery | Caps, beanies, heavyweight fleece, a small chest mark | Small runs fine | Thread colours, priced by stitch count; no gradients or tiny text |
Screen printing pushes ink through a stencilled mesh, one screen per colour, which is why it has a cost floor at small counts and a very low ceiling at large ones: it starts around 6 pieces and becomes the best value past roughly 24–50, and a one-colour print on a standard cotton tee runs roughly $12–$18 each at 50 pieces and under $10 each in the hundreds. DTF prints the design onto a film that is heat-pressed onto the garment, so there is nothing to set up, every piece can differ, and full-colour art costs the same as one colour; it sits slightly higher per piece than a big screen run with no setup fee, which is exactly right for a first drop. Machine embroidery stitches the mark in thread and is priced by stitch count rather than colour; it is what a cap and a heavyweight hoodie chest mark want, and the wrong tool for gradients, photographs or text under a quarter inch.
So the ladder is: first drops and anything full-colour on DTF; a design that has sold through fifty or so pieces on screen; caps and the heavy fleece pieces embroidered, with the beanie, bucket and trucker styles the studio does not build quoted through the custom hats page. Every quote is free and includes a mockup. The t-shirt printing methods guide and DTF vs screen printing go deeper on the trade-offs.
Neck labels, hang tags, stickers and totes make it a brand
A printed blank becomes a brand in the neck. The first thing a buyer at a market does is flip the collar, and a manufacturer’s tag tells them exactly what you paid for the shirt. A printed tagless neck label replaces it with your name, the size and a care line, printed on the fabric where the tag was; it is ordered with the garments on the same quote, and a woven sew-in label is a different process, so say which one you mean. The adhesive kind comes from our custom label printing: size labels for the poly bags, a box seal, a mailer label, cut to any shape on paper or waterproof vinyl, in sheets or on rolls. Removing a manufacturer’s tag brings labelling responsibilities with it; the national guide covers them, so read that before you cut one out.
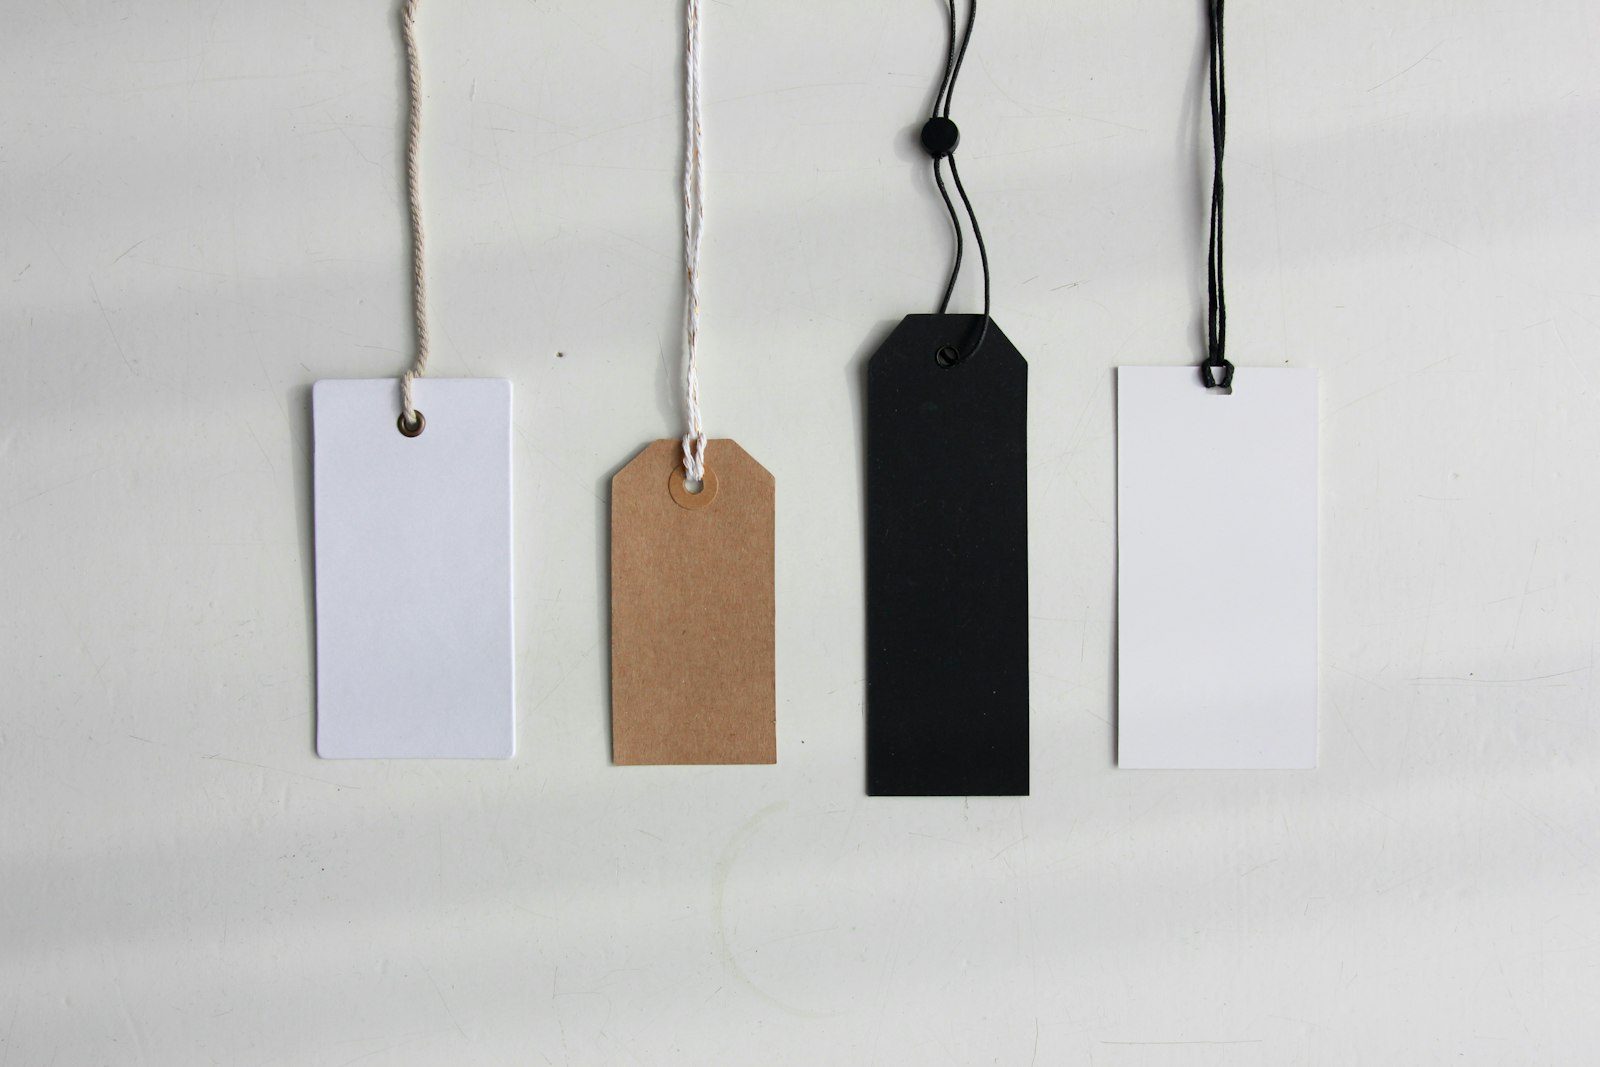
Hang tags carry the logo, the size and the care instructions on a card through the side seam, and they are what makes a folded tee on a table read as retail rather than homemade; we print them alongside the garments so the colour matches the neck label and the print. Stickers go in every bag. Custom sticker printing cuts them to the outline of the logo on waterproof vinyl, or in kiss-cut sheets you peel at the table, and they are the cheapest brand-building item there is because people keep them.
Totes widen the range without widening the sizing problem: one size, no smalls left over, and a bag the buyer carries around the market all afternoon with your name on it. Cotton or heavy canvas, screen printed, DTF or embroidered, on the front, the back or the gusset, and quoted by hand through custom tote bags because the studio does not build bags; size the logo on a tee in the studio, then order the totes on a quote. If the design is a photograph rather than a graphic, photo on shirts prints it in full colour by DTF or DTG on a tee or a hoodie, with no minimum.
See it on the real garment before a dollar moves
Build the drop in the free studio at yayaprints.ca/mockup-creator, because it answers the questions a founder otherwise argues about for a week. Upload the design as a PNG, JPG, SVG or PDF, place it on a real t-shirt, long-sleeve, hoodie or cap in a real colour, add print-quality text if the drop has a wordmark, set the sizes and quantities, and the price updates as you build. No account, no deposit. Twelve black and twelve cream, then the same design on a hoodie, then the same design smaller: the studio shows each one on the garment and prices it, and the chest logo size guide keeps the mark where a buyer expects it. Most first drops we see are sized too big; a small chest mark on a heavyweight tee sells better than a full front, and it costs less.
Be clear about what the mockup is. It is a proof of placement, size and colour on the actual product, and every order gets one free before any payment; nothing prints until you approve it. It is not your product photography. The listing photos, the market poster and the social posts want the real shirt on a real person in daylight, and the first drop is how you get that: order the twelve, photograph the sample the day it arrives, and shoot the second run properly once you know which colourway sold. Nobody has ever bought a shirt because the mockup looked good; they buy because the photo of a person wearing it did.
Selling at markets and pop-ups: sizes, spares and a banner
A market table is a store with a four-hour lease, and it rewards boring preparation. Sizes first. A drop of twelve to twenty-four cannot cover every size in both colourways, so weight it to medium and large, carry a couple of smalls and extra-larges, and take pre-orders on paper for whatever runs out; a buyer who wants an XXL in cream will wait a week if you write it down and follow up. Keep a spare or two of the size that sells fastest so the rack never looks picked over by two o’clock, because a rack with one shirt on it stops selling.
Then the sign. From across a crowded market nobody reads a hang tag; they read a banner. A vinyl banner with the label’s name and nothing else, sized to the table front or the back wall of the tent, is built in the print studio at /print-products/banners, which is a separate online builder from the apparel studio, and a retractable banner does the same job at an indoor pop-up or a holiday market in a hall. Order the banner well before the first market rather than the week of; it is the piece founders forget until the tent is up.
A few things that are not print but decide the day: a card reader that works without your phone’s data, a size chart on the table so people stop asking, a stack of stickers to hand out, and a sheet for emails and pre-orders. Bring the hoodie even in September, because the buyer who loves the tee buys the hoodie in November, and a holiday-market application closes long before the market opens. Count backwards from that date: standard turnaround on clothing is 1–2 weeksfrom the day the mockup is approved and paid, plus 1–2 days in transit, so a drop for a December market wants to be ordered in November, with the rush tiers as the safety net rather than the plan.
Why an Ottawa printer works for a Toronto label
Said once already: there is no storefront in Toronto and nothing to collect on Queen West. What there is instead is a press down the hall from the person who answers the phone, in Ottawa, and a courier that reaches downtown Toronto and the rest of the city typically 1–2 days after a box leaves the shop. Shipping is quoted for your postal code and shown before you pay, and a drop can be split into two boxes if the hoodies go to your apartment and the tees to a friend’s place near the market.
The timing is plain. Standard turnaround on clothing is 1–2 weeks. Most apparel orders can rush, 4–5 business days or 1–3 business days, priced at checkout, and every order shows the dates it will be ready before you pay. The clock starts when two things have both happened: you have approved the free mockup, and you have paid. Add 1–2 days in transit, count back from the market date, and if the standard tier does not reach it the rush tiers are there and priced before you commit. Custom t-shirt printing in Toronto covers the logistics for every kind of Toronto order.
Everything is printed and decorated in-house in Ottawa, Ontario, and nothing is drop-shipped from overseas. For a label that matters twice. It is printed in Canada, so there are no cross-border customs holds and no surprise duty invoice on a box of your own shirts, which is the quiet cost of a print-on-demand service shipping from a warehouse across the border. And it is one conversation: when a colourway changes after the mockup or the hoodie count moves, you are talking to the person who will press it, not a ticket queue.
That person also checks the file. Every order is reviewed by a human designer before it goes to press. A person checks artwork resolution, colour, sizing and placement, and either fixes the file or tells you what is wrong; it is not an automated preflight. What arrives from a new Toronto label is nearly always a PNG exported from a phone app at screen resolution, sharp on the phone and soft at chest-print size, or a logo sitting on a white box. We redraw those as proper vector artwork through the vectorization service, once, and every drop after that prints from the same clean file. How to prepare print-ready artwork and transparent PNG vs vector explain what to export next time. We will also say no when a design cannot carry the size you want, before you pay rather than in a box of twenty-four.
Starting the first drop from a Toronto apartment
Nothing is charged before you have seen the drop on the garment. For tees, long-sleeves, hoodies and caps, build it yourself at yayaprints.ca/mockup-creator, approve the free mockup and pay; that is when the production clock starts. For the neck labels, hang tags, stickers, totes and any hat style the studio does not build, use the free quote form, email order@yayaprints.ca, or call or WhatsApp 613-666-9292, in English or French. Send the design, the count and the market date, and the quote comes back with a mockup. Ask for the labels and tags on the same quote as the shirts so the colour matches across all of it.
Where we land for a Toronto label: no minimum on DTF or DTG, screen printing from around 6 pieces with real volume pricing past 24–50, embroidery under the same roof for the caps, a free mockup before a dollar moves, a designer who checks the file, and 1–2 days in transit from Ottawa once it leaves the shop. For the bigger picture, custom t-shirt printing cost in Canada sets out the numbers behind every quote, custom gym and fitness apparel in Toronto is the same merch problem seen from a front desk, and custom t-shirt printing in Hamilton covers the labels an hour down the highway. The t-shirt printing page lists what we run in-house.
Frequently asked questions
How many pieces do I need to start a clothing brand in Toronto?
Twelve to twenty-four. One design in two colourways, six to twelve of each, weighted toward medium and large, is a complete first drop and enough to stand behind a market table for a weekend. There is no minimum on DTF and DTG — we will print a single shirt — and full-colour DTF has no setup fee, so a small run costs what the pieces cost. Sell the first drop to strangers before printing the second run; the second run is the design, colourway and sizes that actually moved, at two or three times the count.
What does it cost to print a first drop?
It depends on the blank, the method and the count, and at twelve or twenty-four pieces the blank moves the price more than the print does. As an anchor, a screen-printed t-shirt runs roughly $12–$18 CAD each at 50 pieces and drops under $10 each in the hundreds; full-colour DTF sits slightly higher per piece with no setup fee, which is why it wins at first-drop counts. Embroidery is priced by stitch count, not by colour. Every quote is free and includes a mockup, and the studio shows the price moving as you change the blank, the colour and the quantity.
Do you have a shop or pickup anywhere in Toronto?
No. Everything is printed and decorated in-house in Ottawa, Ontario and shipped to Toronto by courier. There is no storefront, counter or pickup in Toronto or anywhere in the GTA, and nobody can collect a box on Queen West that afternoon. Transit is typically 1–2 days from Ottawa once the order leaves the shop, shipping is quoted for your postal code and shown before you pay, and because it is printed in Canada there are no cross-border customs holds or surprise duties on a box of your own shirts.
How long does a drop take from approval to my door?
Standard turnaround on clothing is 1–2 weeks. Most apparel orders can rush — 4–5 business days or 1–3 business days, priced at checkout — and every order shows the dates it will be ready before you pay. The production clock starts only when the free mockup is approved and the order is paid, not when you first get in touch. Add 1–2 days in transit from Ottawa to Toronto on top, then count back from the market date; if the standard tier does not reach it, the rush tiers are priced before you commit.
Can I put my own label in the neck of the shirt?
Yes. A printed tagless neck label replaces the manufacturer’s tag with your name, the size and a care line, printed on the fabric where the tag was, and it is ordered with the garments on the same quote. A woven sew-in label is a different process, so say which one you want. Hang tags and stickers are printed alongside so the colour matches, and adhesive labels for poly bags, box seals and mailers come through the custom label printing service. Removing a manufacturer’s tag brings labelling responsibilities with it; the national guide covers them.
When should a Toronto label move from DTF to screen printing?
Once a single design has proven itself and the count justifies a screen. Screen printing starts around 6 pieces and becomes the best value past roughly 24–50 pieces, and a design that has sold through fifty or so on DTF is the usual candidate. Screen printing pays off on one to three flat colours; a photograph, a gradient or a full-colour illustration stays on DTF at any count. Most labels run both, DTF for every new test drop and screen for the proven sellers, and we will tell you which one a given design belongs on before quoting it.
Can I design and order the drop myself online?
For tees, long-sleeves, hoodies, polos and caps, yes. The free studio at yayaprints.ca/mockup-creator needs no account and no deposit: upload the design as a PNG, JPG, SVG or PDF, place it on a real garment in a real colour, add print-quality text, pick sizes and quantities, watch the price update and order online. Neck labels, hang tags, stickers, tote bags and hat styles beyond a cap are quoted by hand through the quote form. The mockup is a proof of placement and colour, not product photography; photograph the real sample when the first drop arrives.
My logo is a PNG from a phone app. Can you still print it?
Send it. Every order is reviewed by a human designer before it goes to press — a person checks artwork resolution, colour, sizing and placement, and either fixes the file or tells you what is wrong. It is not an automated preflight. A screen-resolution PNG, a logo on a white box or a screenshot are all things we redraw as proper vector artwork through the vectorization service, once, so every drop after that prints from the same clean file. You see the result on a free mockup of the actual product before any payment, and nothing prints until you approve it.
Design it yourself. A human designer still checks every order.
Our free studio gives you the price and the mockup in the browser. What it doesn't do is print your file blindly — every order is reviewed by a real designer before it reaches the press.
- Step 1You design it — free
Upload your logo, drop it on a real garment, set the size and placement, pick colours and quantities. No account, no deposit, no waiting on a reply.
- Step 2A human designer checks it
Before anything prints, one of our designers opens your file and checks resolution, colours, sizing and placement. If it won't print well, we fix it or tell you exactly what's wrong — a person, not an automated preflight.
- Step 3You approve, then we print
You get the corrected mockup back on the actual product. Nothing goes to press until you say yes — then it's ready in 1–2 weeks, or in 1–3 business days with a rush.
Print twelve, sell them, then print the second run
Upload the design, drop it on a real tee or hoodie in a real colour, set the sizes and watch the price update. No minimum on DTF or DTG, a free mockup before a dollar moves, a human designer on every file, printed in-house in Ottawa and typically 1–2 days in transit to Toronto once it leaves the shop.
Every order is reviewed by a human designer before it goes to press. A person checks artwork resolution, colour, sizing and placement, and either fixes the file or tells the customer what is wrong — it is not an automated preflight.