
The Cheapest Way to Print Custom Shirts in Toronto (Without Ending Up With Junk)
Seven things actually move the price of a custom shirt — quantity, ink colours, print locations, the blank, the method, your deadline, and how many separate orders you split it into. Here is the real arithmetic behind each lever, the four false economies that quietly cost more than they save, and the five ways to spend less that cost you nothing.
- Biggest lever
- Quantity. The per-shirt price falls fastest between about 12 and 50 pieces, then flattens out.
- Typical cost
- Roughly $12–$18 CAD per screen-printed tee at 50 pieces, and under $10 each in the hundreds.
- Where each method pays
- Screen printing starts around 6 pieces and wins past roughly 24–50. DTF and DTG have no minimum at all — we will print one shirt.
- Biggest free saving
- Consolidating three small orders into one run pays one setup instead of three for the same number of shirts — often 50% or more per shirt.
- Artwork check
- A human designer reviews every order before it goes to press — resolution, colour, sizing and placement. Not an automated preflight.
- Design it yourself
- Free online studio at yayaprints.ca/mockup-creator — no account, no deposit, and the price updates as you build.
- Turnaround to Toronto
- 2–5 business days in production after mockup approval, then 1–2 days in transit. Rush is available and it costs more.
Why two quotes for the same shirt come back $8 apart
Almost everyone asking about cheap custom shirts in Toronto is really asking two questions at once: what should this cost, and am I about to get ripped off. Both are fair. Apparel pricing is genuinely opaque, quotes arrive in wildly different shapes, and the number moves for reasons nobody explains to you.
So here is the honest version. A shirt price is not one number, it is a fixed cost plus a per-piece cost. The fixed part — screens burned, art prepped, press set and registered — happens once no matter how many shirts you order. The per-piece part is the blank garment, the ink, and the seconds of labour per shirt. Everything that makes a quote cheap or expensive is one of those two buckets getting bigger or smaller.
Seven things move the number, in roughly this order of impact:
- Quantity. By a distance the biggest lever.
- Number of ink colours. In screen printing, each colour is another screen and another pass.
- Print locations. Front only, front and back, or front, back and a sleeve.
- The blank you choose. Budget cotton, midweight ring-spun, or premium.
- The method. Screen, DTF, DTG or embroidery.
- The deadline. Rush work displaces other jobs, and that costs money.
- How many separate orders you split it into. The lever nobody thinks about.
None of those is a secret, and none of them is a shop being greedy. Pull the right two or three and the same shirts get materially cheaper. If you want to watch it happen live, the fastest thing you can do is build the order in our free design studio and change one variable at a time — the price updates as you go, with no account and no deposit.
Lever one: quantity, and the arithmetic behind it
Quantity is the lever, and the reason is division. The fixed cost of a job gets spread across however many shirts come out of it. Order twelve and each shirt carries a twelfth of the setup. Order a hundred and each shirt carries a hundredth of the same setup.
Put real arithmetic on it. Take a made-up job — this is a shape, not our rate card — where the fixed part of a two-colour screen print is $150 for the whole run and the variable part is $8 per shirt in blank, ink and labour:
| Quantity | Setup share per shirt | Per-shirt total (illustrative) | Change from the band above |
|---|---|---|---|
| 12 | $12.50 | $20.50 | — |
| 24 | $6.25 | $14.25 | Down 30% |
| 50 | $3.00 | $11.00 | Down 23% |
| 100 | $1.50 | $9.50 | Down 14% |
| 250 | $0.60 | $8.60 | Down 9% |
Read the last column, not the third. Going from 12 to 50 cuts the per-shirt cost by almost half. Going from 100 to 250 saves you well under a dollar. That curve is the whole story of bulk pricing: the savings are front-loaded, and past a few hundred pieces you are mostly negotiating the blank, not the setup.
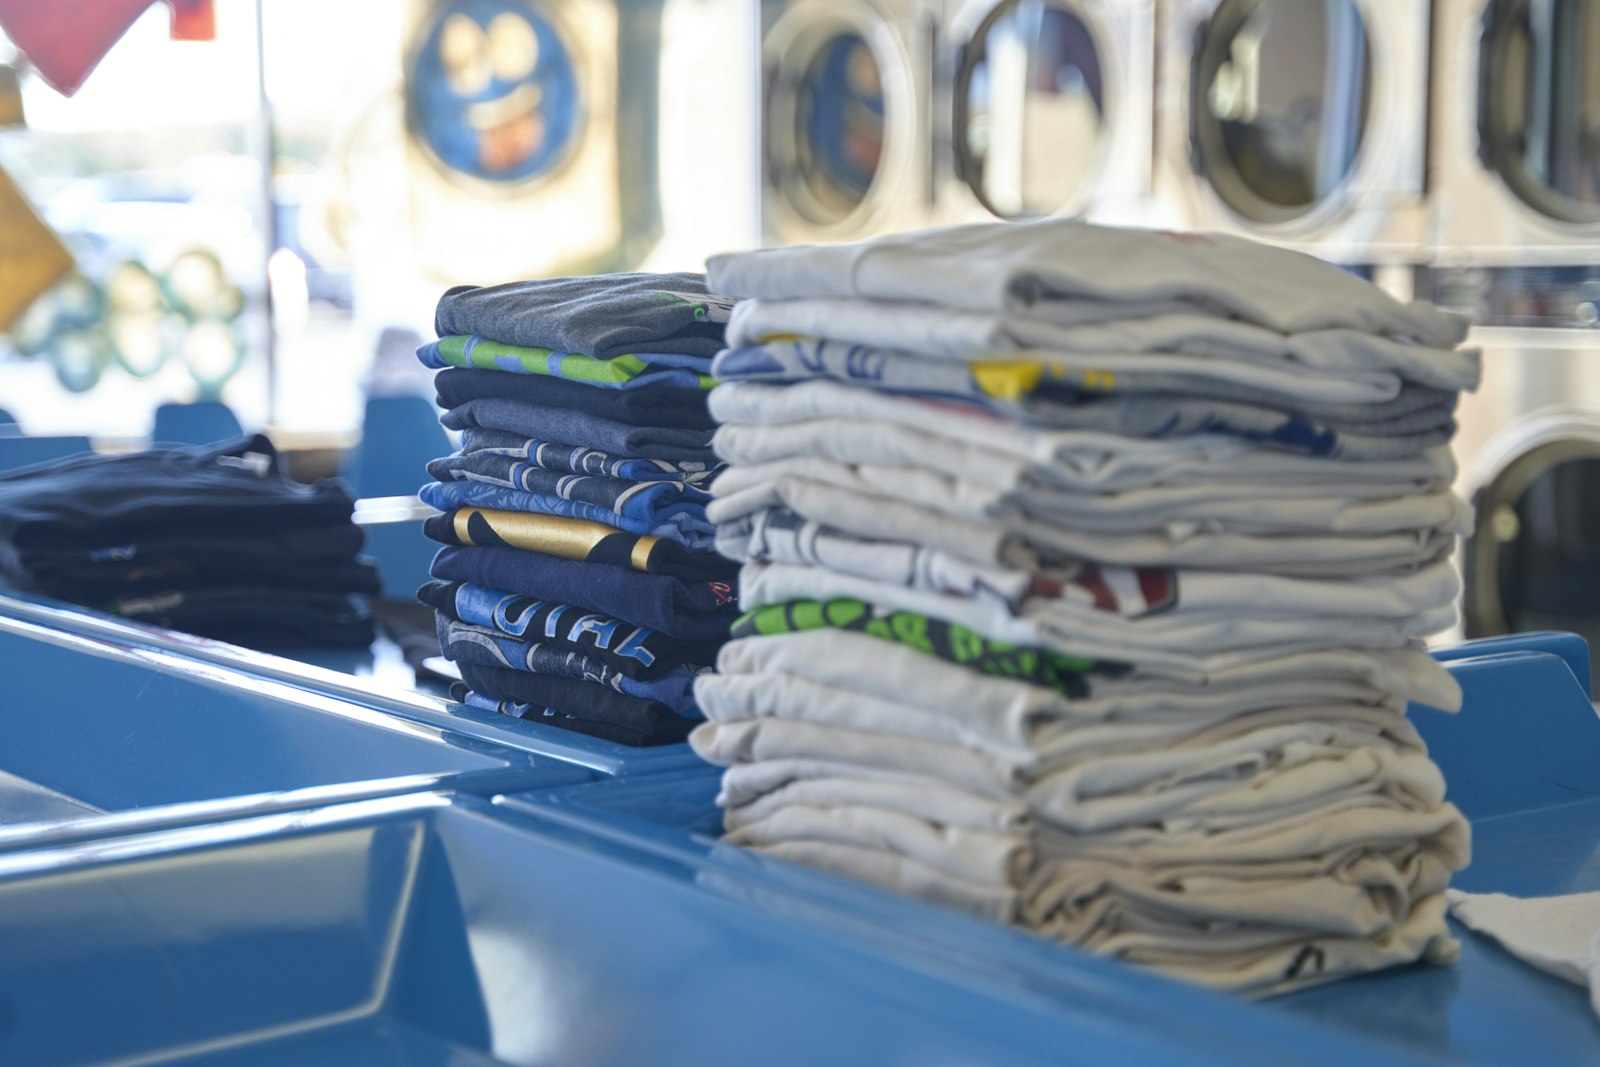
Our real quotes behave the same way. A screen-printed tee lands roughly $12–$18 each at 50 pieces depending on the garment, the colour count and the number of locations, and gets under $10 each in the hundreds. The practical takeaway for most Toronto buyers: if you are hovering around 30 or 40 shirts and you honestly think you will want more later, ordering to 50 now is usually cheaper than ordering 40 now and 20 in October. We break the volume bands down further in our guide to bulk t-shirt printing for the GTA, and the national picture is in what custom t-shirt printing actually costs in Canada.
Levers two and three: ink colours and print locations
In screen printing, you are not paying for a design. You are paying for screens. One colour means one screen, one stencil, one pass through the press. Four colours means four of everything, plus the fiddly work of getting them to line up. A four-colour front is not four times the price of a one-colour front, but it is meaningfully more — and the gap is widest at low quantities, where there are fewer shirts to spread it over.
This is the single easiest place to save money without the shirt looking cheaper. Plenty of logos that arrive as four colours are really two colours plus two shades of the same colour. Ask whether yours can be simplified. A lot of designs get stronger, not weaker, when they are reduced to two flat colours — that is the aesthetic that half of custom apparel has been running on for decades.
Print locations work the same way. Each location is its own setup and its own pass: a front print and a back print are two jobs sharing a garment. Add a sleeve and it is three. A left-chest logo on its own is the cheapest branded look there is, and on staff shirts or uniforms it is usually the one that reads as most professional anyway.
The order of operations we would suggest: decide the front, then ask whether the back print is doing real work. If the back is a sponsor list or an event date people will actually read, keep it. If it is your logo again, larger, cut it and put the money into a better blank. You can test both versions side by side in a couple of minutes by dropping your logo onto a real garment in the studio and toggling the second location on and off.
Levers four and five: the blank and the method
The blank is often the second-biggest number on the invoice, and it is the one you have the most direct control over. A basic cotton tee, a midweight ring-spun tee and a premium retail-feel tee can be several dollars apart per piece before a drop of ink touches them. On 100 shirts that is a few hundred dollars of real money.
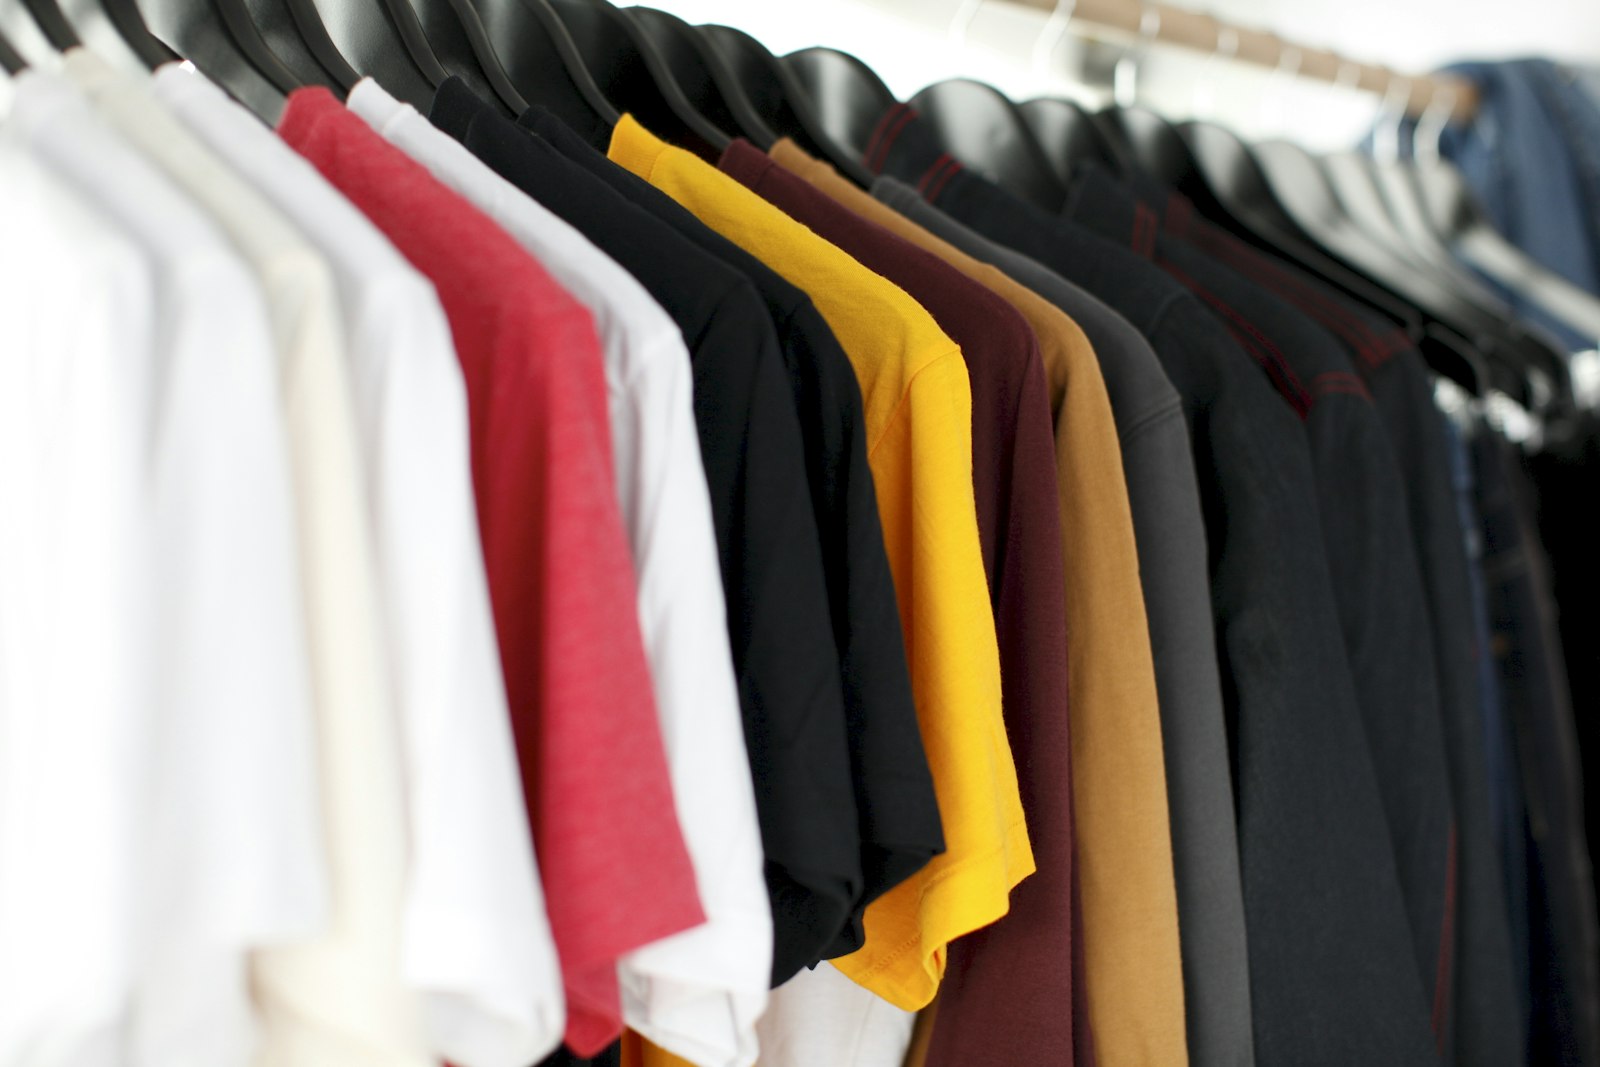
Cheaper is sometimes exactly right. Shirts for a one-day charity run, a trade show giveaway, or a crew that will destroy them on site do not need premium cotton. Shirts people are meant to keep wearing do. Our breakdown of which fabrics print best covers how cotton, blends and polyester behave under each method, which matters because a blank that fights the ink costs you twice.
Then the method. Under roughly 20 pieces, digital wins outright: DTF and DTG have no minimum and no setup fee, so the price per shirt is nearly the same whether you order one or fifteen. Past roughly 24 to 50 pieces with a simple design, screen printing takes over and keeps getting cheaper. Full-colour art, photographs and gradients belong on DTF at any quantity. Caps, polos and jackets usually want embroidery, which is priced differently again and does not care about your colour count the way screens do. If you want the two main options compared properly, read DTF versus screen printing.
Picking the wrong method is one of the more expensive mistakes available to you, and it is entirely avoidable. Tell a shop your quantity and show them the art. If the answer is always the same method regardless of what you said, you are being sold the machine they own.
Levers six and seven: your deadline, and how many orders you split it into
Rush costs money everywhere, and it should. Moving your job up the queue means moving somebody else's down, and shops price that honestly or they price it by quietly missing deadlines. Our standard is 2–5 business days in production after you approve the mockup, plus 1–2 days in transit to the GTA. Rush is available on most apparel jobs and it is a real surcharge.
Here is the part worth internalising: most rush fees are self-inflicted. The clock we quote starts at mockup approval, not at your first email. The days that vanish are almost always the ones spent waiting on a logo file, a final size count, or one person in a group chat to say yes. If your event is four weeks out, you have plenty of time and you should pay standard rates. If it is Thursday and the event is Saturday, see what fast actually looks like and expect to pay for it.
The seventh lever is the one nobody thinks of, and it is often the largest single saving available. Consolidate.Three departments each ordering 15 shirts of the same design means three setups, three minimum runs and three shipments. Using the same toy arithmetic as before — $150 fixed, $8 per shirt — that is 3 × ($150 + 15 × $8) = $810, or $18 a shirt. The same 45 shirts in one run is $150 + 45 × $8 = $510, or $11.33 a shirt. Same shirts, same design, about $300 saved by sending one email instead of three.
The same logic applies to a season of team orders, to a franchise with locations across Toronto and Mississauga, and to any group where people trickle in. Collect sizes once, order once. Our guide to organising a group apparel order is basically a manual for not paying three setups.
Four false economies that cost more than they save
Saving money on shirts is easy. Saving money badly is easier. These are the four we see most often, and each of them has a bill attached that arrives later than the invoice.
1. The cheapest possible blank. There is a floor below which a tee shrinks a full size in the first hot wash, pills across the chest by month two, or arrives in a heather that does not match the last batch. You saved two dollars a shirt and produced something people quietly stop wearing, which means you buy them again next year. For giveaways, fine. For staff or a brand you are trying to build, it is the expensive choice wearing a cheap disguise.
2. Forcing a photograph through screen printing. Screens print flat spot colours. A photo or a rich gradient has to be separated into halftones across many screens, which is skilled work, more setup, and a result that still looks like a compromise. That same file goes through DTF at one flat price with unlimited colours. Choosing the method to match the art, rather than the reverse, is free.
3. Splitting one design across three orders.Covered above, but it earns its place here too, because it is the mistake that most often disguises itself as prudence. "Let's start with 15 and see how they go" feels careful and usually costs 60% more per shirt than committing once.
4. Buying through a middleman who prints your job somewhere else. Plenty of sites selling custom shirts in Toronto are storefronts on top of a fulfilment network. The unit price can look great. What you lose is the ability to fix anything: no one to call when the file is wrong, no control over which blank actually ships, and if it comes off a press outside Canada, customs timelines and duties you did not price in. We print in-house in Ottawa, Ontario, so your shirts never cross a border and there is a person on the phone at 613-666-9292 who can look at the actual job.
The cheapest thing on your invoice is the person who reads your file
Every order we take is reviewed by a human designer before it goes to press. A real person on our team opens your artwork and checks resolution, colour, sizing and placement, and then either fixes the file or tells you exactly what is wrong with it. It is not an automated preflight that spits out a warning nobody reads.
That sounds like a service line. It is actually the cheapest cost control in this whole article. A logo at 72 dpi that someone pulled off a website is catastrophic at 11 inches wide and completely invisible in a thumbnail. A print positioned by eye can sit two inches too high on a size small. Caught before the press runs, all of that costs nothing. Caught after, it costs the entire run — and reprinting 100 shirts is not a discount, it is a second invoice.
You do not need to arrive with professional files. Send a phone screenshot, a PNG off your website, a PDF, or an AI-generated image. We clean it up or redraw it as vector art, and you see the result on a mockup of the actual product before you pay a cent. Nothing prints until you approve it. If your file needs rebuilding from scratch, our vectorization service exists for exactly that, and this guide to print-ready artwork explains what makes a file easy in the first place.
The practical version: build what you want in the free studio, order it, and let the designer check be the safety net. You get self-serve speed without self-serve risk, which is the combination the cheap end of this market usually cannot offer.
Five ways to spend less that cost you nothing
None of these involve a worse shirt. They are all just friction you can remove from the job before it starts.
Design it yourself. Our studio at yayaprints.ca/mockup-creator is free, needs no account and no deposit. Upload a logo, place it on a real garment, add text in print-quality fonts, choose colours and sizes, and watch the price update as you build. An order that arrives with artwork already placed skips a round of back-and-forth, and that is time nobody has to bill for.
Send print-ready art.Vector — SVG, PDF or AI — is ideal. A 300 dpi PNG at real print size with a transparent background is fine. What costs money is a 400-pixel JPEG with a white box behind it that somebody has to rebuild by hand.
Be flexible on the garment. If you tell us the vibe and the budget instead of a specific style number, we can point you at whatever comparable blank is actually in stock and well priced this week. Rigid specs on a garment that has to be special-ordered add both cost and days.
Give a real deadline. Not a padded one and not a panicked one. If you tell us the true date, we can schedule you into standard production instead of rush. Standard is 2–5 business days after approval plus transit, which is enough for almost every event that is more than two weeks out.
Ask one question up front: what would make this cheaper?Any shop worth using will answer it concretely — drop to two colours, move to 50 pieces, skip the back print, switch the blank. If you would rather talk it through than click through, the free quote form takes about a minute, and every quote comes with a mockup before there is any money involved.
We are an Ottawa shop. Here is why that still works out cheap for Toronto.
Being straight about it: we do not have a Toronto storefront. YAYA Prints prints in-house in Ottawa, Ontario, and ships to the GTA. Walk-in pickup exists in Ottawa–Gatineau only. If what you need is to hold a sample in your hand this afternoon, a local shop is the right answer and we will say so.
For everything else, distance is not a cost. Production is 2–5 business days after you approve the mockup, then 1–2 days in transit to Toronto, Mississauga or anywhere else in the GTA. It is printed in Ontario, so nothing crosses a border, and there are no customs holds or surprise duty charges bolted onto the end of your cheap quote. We work in English and French, and you can reach a person at 613-666-9292 or order@yayaprints.ca.
What you get instead of proximity is control. The press is in the same building as the people answering your email, so nothing about your job is being relayed to a third party. That is the mechanism behind both the turnaround and the artwork check, and it is why the cheap version of an order here is still an order somebody looked at.
Start wherever suits you: put the design together in the free online studio and order in the browser, browse t-shirt printing or custom hoodies if you are still deciding what to put the logo on, or send us the quantity and the art and let us tell you which of the seven levers is worth pulling on your job.
Frequently asked questions
What is genuinely the cheapest way to print custom shirts in Toronto?
One design, one or two ink colours, one print location, a mid-range blank, screen printed in a single run of 50 or more, ordered with a normal deadline. That combination gets you roughly $12 to $18 per tee at 50 pieces and under $10 each in the hundreds. Below about 20 pieces the maths changes completely — DTF or DTG has no setup cost and no minimum, so a small digital run beats a small screen run even though the per-piece figure looks higher.
How many shirts do I need before the price really drops?
The steepest part of the curve is between roughly 12 and 50 pieces, where the fixed setup gets divided across four times as many shirts. Going from 12 to 50 can cut the per-shirt cost close to half. Going from 100 to 250 typically saves well under a dollar each. If you are debating 40 versus 50, order 50 — you will usually pay a similar total and have ten spares instead of paying a second setup later.
Is a full-colour design more expensive than a one-colour design?
In screen printing, yes — every colour is another screen, another stencil and another pass, and that hurts most at low quantities. In DTF and DTG it costs the same whether your design has one colour or twenty, because there are no screens involved. So the cheapest full-colour shirt is usually digital, and the cheapest two-colour shirt in volume is usually screen printed. Simplifying a logo to two flat colours is often the single easiest saving available.
Does adding a back print cost extra?
Yes. A second location is a second setup and a second pass through the press, so a front-and-back shirt costs meaningfully more than a front-only shirt at every quantity. If the back print carries real information — sponsors, an event date, a slogan people will read — it earns its cost. If it is your logo repeated larger, cutting it and spending the difference on a better blank is usually the better trade.
Are the cheapest blank shirts worth it?
For one-day giveaways, trade show handouts and crews who will wreck them on site, absolutely. For staff uniforms, retail, or anything representing a brand, the bottom-tier blank is a false economy: it can shrink a size in a hot wash, pill across the chest within a couple of months, or arrive in a heather that does not match your last batch. Tell us the use case and the budget and we will point you at the right tier rather than the cheapest one.
Can I save money by designing the shirt myself?
Yes, and it is the easiest saving on the list. The studio at yayaprints.ca/mockup-creator is free, needs no account and no deposit. Upload a logo, place it on a real garment, add text in print-quality fonts, pick colours and sizes, and the price updates as you build. An order that arrives with the artwork already placed skips a round of back-and-forth. You can also compare a front-only version against front-and-back in about two minutes.
If I design it myself, does anyone actually check the file before it prints?
Yes. Every order is reviewed by a human designer before it goes to press — a real person checks resolution, colour, sizing and placement, and either fixes the file or tells you exactly what is wrong with it. It is not an automated preflight. You can send a phone screenshot, a website PNG, a PDF or an AI-generated image and we will clean it up or redraw it as vector art. Nothing prints until you approve a free mockup of the actual product.
Do I pay more because you are in Ottawa and I am in Toronto?
No. Production runs 2 to 5 business days after mockup approval and the parcel typically reaches the GTA 1 to 2 days after it leaves the shop. Everything is printed in Ontario, so there are no cross-border customs holds and no surprise duties added at the end. The only thing you give up is walk-in pickup, which we offer in Ottawa and Gatineau only. Every quote is free and includes a mockup before you pay.
Design it yourself. A human designer still checks every order.
Our free studio gives you the price and the mockup in the browser. What it doesn't do is print your file blindly — every order is reviewed by a real designer before it reaches the press.
- Step 1You design it — free
Upload your logo, drop it on a real garment, set the size and placement, pick colours and quantities. No account, no deposit, no waiting on a reply.
- Step 2A human designer checks it
Before anything prints, one of our designers opens your file and checks resolution, colours, sizing and placement. If it won't print well, we fix it or tell you exactly what's wrong — a person, not an automated preflight.
- Step 3You approve, then we print
You get the corrected mockup back on the actual product. Nothing goes to press until you say yes — then it's ready in 1–2 weeks, or in 1–3 business days with a rush.
Price it yourself in about two minutes
Drop your logo on a real shirt, change the quantity, the colours and the number of print locations, and watch the number move. Free studio, no account, no deposit — printed in-house in Ottawa and shipped to Toronto in 1–2 days after production.
Every order is reviewed by a human designer before it goes to press. A person checks artwork resolution, colour, sizing and placement, and either fixes the file or tells the customer what is wrong — it is not an automated preflight.