
What Size Should a T-Shirt Design Be? Front, Back, Chest & Sleeve Sizes
The t-shirt print sizes we use: 11″ wide for an adult full front or back, 8″ for youth, 3.5″ for a chest logo and 3″ for a sleeve. Plus the pixels you need at 300 dpi, and how tall art and hoodies change the height.
- Full front, adult
- 11″ wide. The top edge sits 3″ below the collar seam, or 3.5″ below the hood opening on a hoodie. Height follows the art, up to 13.6″ on a tee, 14.8″ on a long sleeve, 11.4″ on a crewneck and 9″ on a hoodie.
- Full back, adult
- 11″ wide, top edge 3″ below the collar seam. Height follows the art, up to 16″ on a tee, 16.5″ on a long sleeve, 15.6″ on a hoodie and 12.9″ on a crewneck.
- Youth front and back
- 8″ wide, with the height limits scaled by 8/11: up to 9.8″ on a youth tee front and 6.5″ on a youth hoodie front.
- Left chest and sleeve
- Left chest 3.5″ wide and never taller than 4.5″. Sleeve 3″ wide.
- Pixels at 300 dpi
- 11″ = 3,300 px · 8″ = 2,400 px · 3.5″ = 1,050 px · 3″ = 900 px. Height in pixels is height in inches × 300. True vector files need no pixel size.
- Print sizes per order
- One adult print size across every adult size and one youth size per design. A tall or square design that goes on tees and hoodies also gets a smaller file for the hoodie front.
- Human designer check
- Every order is reviewed by a human designer before it goes to press. A person checks artwork resolution, colour, sizing and placement, and either fixes the file or tells the customer what is wrong — it is not an automated preflight.
The t-shirt print size chart: width, pixels and where each print starts
The answer to “what size should a t-shirt design be” starts with one number: its width. Choose the spot on the garment and the width is set; the height comes from your artwork. Here is the whole standard on one table, with the pixel width you need at the 300 dpi we print at.
| Width | Pixels wide at 300 dpi | Height | Top edge sits | |
|---|---|---|---|---|
| Full front, adult | 11″ | 3,300 px | Follows the art, capped per garment (13.6″ on a tee) | 3″ below the collar seam; 3.5″ below the hood opening on a hoodie |
| Full back, adult | 11″ | 3,300 px | Follows the art, capped per garment (16″ on a tee) | 3″ below the collar seam |
| Full front, youth | 8″ | 2,400 px | Follows the art (up to 9.8″ on a youth tee) | Same landmarks as the adult garment |
| Full back, youth | 8″ | 2,400 px | Follows the art (up to 11.6″ on a youth tee) | 3″ below the collar seam |
| Left chest | 3.5″ | 1,050 px | Follows the art, never more than 4.5″ | Level with the top of a full front, over the wearer’s left side |
| Sleeve | 3″ | 900 px | Follows the art | About 1″ below the shoulder seam |
| Back neck (yoke) logo | No standard | Inches wide × 300 | Follows the art | Just under the back collar, at the size you place it |
Read the table as our standard print size for shirts, not a law of nature. Across the trade, full fronts usually land between 10″ and 12″ wide and chest logos between 3″ and 4″, and our chest logo size guide walks through that range. We print 11″ and 3.5″ because those two widths sit well on every adult size we sell, which the next section explains.
Two details change how you set up the file. The width is the width of the ink, not of your canvas: the transparent margin around your art is trimmed off before the print file is sized, so empty space in your file never makes the print smaller. And “left chest” is named from the wearer’s side, so as you face the shirt the logo sits on your right. How far below the collar and how far off centre each print sits is covered in our guide to logo placement on shirts.
Why one 11″ print works from XS to 5XL
Lay our everyday tee flat and measure across the chest: an adult small is about 18″ wide and a 5XL about 32″. An 11″ print covers roughly 61 per cent of the small and a third of the 5XL. That sounds like a big spread, but people read a print against the person wearing it, not against a ruler. On a small, 11″ still leaves about 3½″ of shirt on each side; on a 3XL it still reads as a full front rather than a badge.
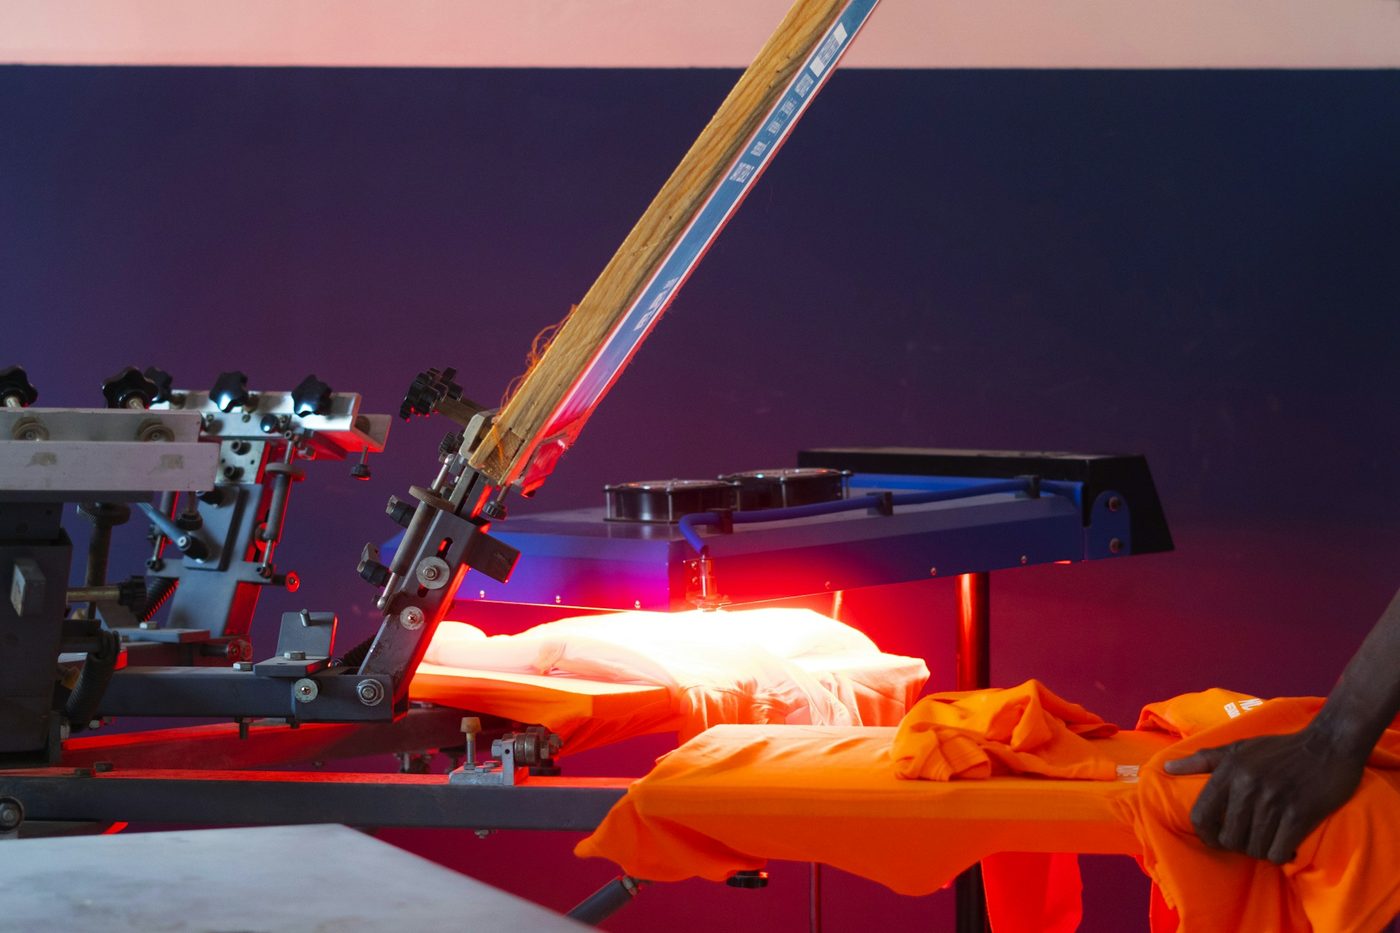
So our standard is one adult print size across every adult size, and one youth size, for each design. That is how most shops run an order, for a mechanical reason: on a screen-printed run, every print size needs its own set of screens, one per ink colour, so a second size is a second setup. On a DTF run, a second size is only a second transfer file.
Kids are the exception, and the reason the youth standard exists. A youth XS tee is 14″ across the chest, so an 11″ print would run almost from side seam to side seam. At 8″ it covers 57 per cent of the XS, close to the share 11″ takes of an adult small. When an order mixes adult and youth sizes, the same artwork comes out as two print files: 11″ for the adults and 8″ for the kids.
When to ask for a separate small-size file: when most of the order is XS and S and the design is large and square, so 11″ × 11″ would swamp the smallest shirts, or when you want the print to look proportionally the same on an S and a 4XL standing side by side. Say so in the notes at checkout or on the free quote form before you order. On a large screen-printed run, expect the second size to add a setup; on a small DTF order it is only a second file.
Full front and back print height: what each garment can hold
The width is fixed; the height is whatever your artwork’s proportions make it. A square logo at 11″ wide is 11″ tall, and a wide wordmark at 11″ might be 3″ tall. The limit is physical: every garment has a point where a taller print would run into a seam, a pocket or the end of the flat print area. When a design would be taller than that at 11″ wide, we cap the height and let the width come down in proportion.
| Garment | Front, max height | Back, max height | Youth front / back | Square logo, front | Tall crest, front (1.8× taller than wide) |
|---|---|---|---|---|---|
| T-shirt | 13.6″ | 16″ | 9.8″ / 11.6″ | 11″ × 11″ | 7.6″ × 13.6″ |
| Long sleeve | 14.8″ | 16.5″ | 10.7″ / 12″ | 11″ × 11″ | 8.2″ × 14.8″ |
| Crewneck | 11.4″ | 12.9″ | 8.2″ / 9.3″ | 11″ × 11″ | 6.3″ × 11.4″ |
| Hoodie | 9″ (the pouch pocket) | 15.6″ | 6.5″ / 11.3″ | 9″ × 9″ | 5″ × 9″ |
| Polo | 13.6″ | 16.4″ | No youth polo | 11″ × 11″ | 7.6″ × 13.6″ |
The tall-crest column is the one to read. A crest 1.8 times taller than it is wide would be 19.8″ tall at 11″ wide, longer than any shirt front can take, so it prints 7.6″ × 13.6″ on a tee and 5″ × 9″ on a hoodie. Wide art always gets the full 11″. Square art gets it everywhere except the hoodie front.
The quick check before you design: divide your art’s height by its width and multiply by 11. If the answer is bigger than the limit for your garment, the print will come out narrower than 11″. On a tee front that starts once a design is about a quarter taller than it is wide. If the full width matters, rework the layout rather than squeezing it: set the name beside the crest instead of under it, or move the tall version to the back, where every garment has more height.
Hoodies, crewnecks and polos: where the standard bends
The hoodie front is the print that catches people out. The pouch pocket sits where a tall tee print would end, so a hoodie front print can be at most 9″ tall, and it starts 3.5″ below the hood opening rather than 3″ below a collar. Any design taller than about 82 per cent of its width cannot be 11″ wide there; even a square logo prints 9″ × 9″. The back has no pocket and takes up to 15.6″ of height.
This matters most when one design goes on tees and hoodies in the same order. A wide wordmark comes out identical on both. A square or tall design comes out as two files, the tee size and a smaller one for the hoodie, and the hoodie version will look smaller beside the tee in a group photo. If that bothers you, put the big print on the hoodie back and a chest logo on the front. You can watch the limit happen: put a square logo on a hoodie in the design studio and the front size stops at 9″. Our hoodie print placement guide covers the pocket, the seams and the drawcords in detail.
A crewneck has no pocket and a flat front, but its print area is shorter than a tee’s: 11.4″ on the front and 12.9″ on the back. A square 11″ logo fits; anything taller than square starts to narrow. A polo takes the same 3.5″ chest standard as everything else, and a chest logo is the usual polo print, because the placket and buttons run down the middle of the front.
Pixel size for a t-shirt design, and the dpi you need
Our print files are made at 300 dpi, which turns every width into a pixel count: multiply the inches by 300. An 11″ full front is 3,300 pixels wide, and a design as tall as a tee front allows, 13.6″, is 4,080 pixels tall. The right-hand column below is the floor where our studio starts warning you.
| Width | Pixels wide at 300 dpi | Studio warns below (150 dpi) | |
|---|---|---|---|
| Full front or back, adult | 11″ | 3,300 px | 1,650 px |
| Full front or back, youth | 8″ | 2,400 px | 1,200 px |
| Left chest | 3.5″ | 1,050 px | 525 px |
| Sleeve | 3″ | 900 px | 450 px |
The studio measures every upload against the size you place it at. Under 150 dpi it suggests a sharper file; under 100 dpi it tells you plainly that the print will be blurry. Between 150 and 300, most artwork prints well, and fine lines and small text are where the difference shows.
- The dpi number in a file is only a label. What counts is the pixel count. A file 3,300 pixels across is 300 dpi at 11″ whether its settings say 72 or 300, and retyping the dpi of a 1,000-pixel file does not add a single pixel.
- Upscaling does not add detail. Stretching a 1,000-pixel logo to 3,300 pixels makes up the missing pixels, which gives you soft edges, not sharp ones.
- Bigger than you need is fine. Some print-on-demand templates ask for 4,500 × 5,400 pixels, a 15″ × 18″ canvas at 300 dpi. A file that size is more than enough for an 11″ print; it is trimmed to the ink and scaled down.
Our guide to preparing print-ready artwork covers resolution for paper and signs as well, where the rules are different.
Setting up the canvas in Canva, Photoshop and Illustrator
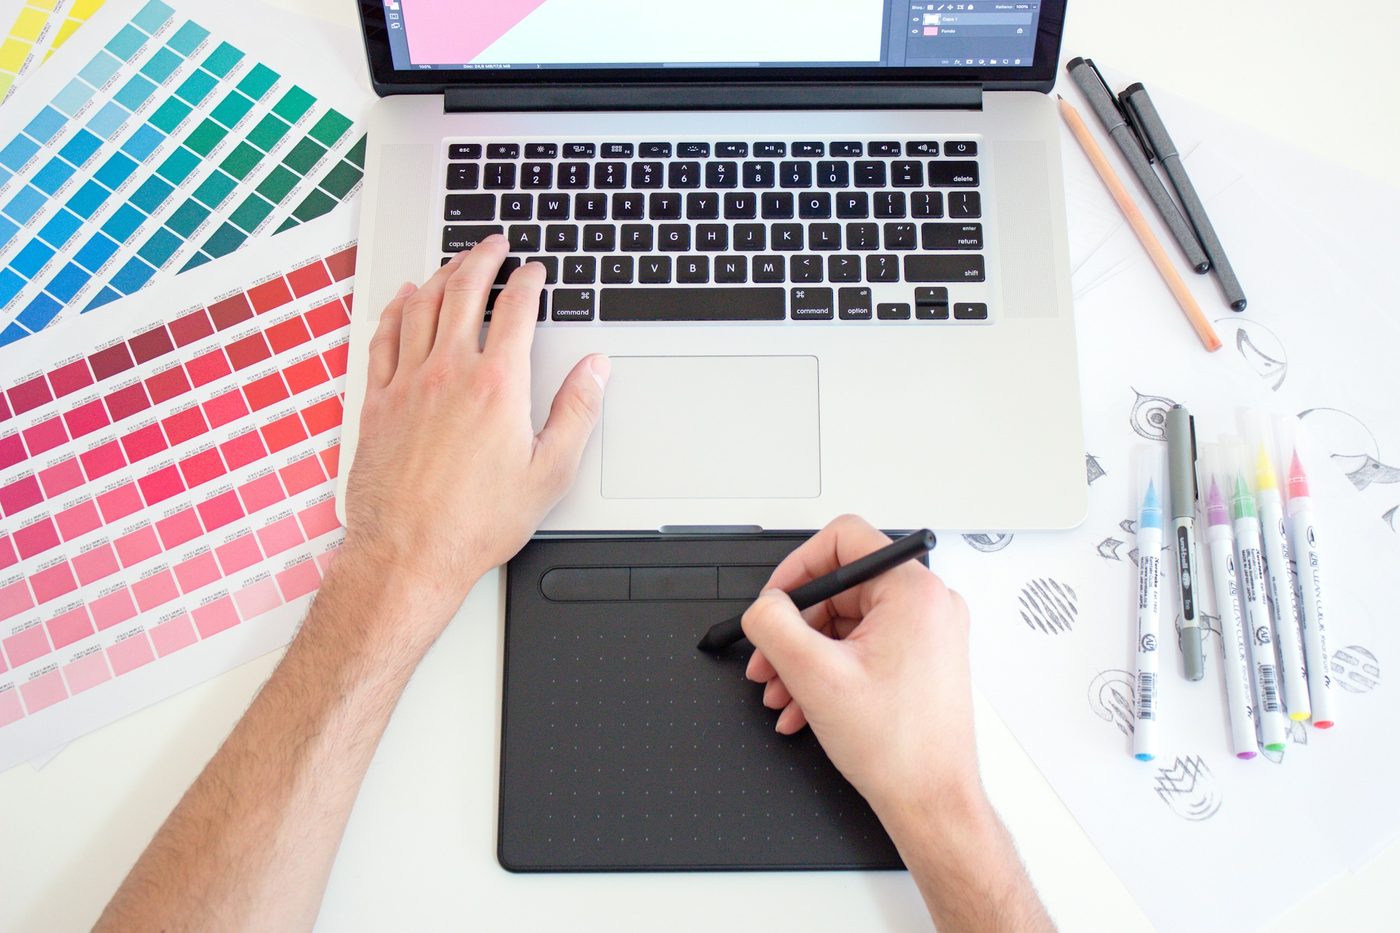
Set the design dimensions to the print, not the shirt: the print width and the height of your art, at full size, on a transparent background. For a full front on a tee that is 11″ wide and up to 13.6″ tall, or 3,300 by up to 4,080 pixels. Leave the shirt out of the file; the studio and your free mockup put the design on the garment.
- Canva. Choose Create a design, then Custom size, and enter the size in pixels, for example 3300 × 3300 px for a square full front. Pixels are the safe unit, because the file you download is exactly that size. Download a PNG with “Transparent background” ticked (a Canva Pro option); without it, your art arrives on a white rectangle that has to be removed before it can print on a coloured shirt.
- Photoshop. File → New, 11 × 13.6 inches at 300 pixels/inch, background contents Transparent, colour mode RGB. Start at full size rather than enlarging a small document later, then export a PNG with transparency on.
- Illustrator. Set the artboard 11″ wide and keep the artwork vector. Convert type to outlines (Type → Create Outlines), embed any photos at 300 ppi at their placed size, and set Effect → Document Raster Effects Settings to 300 ppi if you use shadows or glows. Send the AI, EPS, SVG or PDF; a 300 ppi PNG export works too.
On colour: a PNG cannot be CMYK, and RGB files are normal for shirts, so there is no need to convert anything first. If a colour has to match exactly, send its Pantone reference with the file.
Vector or raster: which files survive an 11″ print
A vector file (AI, EPS, SVG, or a PDF exported from a vector program) stores shapes instead of pixels, so it prints as sharply at 11″ as at 3.5″ and has no pixel size to worry about. Logos, lettering and flat illustrations belong in vector. A raster file (PNG, JPG) is a fixed grid of pixels. Photographs, painted art and anything with texture are raster by nature, and need the pixel counts above.
The usual problem file is a logo saved from a website or a phone screenshot. A 600-pixel logo is about 171 dpi as a 3.5″ chest logo, which prints fine, and about 55 dpi as an 11″ full front, which prints blurry. There are three ways out: find the original file (whoever designed the logo has it), run a simple flat logo through our free in-browser vectorizer, or have it redrawn by hand through our vectorization service. Our guides to transparent PNG vs vector and preparing logo files for printing go deeper.
One design at two sizes: what shrinks on a chest logo
Plenty of orders use one design twice: big on the back and small on the chest. The chest version is the full front at 32 per cent (3.5 ÷ 11), and everything in it shrinks by the same amount. A line 1 mm thick on the full front is about 0.3 mm on the chest. A tagline 0.5″ tall becomes 0.16″, about 4 mm. Detail that reads from across a room at 11″ turns to a smudge at 3.5″. The youth version is a gentler 73 per cent (8 ÷ 11), which most designs survive untouched.
As a working rule, treat half a millimetre of line at the printed size as the floor. Thinner than that, a screen may not hold the line open, and a DTF print has too little adhesive under the line to grip through the wash. For a chest logo that usually means a simplified version: thicker strokes, the tagline dropped, the icon or the wordmark alone. Embroidery is stricter again, and text under about a quarter inch tall will not stitch cleanly.
Tall logos hit a chest limit too. At 3.5″ wide, a crest 1.8 times taller than it is wide would stand 6.3″ tall, and our chest standard stops at 4.5″, so it prints 2.5″ × 4.5″. A logo taller than 4.5″ is not a chest logo any more; it is a small full front.
What the human designer check catches before anything prints
Every order is reviewed by a human designer before it goes to press. A person checks artwork resolution, colour, sizing and placement, and either fixes the file or tells the customer what is wrong — it is not an automated preflight. On sizing, these are the things a designer looks for:
- Low resolution. A file that lands under 150 dpi at its print size, usually a web logo or a screenshot stretched to a full front.
- Lines and text too fine for the size. Hairlines and small taglines that hold at 11″ and vanish at 3.5″.
- A background that should not print. A white or coloured box around art that was meant to be transparent, or a faint fringe left by a background removal.
- Art too tall for the garment. A tall crest that has to narrow on a hoodie front, caught before it surprises you.
- A logo on the wrong side. “Left chest” means the wearer’s left, which is on your right as you face the shirt.
- Colours that disappear. Navy art on a navy shirt, or a thin dark outline on black.
Every order gets a free digital mockup on the actual product before any payment. Nothing prints until the customer approves it.
Sizing your design in the studio, or sending it for a quote
Customers can design their own product free at yayaprints.ca/mockup-creator — upload a logo, place it on a real garment, add print-quality text, choose colours and sizes, and order online without emailing or phoning anyone. When you upload, the studio asks where the design should go and shows the size it will print at in each spot on the front, and the resolution warning appears on the canvas while you can still swap the file. Need something other than our standard size? Say so in the notes at checkout.
How it is printed depends on the order. No minimum on DTF and DTG — we will print a single shirt. Screen printing starts around 6 pieces and becomes the best value past roughly 24–50 pieces, and orders in the hundreds are usually screen printed and quoted directly — through the free quote form, by email or by phone. A large order gets the same free mockup and human designer check as a single shirt, and on a run that big it is worth agreeing on the print size at quote time.
Choosing garment sizes as well as print sizes? Our t-shirt size guide covers fit and measurements, and the t-shirt printing page covers blanks, colours and methods. If you would rather talk it through, call 613-666-9292.
Frequently asked questions
What size should a t-shirt design be?
Our standard full front is 11″ wide on adult shirts and 8″ on youth, with the height following your art up to the garment’s limit — 13.6″ on a tee front. A left-chest logo is 3.5″ wide and a sleeve 3″. At the 300 dpi we print at, set up a full-front file 3,300 pixels wide, or send vector art.
What is the standard size for a back print?
Our standard full back is 11″ wide on adult garments and 8″ on youth, with the top edge 3″ below the collar. The height follows the artwork, up to 16″ on a tee, 16.5″ on a long sleeve, 15.6″ on a hoodie and 12.9″ on a crewneck. A small logo under the back collar has no standard and prints at the size you place it.
How many pixels should a t-shirt design be?
Multiply the print size in inches by 300. An 11″ full front is 3,300 pixels wide, an 8″ youth print 2,400, a 3.5″ chest logo 1,050 and a 3″ sleeve 900, and a design 13.6″ tall needs 4,080 pixels of height. True vector files (AI, EPS, SVG) have no pixel size and scale cleanly to any of these.
What dpi do I need for t-shirt printing?
300 dpi at the size it will print, which is what our print files are made at. Dpi only means something together with a size: a 3,300-pixel file is 300 dpi at 11″ but 150 dpi at 22″. Our studio warns you when an upload would print under 150 dpi, and tells you plainly when it would be under 100 dpi and print blurry.
Is the print the same size on a small and a 3XL shirt?
Yes. Our standard is one adult print size across every adult size and one youth size per design, which is how most shops run an order. An 11″ print covers about 61% of the chest of an adult small laid flat and about a third of a 5XL. If your order is mostly small sizes and the design is big and square, ask for a separate smaller file in the notes at checkout or on the quote form.
Why does my design print smaller on a hoodie than on a t-shirt?
The pouch pocket. A hoodie front print can be at most 9″ tall, so any design taller than about 82% of its width cannot be 11″ wide there — a square logo prints 9″ × 9″ on a hoodie front and 11″ × 11″ on a tee. Wide wordmarks come out the same on both, and the hoodie back has no pocket and takes up to 15.6″ of height.
Can I send a PNG instead of a vector file?
Yes, if it is big enough and has a real transparent background: about 3,300 pixels wide for a full front or 1,050 for a chest logo. Screenshots and logos saved from websites are usually far too small for a full front. If a small file is all you have, a vector redraw fixes it for good, and a human designer checks every file before it prints either way.
Design it yourself. A human designer still checks every order.
Our free studio gives you the price and the mockup in the browser. What it doesn't do is print your file blindly — every order is reviewed by a real designer before it reaches the press.
- Step 1You design it — free
Upload your logo, drop it on a real garment, set the size and placement, pick colours and quantities. No account, no deposit, no waiting on a reply.
- Step 2A human designer checks it
Before anything prints, one of our designers opens your file and checks resolution, colours, sizing and placement. If it won't print well, we fix it or tell you exactly what's wrong — a person, not an automated preflight.
- Step 3You approve, then we print
You get the corrected mockup back on the actual product. Nothing goes to press until you say yes — then it's ready in 1–2 weeks, or in 1–3 business days with a rush.
See your design at the size it prints
Upload your file, pick the spot — left chest, full front, back or sleeve — and the studio shows the size it prints at and warns you if the file is too small for it. Every order gets a free digital mockup on the actual product before any payment, and orders in the hundreds are usually quoted directly through the free quote form.
Every order is reviewed by a human designer before it goes to press. A person checks artwork resolution, colour, sizing and placement, and either fixes the file or tells the customer what is wrong — it is not an automated preflight.