
Design Your Own Shirt Online: A Walkthrough of Our Free Mockup Studio
Upload a logo, drop it on a real garment, add text in proper print fonts, pick your colours and sizes, and see the finished shirt before you pay a cent. Here is exactly how our free online t-shirt designer works.
Why design your own shirt online instead of emailing a file and hoping
For years the standard way to order custom apparel was to email a logo to a shop, describe roughly where you wanted it, and wait a day to find out whether the person on the other end pictured the same shirt you did. That loop works. It's just slow, and it hides the two decisions that actually determine whether you like the finished garment: how big the art is and where it sits.
Our free studio at the online design tool exists to pull those decisions forward. You see the shirt while you're making them. A logo that felt "about right" in an email thread suddenly looks enormous when it's sitting on a left chest at actual scale, and you fix it in four seconds instead of on a revision round.
The other reason is speed on our end. When you design your own shirt online and send it through, we get your placement, your sizes and your colour choice in one package instead of assembling them from three replies. That matters because we print in-house here in Ottawa — the press is down the hall, not down the highway — so the paperwork is usually the slowest part of a job, not the printing.
What follows is the actual walkthrough, step by step, with the design advice we'd give you over the counter mixed in. It doubles as a decent primer on designing a custom t-shirt in general, even if you end up sending us a file the old-fashioned way.
Step 1: choose your garment and colour in the online t-shirt designer
The studio opens on a garment, and the first thing to do is make sure it's the right one. You can switch between t-shirts, long sleeves, hoodies, polos, caps and onesies, and the artwork you place carries across as you change your mind. Picking the garment first matters more than it sounds, because a design that reads beautifully on a tee can land badly on a hoodie, where a front pocket and a drawstring eat into the usable area.
Then set the colour. The garment colour picker changes the shirt under your art in real time, and this is the single most useful thing in the whole tool, because contrast is what makes a print readable from across a room. Navy artwork on a charcoal shirt technically prints. It just disappears at three metres, which is exactly the distance most people will ever view it from.
A rough rule: if you squint at the preview and the design turns into a smudge, the contrast is too low. Light art on dark garments and dark art on light garments always wins. Mid-tone shirts — heather grey, sand, olive — are the forgiving middle ground, and they're where a full-colour design usually looks best.
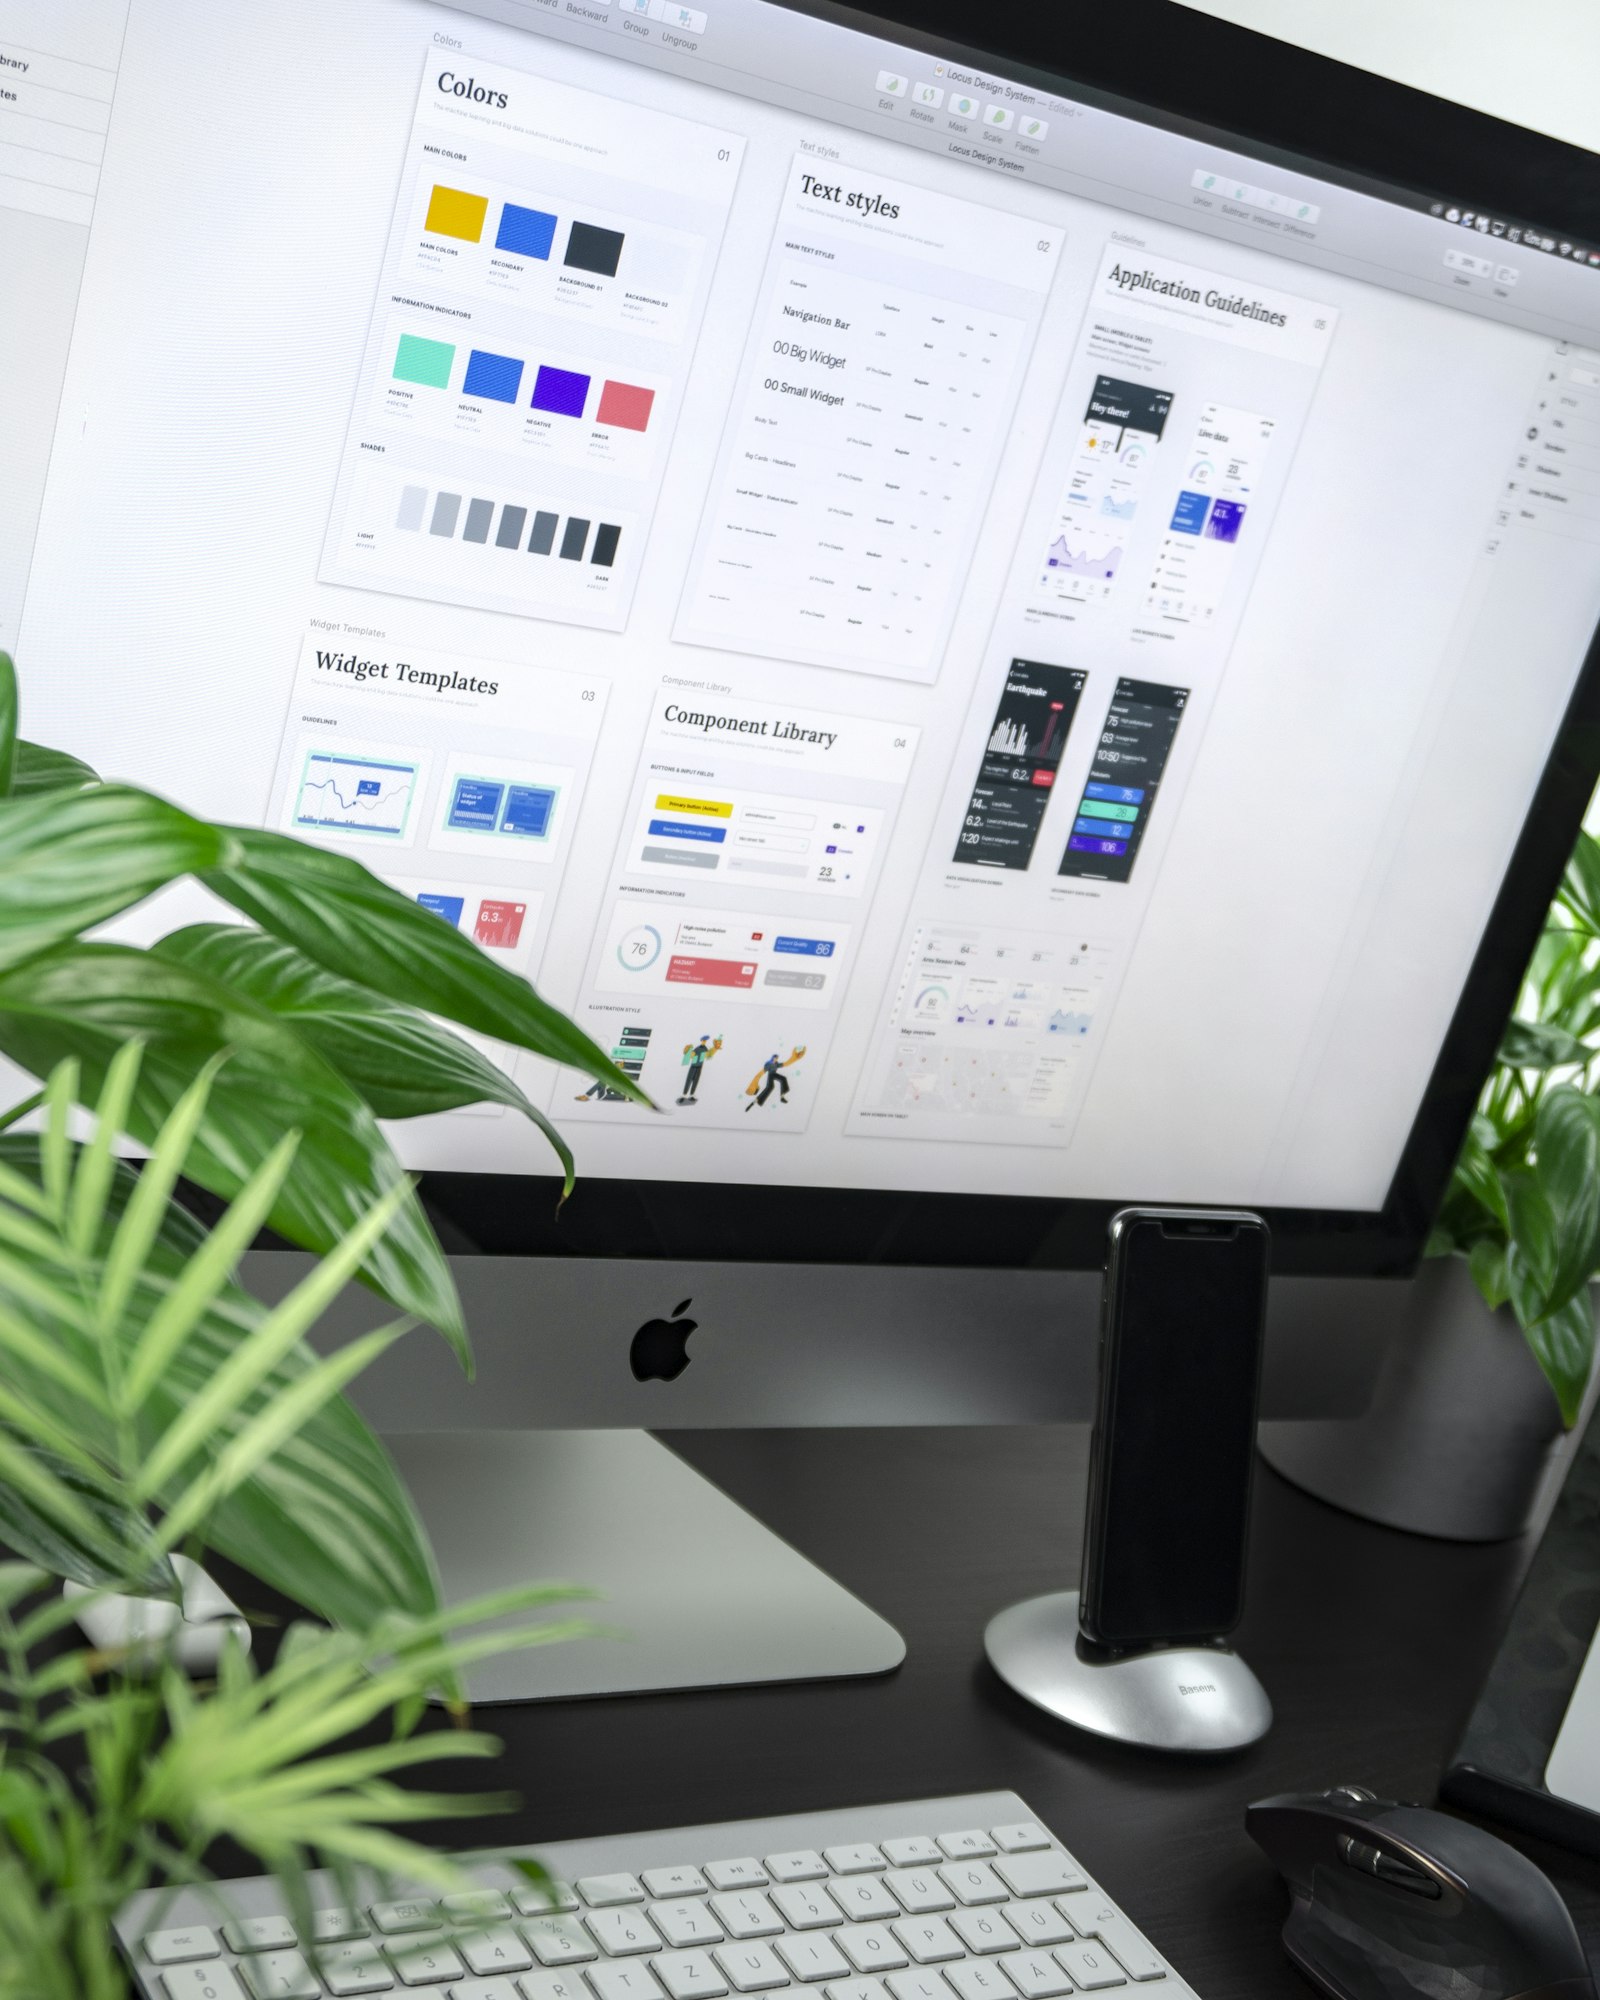
One honest caveat about colour: your screen is not a garment. Monitors emit light, fabric reflects it, and the two never match perfectly — which is why the printing world uses physical colour standards rather than trusting a display. Treat the preview as an accurate map of size, placement and layout, and expect the printed colour to be close rather than identical. If a colour has to be exact — a corporate blue, a team red — tell us and we'll match it properly on press.
Step 2: upload your art — what files the custom t-shirt design tool accepts
The upload button takes PNG, JPG, SVG and PDF. Which one you have says a lot about how the finished print will look, so it's worth being blunt about the differences.
- SVG or PDF (vector). The best case. A vector file stores shapes and curves rather than pixels, so it can be scaled from a sleeve mark to a full back print with no loss of edge quality. If your designer sent you an .ai or .eps, ask for a PDF or SVG export — that's the same artwork in a form the studio can read.
- PNG with a transparent background. The everyday workhorse. Perfect for logos, and the transparency means the garment colour shows through around your art instead of a white rectangle sitting behind it.
- JPG. Fine for photographs, which is what it was built for. JPGs cannot store transparency, so a logo saved as a JPG always arrives with a solid background.
That last problem is common enough that we built the fix into the studio. One-click background removal strips the white box from behind a logo so it sits cleanly on a coloured shirt. It works well on artwork with a clean, solid backdrop — the classic logo-on-white situation. It works less well on a photo of a person in a busy room, because there the tool has to guess where the subject ends, and guessing shows.
Resolution is the other thing to check before you get attached to a layout. A file that looks sharp at thumbnail size on a website is often 200 pixels across, and a 200-pixel logo blown up to a 10-inch chest print is soft, fuzzy-edged, and disappointing in a way the screen preview does not fully communicate. Aim for artwork at least 1,500 pixels across for a full-front print. Our guide to preparing logo files covers this in detail, and PNG vs vector explains when each is the right call.
If all you have is a low-resolution logo — off a business card, off an old website, out of a text message — don't abandon the project. Upload it anyway to get the layout settled, and our vectorization servicewill rebuild it as clean, infinitely scalable artwork before we print. That's a real person redrawing your logo, and it's the difference between a crisp edge and a jagged one.
Step 3: place and size the art, where most people go wrong
Once your art is on the shirt you can drag it, resize it from the corners, rotate it, flip it, and centre it with a single control. The studio also gives you the standard placements — front, back, left chest, full front, full back and sleeve— so you're not eyeballing a position that has an accepted convention.
Turn on the print-zone guide overlaywhile you work. It draws the boundary of the printable area on the garment, which is the fastest way to catch art that's drifted too low, too close to a seam, or wider than the press can lay down. When you want a clean look at the design without lines through it, the Guides pill hides the overlay again.
Now the mistake we see constantly: people size a chest logo far too big. A left-chest mark is meant to read as a badge, not a billboard. Blown up to six or seven inches it stops looking like corporate apparel and starts looking like a mistake, and on a size small it can run into the armhole. The table below is the shorthand we use at the counter.
| Placement | Typical print width | Works best for |
|---|---|---|
| Left chest | 3–4 in | Company logos, staff shirts, polos |
| Centre chest | 6–8 in | Short slogans, wordmarks, text-only designs |
| Full front | 10–12 in | Event tees, brand graphics, illustrations |
| Full back | 11–13 in | Team names, sponsor blocks, big statements |
| Sleeve | 2–3 in | Dates, social handles, a secondary mark |
Two things the table can't say for you. First, one print size normally runs across the whole order, so check your layout against your smallestgarment, not your largest — a graphic sized for a 2XL will swamp a youth small. Second, vertical position matters as much as width; a full-front print generally starts a few inches below the collar so it isn't half-hidden under a chin. Our chest logo size guide and the hoodie placement guide go deeper, and hoodies genuinely need their own rules because of the pocket.
Step 4: add text with the built-in font library
The text tool is where a lot of designs actually get made, because plenty of shirts are just words done well. Type your line, then choose from a self-hosted font library grouped the way you'd actually search for it: Sports & Team Numbers, Print Display, Modern, Script & Signature, Elegant Serif and Arabic.
Those groupings are practical, not decorative. Sports & Team Numbers holds the heavy block faces that read from the bleachers, which is what you want on jerseysand roster shirts. Print Display covers the bold, high-impact faces built for a full-front graphic. Script & Signature is for personal, hand-lettered feeling pieces. Elegant Serif suits anything that needs to look considered rather than loud.
You can curve or arc text, which is how you get a name over the top of a circular logo or a school name bending across a chest, and you can add an outline to the letters — the trick that makes light text survive on a busy background or a light garment.
Here's the honest warning about type: thin scripts fail at small sizes. A hairline connecting stroke that looks delicate on a 27-inch monitor can be finer than the ink or thread can reliably reproduce, and the letters break up or fill in. If you want a script on a left chest, use a heavier weight of it. Save the delicate one for a full-front print where the strokes have room to exist. The same logic is why embroidery has firmer limits than printing — stitches have a minimum practical thickness, which our post on digitizing explains.
Step 5: layers, a second image, and the back of the shirt
Every element you add — each image, each block of text — becomes an entry in the layer stack. The stack is what lets you put a wordmark on top of a graphic, nudge one thing behind another, or select a piece that's hiding underneath something else without dragging the whole design apart.
You can place up to two images per side. That covers most real jobs: a main graphic plus a small sponsor mark, a logo plus a date badge, or a design on the front with a separate second element. In the studio, pressing the Front view again after your first image is what opens the second slot.
Front and back are designed independently, which is worth planning rather than improvising. The most common layout in this shop is a small left-chest logo with a large back print— it's what most staff shirts, event crews and sports teams end up choosing, because it reads as professional from the front and does the loud communication from behind. A back print adds roughly $7 per piece, so it's a real cost decision, not a free extra.
If you're building something for a team or a company, work out the whole set at once: shirts, plus whatever polos, caps or uniform piecesgo with them. Placement conventions differ per garment — a cap takes a much smaller mark than a chest — and it's far easier to keep a set consistent when you design it in one sitting.
Step 6: sizes, quantity and a live price before you commit
With the design settled, you enter your sizes and quantities directly in the studio and the price updates as you go. No form to submit and wait on, no "contact us for pricing" wall. You see the number while you're still deciding, which is the point.
A few honest anchors so the figure isn't a surprise. Prices are in Canadian dollars and depend on the garment, the ink and the placements, but as a rough guide a basic one-colour screen print on a standard cotton tee runs somewhere around $12–$18 each at 50 pieces and can drop under $10 each in the hundreds. Small full-colour DTF runs sit a little higher per piece, but carry no setup cost at all. Embroidery is about +$10 per piece. Ontario HST of 13% is added on top. Our full cost breakdown for Canada walks through how the per-shirt number moves with quantity.
Quantity is also where the method quietly changes underneath you. There is no minimum for DTF and DTG — we'll print one shirt without blinking, which is covered in our post on no-minimum printing. Screen printing has a practical minimum of about six pieces because of the screen setup, and bulk discounts start around 50 or more. If your quantity is sitting near one of those thresholds, we'll tell you which side of it you're better off on.

Delivery is folded in at this stage too. We ship Canada-wide, and the freight is priced for your postal code and shown before you pay. Around the National Capital Region — Ottawa, Kanata, Barrhaven, Nepean, Orléans, Stittsville and Gatineau — pickup and local delivery are free, and for anything tight on time, walking out with the box is still the fastest hand-off there is.
What a free t-shirt mockup generator can't do
We'd rather set the expectation properly than oversell the software. The studio is a genuinely capable custom t-shirt design tool, but it is a design tool, not a magic wand, and there are things it will not fix for you.
It cannot invent detail that isn't in your file. A 200-pixel logo dragged off a website will render smoothly in the preview and still print soft, because the preview is drawing a small image at screen resolution while the press is asking for far more information than the file contains. If your art is going to have that problem, we tell you before we print it — that conversation is cheaper for everyone than a box of blurry shirts.
It also can't make a colour judgement for you. The tool will happily let you put dark grey on black. And it can't tell you that the type you chose is too fine for the print size, or that your back graphic is going to sit oddly on a youth cut. Those are judgement calls, and they're what the human step is for.
So here's the last step in the flow, and it's the one that matters most: when you send your design through, a real person opens your file, checks the resolution, checks the placement against the garment sizes you ordered, and comes back to you with a free digital mockup before anything is charged. You get a named human on your order rather than a ticket number, and if you'd rather just talk it through, someone picks up at 613-666-9292 or answers at order@yayaprints.ca. If you'd prefer we build the layout for you entirely, send what you have through the quote formand we'll do the design pass.
After you design your own shirt online, here's what happens in the shop
Approving the mockup and paying is what starts the clock. From there, standard turnaround is 2–5 business days. Rush work is often 1–2 business days. Same-day is genuinely possible on a small DTF or DTG run when you reach us early with clean art — but it is never guaranteed, and anyone promising it sight-unseen is hoping nothing goes wrong. Call first and we'll tell you honestly whether your date is realistic.
Behind the scenes we match your design to the right method rather than forcing everything through one process. Full-colour art, gradients and photographs go to digital printing — DTF or DTG, depending on the garment and the feel you want. Bold one- or two-colour designs at volume go to the screen press, where they're cheaper per shirt and hard to beat for punch. Logos on polos and caps often become embroidery. The comparison in DTF vs screen printing explains how we choose.
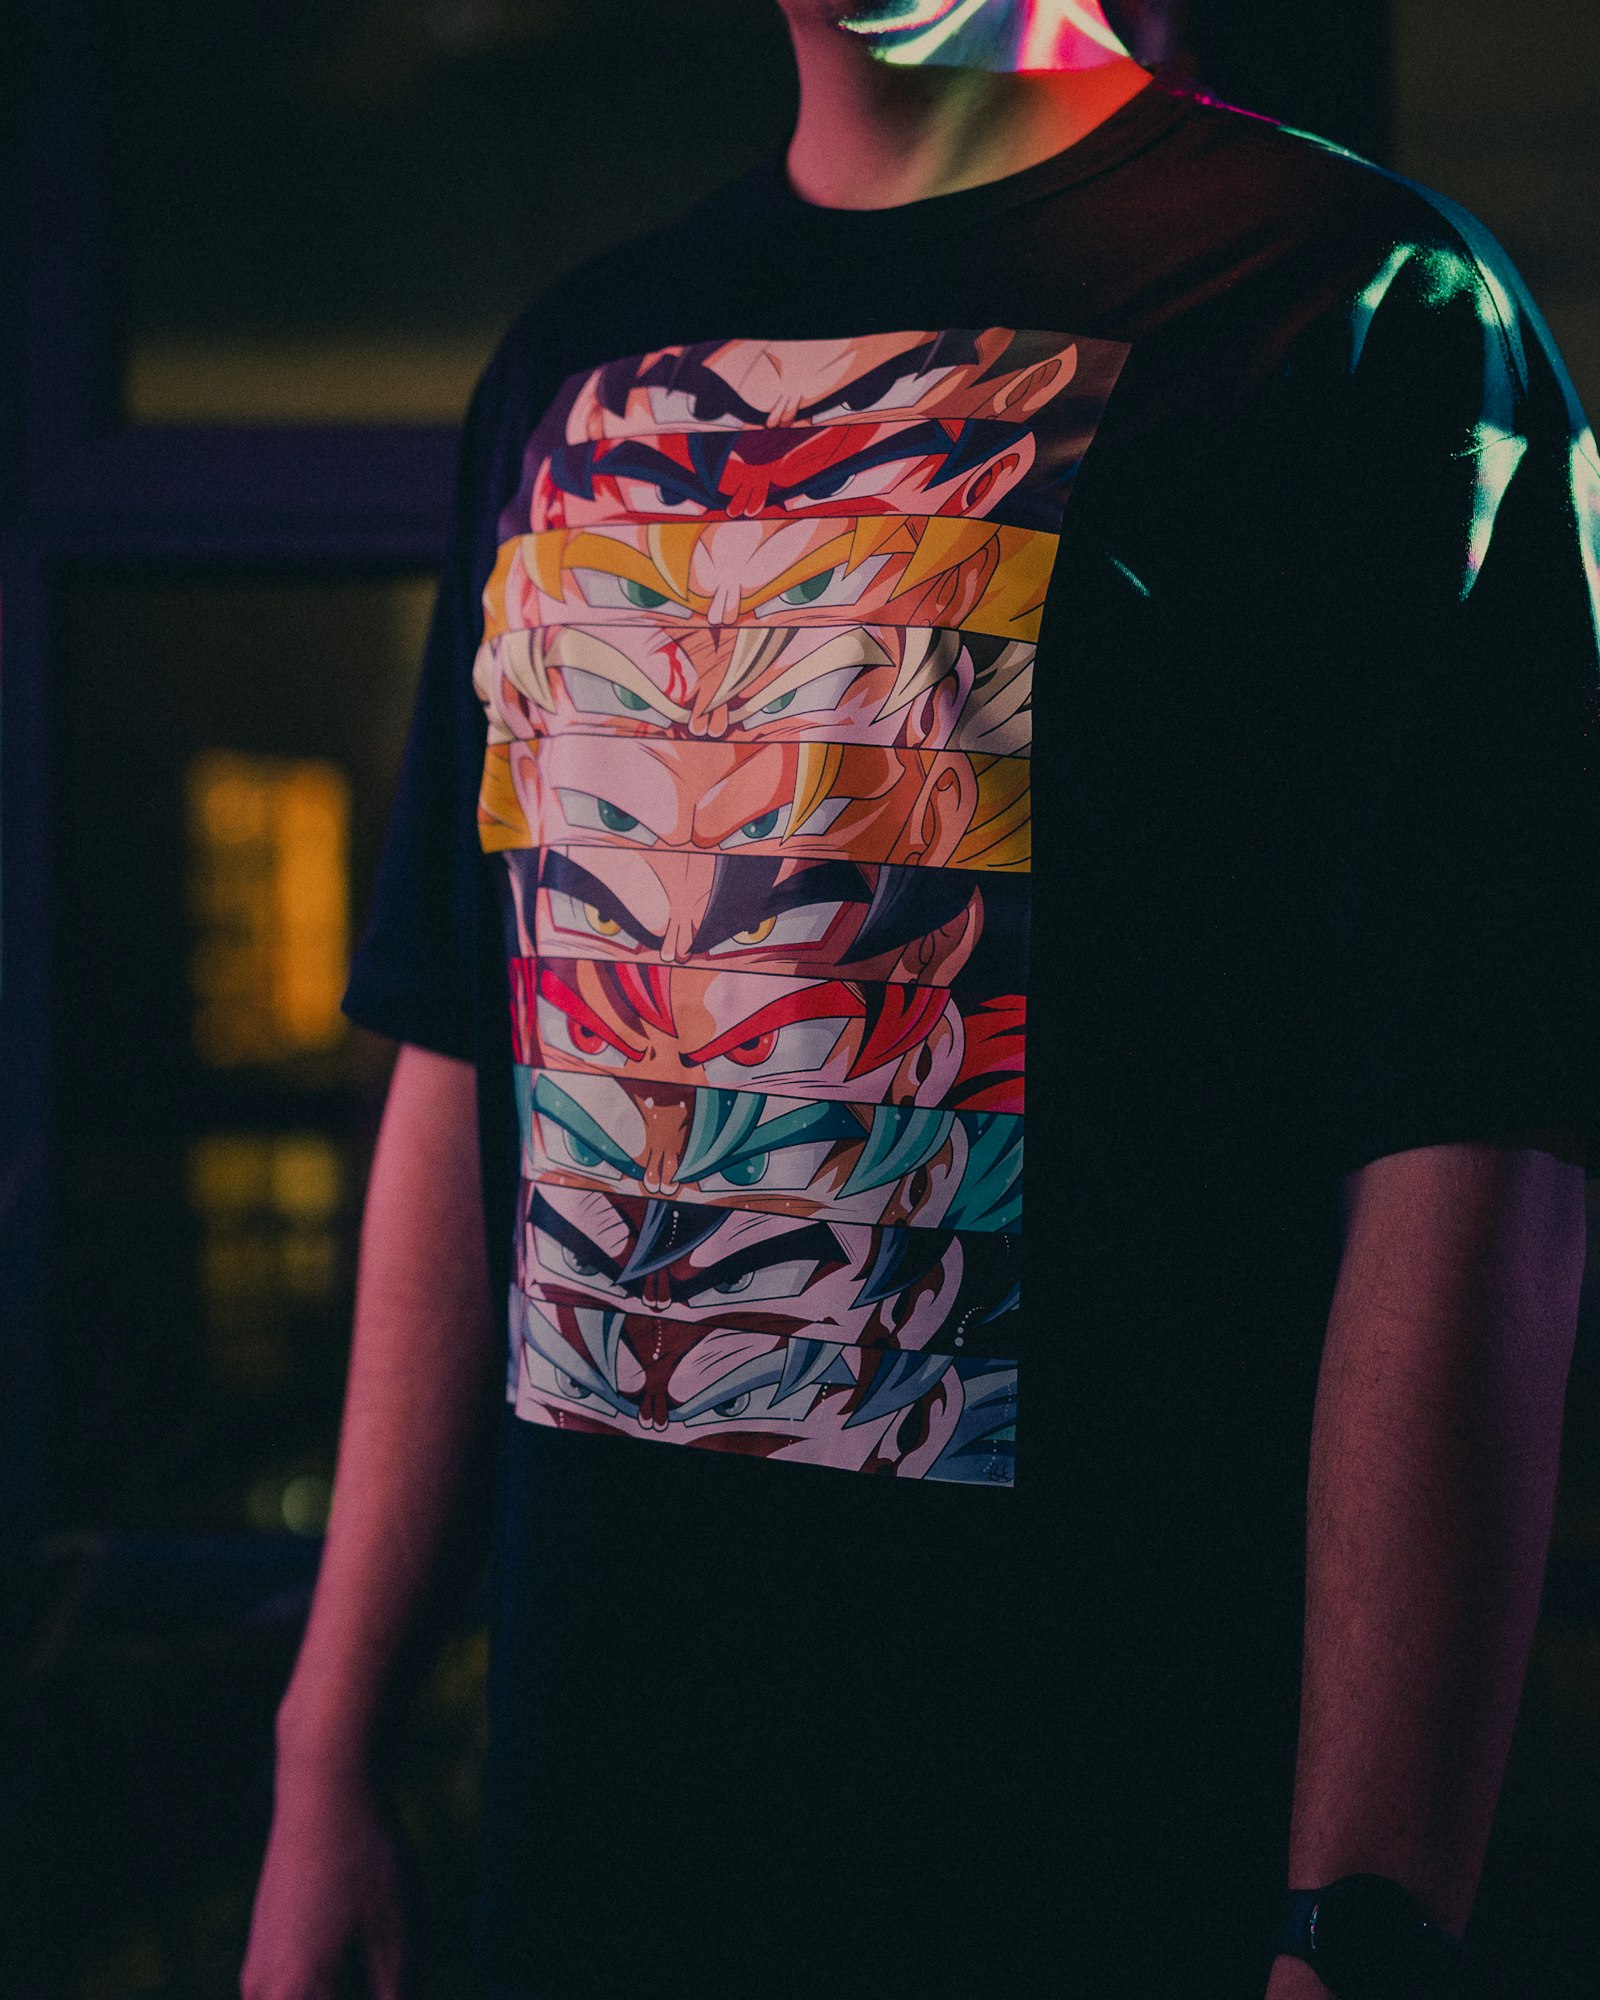
Everything is made here in Ottawa. Nothing is drop-shipped from an overseas warehouse, which is what lets us keep the promise about turnaround and also what lets us stop a job halfway through when a file looks wrong. If you want the longer version of what "made here" means in practice, our made-in-Canada apparel guide covers it, and custom clothing lists what we make beyond tees.
So — if you want to make your own shirt online in Canadaand see it before you spend anything, that's the whole process. Open the design studio, put your art on a garment, and give yourself five minutes with the size slider. Most people talk themselves out of a too-large chest logo in about that long, and that alone is worth the visit.
Frequently asked questions
Can I design my own shirt online for free?
Yes. Our online studio is free to use with no account fee and no obligation - you pick a garment and colour, upload your artwork, position it, add text, and see a live price as you enter sizes. You are only charged if you decide to place the order, and even then we send a free digital mockup for you to approve first. Designing, changing your mind and starting over cost nothing at all.
What file type do I need to design a shirt online?
The studio accepts PNG, JPG, SVG and PDF. A vector file (SVG or PDF) is best because it scales to any print size without losing edge quality. A transparent PNG is the everyday workhorse for logos. JPGs work for photographs but cannot hold transparency, so a logo saved as a JPG arrives with a solid background behind it. For a full-front print, aim for artwork at least 1,500 pixels across.
How do I get rid of the white box behind my logo?
Use the one-click background removal in the studio. It strips a solid backdrop from behind your artwork so the garment colour shows through instead of a white rectangle. It works very well on a clean logo-on-white file, which is the most common case, and less well on a busy photograph where the tool has to guess where the subject ends. If it struggles, send us the file and we will clean it up by hand.
How big should a logo be on a t-shirt?
A left-chest logo is usually about 3 to 4 inches wide - it should read as a badge, not a billboard. Centre-chest text sits around 6 to 8 inches, a full-front graphic around 10 to 12 inches, and a full back print around 11 to 13 inches. Sleeve marks are 2 to 3 inches. Remember that one print size normally runs across the whole order, so check the layout against your smallest garment.
Is there a minimum order if I design a shirt online?
No minimum for DTF and DTG printing - we will print a single shirt, and there are no setup fees on DTF. Screen printing has a practical minimum of around six pieces because each colour needs a screen burned and set up, and bulk discounts start around 50 or more. If your quantity sits near one of those thresholds, we will tell you which method actually costs you less.
Will my printed shirt look exactly like the online mockup?
The mockup is an accurate map of size, placement and layout, and that is what it is for. Colour is the one thing that shifts slightly, because a screen emits light while fabric reflects it, so printed colour lands close rather than identical. If a colour has to be exact - a corporate blue, a team red - tell us and we will match it properly on press. A real person also reviews your file before printing and flags anything that will not reproduce well.
Design it yourself. A human designer still checks every order.
Our free studio gives you the price and the mockup in the browser. What it doesn't do is print your file blindly — every order is reviewed by a real designer before it reaches the press.
- Step 1You design it — free
Upload your logo, drop it on a real garment, set the size and placement, pick colours and quantities. No account, no deposit, no waiting on a reply.
- Step 2A human designer checks it
Before anything prints, one of our designers opens your file and checks resolution, colours, sizing and placement. If it won't print well, we fix it or tell you exactly what's wrong — a person, not an automated preflight.
- Step 3You approve, then we print
You get the corrected mockup back on the actual product. Nothing goes to press until you say yes — then it's ready in 1–2 weeks, or in 1–3 business days with a rush.
Design your shirt now, pay nothing yet
Open the free studio, drop your logo on a real garment, and see the price as you set your sizes. Free digital mockup before you pay a cent, printed in-house in Ottawa, no minimum on DTF or DTG.
Every order is reviewed by a human designer before it goes to press. A person checks artwork resolution, colour, sizing and placement, and either fixes the file or tells the customer what is wrong — it is not an automated preflight.