
Custom Hi-Vis Workwear: Getting Your Logo On Without Ruining the Garment
A hi-vis garment is two engineered materials — fluorescent fabric that works in daylight, reflective tape that works at night — and decoration can kill either one. Here's where a logo can actually go, why heat-applied graphics need care on flame-resistant and coated shells, who really owns the safety rating (not us, and not the print), and how to buy vests, tees, hoodies and jackets that survive an Ottawa work year.
- Never on the tape
- No ink, thread, vinyl or adhesive goes on or across the retroreflective striping. Logos sit only on the open fluorescent panels, with clear space around the tape so a heat-press platen never lands on its edge.
- Usable print windows
- On a typical banded vest the back window between the horizontal stripes is roughly 4-6 inches tall and the chest panel above a band is often only 2-3 inches tall. Wide-and-short logos fit; tall stacked logos do not.
- The rating belongs to the blank
- A garment's high-visibility rating comes from the blank and the manufacturer that made and tested it — never from us and never from the decoration. Decoration can affect compliance, so tell us the standard your site requires and confirm the blank's rating with its manufacturer or your safety officer, who are the authority.
- Heat is the real risk
- Flame-resistant, waterproof and coated shells can scorch, gloss or delaminate under a heat press, and some manufacturers restrict what may be applied. We press a spare garment as a test piece before running a new blank.
- Size over the layers
- Winter vests are worn over a parka, so most crews order them one to two sizes above the wearer's shirt size. Logo size stays constant across the run — it does not scale up with the garment.
- Human designer check
- Every order is reviewed by a human designer before it goes to press. A person checks artwork resolution, colour, sizing and placement against the actual garment, and either fixes the file or tells you exactly what is wrong — it is not an automated preflight.
- Free design studio
- Design free at yayaprints.ca/mockup-creator — upload a logo, place it on a real garment at real size, choose colours and sizes, watch the price update, and order online without emailing or phoning anyone.
A hi-vis garment is two materials doing two different jobs
A safety vest is not a bright shirt. It is two engineered materials sewn together, and each one works at a different time of day.
The fluorescent background— the lime-yellow, orange or red-orange fabric — is what makes someone stand out in daylight. Fluorescent dye absorbs ultraviolet light your eye cannot see and re-emits it as visible light, which is why a vest looks lit from the inside on a grey November morning. After sunset it does almost nothing.
The retroreflective tapeis the opposite. Glass beads or prismatic film send light back toward wherever it came from, so a driver's headlights bounce off the stripe and return to the driver's eyes instead of scattering. In daylight it is nearly invisible. At night it is the entire point.
Both are surface effects. The dye has to be on the outside of the fabric to catch light; the film has to be exposed and flat to bounce it. Anything laid on top — ink, thread, vinyl, adhesive, a stiff patch — stops that patch of material from working. That is why decorating hi-vis clothing has rules a cotton tee does not. A logo is a small dead spot: put it where the garment was not relying on it and the vest still does its job, or put it across a stripe and you have paid to break a safety garment.
Where a logo can go, and where it absolutely cannot
Every hi-vis style has a handful of open fluorescent panels between the bands. Those panels are your canvas, and they are smaller than people expect. Measure them on the actual garment before you design anything.
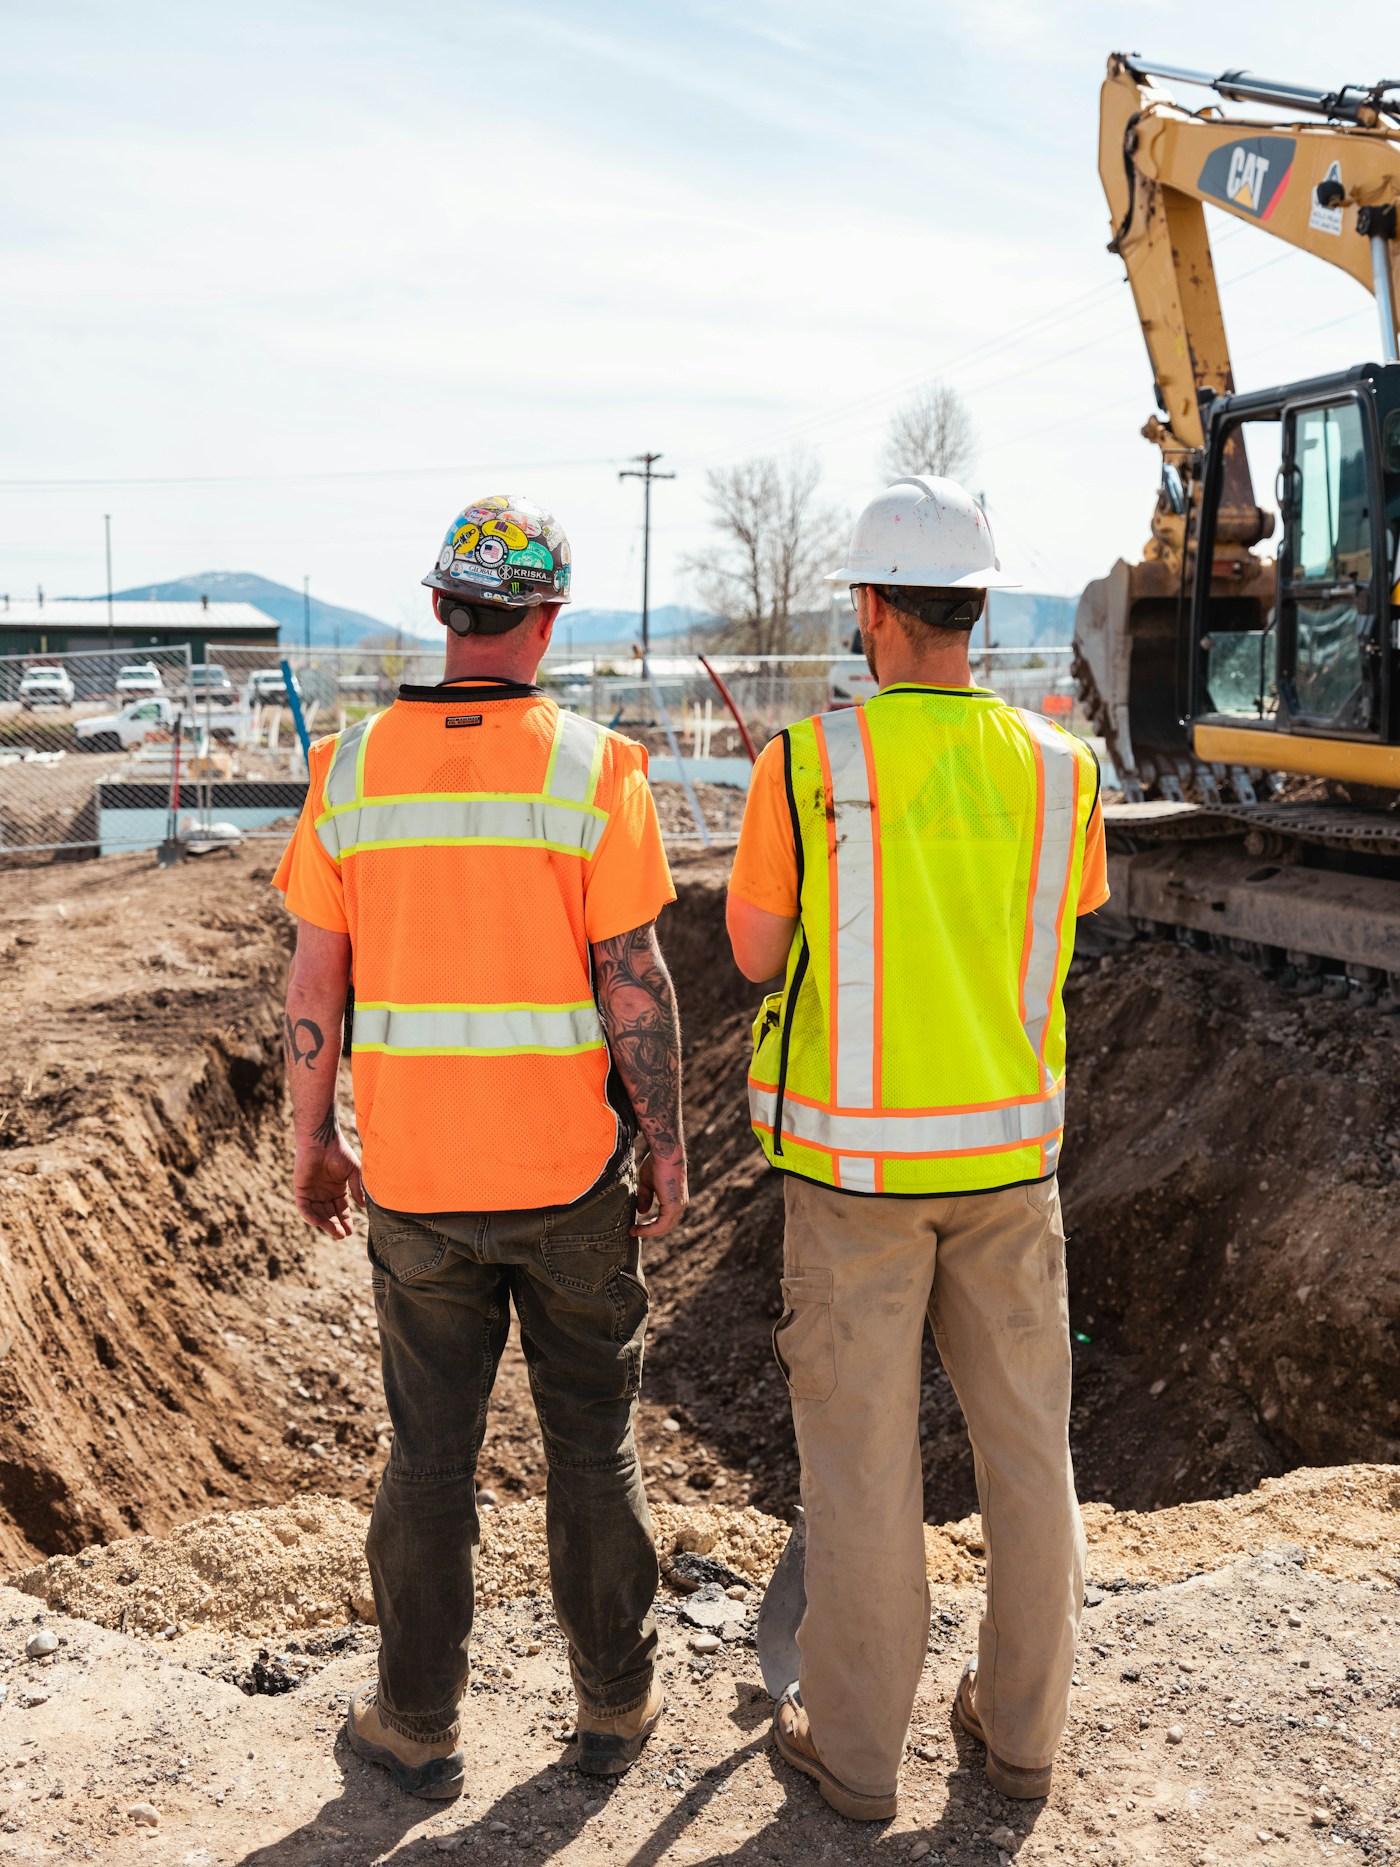
- Left chest.The most contested space on a vest. Zippers, radio loops, ID pockets and a chest band all compete for it, and the panel above the band is often only two to three inches tall — so a logo that runs 3.5 inches wide on a polo has to come down. Our chest logo size guide covers the normal sizes; hi-vis shrinks them.
- The back window. On a two-band vest the gap between the horizontal stripes is typically four to six inches tall and the full width of the back. Set the company name wide rather than stacked. It is the panel a foreman actually reads across a site.
- Sleeves. Available on hi-vis tees, long sleeves, hoodies and jackets, not on vests. Good for a trade name or a division mark.
- Below the bottom band.Technically open, practically useless — a tool belt, harness or the hem covers it a minute into the shift.
- On or touching the tape. Never, and leave real clearance: a heat-press platen landing on the edge of a stripe can lift or gloss the adhesive even when the graphic itself stays clear.
Mesh vests are a special case. Screen ink pushed through open mesh has nothing to sit on and a heat transfer needs a solid surface to bond to, so branding moves to the solid yoke, the binding panel, or a sewn or hook-and-loop patch — which has the bonus of being swappable when a subcontractor changes. Our patch guide explains the backings.
If you would rather see the trade-off than read about it, open the free design studio and set your logo at real size. The studio stocks tees, long sleeves, hoodies, polos and caps rather than taped hi-vis blanks, but inches are inches: size the mark there, read the number off the mockup, and hold it against the panel you measured on the vest. A four-inch lock-up next to a three-inch window ends the debate faster than an email thread does.
The safety rating belongs to the blank, not to us and not to the print
Here is the part shops chasing an order gloss over. We are a decorator: we print and stitch on garments. We do not manufacture, test or certify high-visibility apparel, and no print we apply makes a garment rated.
A hi-vis garment's rating comes from the blank and its manufacturer — the people who chose the fabric, sourced the tape, laid out the bands and tested the result. It travels with the blank you buy, not with our invoice. And decoration can affect compliance: covering fluorescent fabric reduces the area of background material, interrupting a stripe interrupts the reflective run, and some manufacturers state in their own documentation what may be applied to their garments.
So the workflow we ask for is short, and it protects you:
- Tell us the standard your site requires before we quote, in the same words your safety documentation uses.
- Confirm the blank meets it with the manufacturer or supplier, and keep the paperwork. If you already buy a style, send the brand and style number.
- Check the manufacturer's position on decoration in writing before a large order. A five-minute email beats re-kitting a crew.
- Treat your safety officer and the manufacturer as the authorityon whether a decorated garment is acceptable. We keep branding clear of the striping, show you where it lands on a proof, and flag a placement that looks like a problem — but the sign-off is theirs.
If your requirement is unusual, say so on the quote form and we will work backwards from it rather than guessing.
Print, heat or stitch: what each method does to hi-vis fabric
Hi-vis blanks are almost always polyester — birdseye knit, solid tricot, mesh, or a coated shell on outerwear. That one fact reshuffles the usual method ranking.
Screen printing is the value play for a big back logo across a crew. The catch on hi-vis is dye migration: fluorescent polyester dye can move into the ink under cure heat and turn a crisp white logo pink or dull green a day later. Low-cure inks and a blocking underbase manage it — routine for a shop that prints polyester often, and exactly the failure you see on cheap hi-vis printing.
DTF and heat transfer bond a printed film to the garment under a press. Usually the best answer for small crews, full-colour marks and individual names, with no setup cost and no minimum — one vest is a real order. How DTF works explains the process. The constraint is heat and pressure, which brings us to the garments that dislike both.
Embroidery is the premium finish on hi-vis outerwear and it outlives the garment — but a needle makes thousands of holes, and on a waterproof or laminated shell those holes go through the membrane. On a rain jacket or insulated parka the honest options are a patch applied to the outside, a heat-applied graphic, or accepting the perforation with the manufacturer's blessing. Embroidery carries a one-time digitizing setup that reorders reuse.
Flame-resistant workwear is its own conversation.Ordinary heat-transfer film is not automatically acceptable on FR garments — non-FR material can add fuel to a garment engineered not to burn, and manufacturers commonly specify what may be applied. Send us the garment and the requirement together and expect questions rather than a same-day yes.
On any new blank we press one spare as a test piece. Coated shells can gloss, scorch or delaminate under a press. One sacrificial garment is cheaper than forty ruined ones, and it is standard practice on hi-vis and technical workwear generally.
Vests, tees, long sleeves, hoodies, jackets: what to buy for which season
Most crews end up with two or three hi-vis layers rather than one garment, because Ottawa has a thirty-degree summer and a minus-twenty-five winter. September is when the winter half gets specified, which is probably why you are reading this now.
| Garment | Season | Why crews pick it | Decoration note |
|---|---|---|---|
| Mesh vest | Peak summer | Cheapest and coolest; worn over the wearer's own shirt | Poor print surface — use the solid yoke or a patch |
| Solid poly vest | Year-round, layered in winter | More panel to brand, tougher, pockets | Best all-round vest for a printed back window |
| Hi-vis tee | May to September | One garment instead of two; birdseye knit breathes | Full back print possible; watch dye migration |
| Hi-vis long sleeve | Spring, fall, black-fly season | Sun and bug cover without a second layer | Sleeve placement opens up |
| Hi-vis hoodie or crewneck | Cold mornings, shoulder season | Warmth people will actually wear | Chest print or stitch; a hood breaks a top-back logo |
| Softshell, bomber, parka | November to March | The garment that decides whether a shift is bearable | Embroidery or patch; coated shells need a test piece |
Two things catch people out. A hi-vis hoodieonly works if the hood clears the site's headgear; under a hard hat a hood is in the way, and crews end up in a toque instead — a separate order, and a separate question about whether the toque itself needs to be hi-vis. See custom toques and winter hats and choosing a jacket for a Canadian winter.
The other trap is buying the winter shell in November. Good hi-vis outerwear sells out of the popular sizes first, and a decorated jacket needs artwork, a proof and a size count on top of stock availability. Crews that order in September get the jacket they wanted.
One distinction worth making while you shop: a safety-green or safety-orange shirt is not a hi-vis garment. Those are stock blank colours — bright, cheap, fine for a yard or a warehouse where no rated garment is required — but with no retroreflective tape they do nothing for a driver at night and nothing for a site requirement. That half of a kit you can build and order yourself in the online design tool, which lists safety green and safety orange on long sleeves and hoodies and a lime on the tee. Taped vests and outerwear go through a quote instead, so the blank and its rating get pinned down first.
Sizing for winter work, when the vest goes over everything
Summer sizing is easy, because a hi-vis tee is worn against the skin like any other shirt. Winter sizing is where orders go wrong, and the mistake is always the same: sizing the vest to the person instead of to the person plus a parka.
A worker who wears a large tee is often an extra large or double extra large vest in January, because it has to close over an insulated jacket with a hood bunched at the collar. A vest that will not zip gets worn open, and a vest worn open has lost half its front panel and half its striping. Order winter vests one to two sizes up by default, and collect sizes per garmentrather than per person — one column for tees, one for the vest, one for the jacket — instead of writing "L" beside a name once and applying it to everything.
Two things to know before you approve a proof. First, the logo does not scale with the garment: a four-inch chest mark is four inches on the small and four inches on the 4XL, which is normal and means your mockup represents every size. Second, past roughly twenty people, ask for a size run sample before committing — blanket-sizing a forty-person crew from memory reliably produces a pile of unwearable smalls. How to organize a group apparel order has the collection method we hand to foremen.
What actually survives a work week
Hi-vis is a consumable. It is worn daily and ground into by dust, mud, sun and diesel, and it does not last forever no matter what you print on it. Knowing what fails first tells you what to spend on.
The fluorescent colour fades before the logo does.Ultraviolet light is what makes the dye work and it is also what kills it. A vest that has spent a season on a paving crew is visibly duller than a new one, and washing does not bring it back. That is the garment's clock, and it is why many sites replace hi-vis on a schedule rather than when it looks torn.
The tape fails next.Reflective striping cracks, lifts at the edges and, most often, gets caked in mud — and a stripe covered in dried clay reflects nothing at all, which is a far bigger visibility problem than any logo placement argument. Inspect the tape when gear comes back, not just the seams.
Washing rules are short.Inside out, warm rather than hot, no bleach, no fabric softener — softener leaves a film that dulls fluorescent fabric. Tumble low or hang dry, because high dryer heat is hard on both reflective adhesive and a heat-applied graphic. Our notes on washing printed garments apply here too, and manufacturer care instructions always win over general advice.
Reordering as the crew turns over
Construction, landscaping, traffic control and warehouse work all churn staff, so the second order is where a branding programme becomes easy or becomes annoying forever.
Keep three things on file and a reorder takes one email: the print-ready artwork, the exact placement from the approved proof, and the blank brand and style number. We hold all three on our side, so a reorder can genuinely be "six more mediums, same as last time" — but a company that keeps its own copy can move shops without redoing artwork. Reordering company uniforms walks through the habit.
Buy a buffer. Ten to twenty percent extra in the middle sizes, ordered with the main run, covers new hires for months at the volume price. It also protects you from the real hazard: hi-vis blanks get discontinued constantly and fluorescent fabric drifts between dye lots, so a vest bought eight months later can be a noticeably different lime standing beside the original crew. If matching matters, order the crew in one lot and keep the spares from that lot.
For companies running several trades or client sites it is worth building a proper uniform programme so hi-vis, tees, hoodies and outerwear all carry the same mark in the same place. The construction uniform guide and the contractor branding checklist cover how the pieces fit together.
What it costs and how to get it made
Pricing follows the blank more than the decoration. A printed hi-vis tee lands near a printed cotton tee — call it $12–$18 each at 50 piecesfor a screen print, under $10 in the hundreds — while vests, hoodies and insulated outerwear cost more because the garment costs more. Embroidery typically adds around ten dollars a piece over a plain garment, more for a large or dense mark; full-colour DTF sits slightly higher per piece than screen printing, with no setup fee and no minimum. Treat that as indicative, because the real number depends on the blank your site requires. Quotes are free and include a mockup.
The sequence is short. Send your logo, the hi-vis style and the standard your site calls for. We map the branding to the open panels, keep it clear of the tape, and send back a free mockup on the actual product with a quote for your size breakdown. Nothing prints until you approve it. Production runs 2–5 business daysafter approval and payment, rush is available on most apparel, and outside Ottawa–Gatineau add one to two days of transit. Everything is decorated in-house in Ottawa and shipped across Canada, so there are no customs holds or surprise duties.
Before any of it reaches a press, a human designer reviews the order — a real person checking resolution, colour, sizing and placement against the garment, who either fixes the file or tells you exactly what is wrong. It is not an automated preflight. Send a phone screenshot, a PNG off your website, a PDF from whoever made your logo in 2011, even an AI-generated image; we clean it up or redraw it as vector. On hi-vis that check earns its keep, because the person doing it is the one who notices your logo is two inches taller than the back window.
Most crews order in two halves. The shirts, hoodies and caps worn under or alongside the hi-vis you can build and order in your browser with no account and no deposit: upload the logo, place it, add print-quality text, pick colours and sizes, watch the price move, and check out. The taped vests and outerwear come through the hi-vis service page or the quote form, because the blank and its rating have to be settled before anyone can price it. Either route, you can call 613-666-9292 or email order@yayaprints.ca with a style number and a size list, in English or French. Crews in the GTA have their own buying guide in custom workwear and hi-vis in Toronto.
Frequently asked questions
Can you print or embroider on the reflective tape?
No, and no reputable decorator will. Retroreflective striping works because glass beads or prismatic film are exposed and flat, so anything laid over them — ink, thread, vinyl, adhesive — stops that section of tape from returning light. We keep every logo on the open fluorescent panels and leave clearance around the tape so a heat-press platen never lands on its edge either.
Does adding a logo affect a hi-vis garment's safety rating?
It can, which is why the answer has to come from the right people. The rating belongs to the blank and the manufacturer that made and tested it — never to the decoration and never to us. Decoration reduces the area of visible background material and can interfere with striping, and some manufacturers specify what may be applied to their garments. Tell us the standard your site requires, confirm the blank's rating with its manufacturer or supplier, and treat your safety officer and the manufacturer as the authority on whether the finished garment is acceptable.
What is the best way to decorate hi-vis workwear?
It depends on the garment and the quantity. Screen printing is the value choice for a large back logo across a crew order, though hi-vis polyester needs low-cure ink and a blocking underbase or the fluorescent dye migrates into the ink. DTF heat transfer suits small crews, full-colour marks and individual names, with no setup fee and no minimum. Embroidery is the durable premium finish on hoodies, softshells and bomber jackets. Mesh vests take none of the above well and usually get a patch instead.
Can you decorate flame-resistant or waterproof workwear?
Sometimes, and it needs a conversation first rather than an instant yes. Ordinary heat-transfer film is not automatically acceptable on flame-resistant garments, because non-FR material can add fuel to a garment engineered not to burn, and manufacturers commonly specify what may be applied. On waterproof and laminated shells, embroidery perforates the membrane, so an externally applied patch or a heat-applied graphic is usually the better route. Send us the garment and the requirement together and we will press a spare as a test piece before touching the run.
Can I supply my own hi-vis vests and jackets?
Yes. If your site specifies a particular garment, send the brand and style number and we will quote decorating your own stock, or match and source it ourselves. Supplying your own is common on sites with a fixed spec, and it keeps the rating question where it belongs — with the garment you already approved. We will still ask for one spare piece as a press test on any blank we have not decorated before.
How should branded hi-vis be washed so the logo and the colour last?
Turn the garment inside out, wash warm rather than hot, skip bleach and skip fabric softener — softener leaves a film that dulls fluorescent fabric. Tumble on low or hang dry, because high dryer heat is hard on both reflective adhesive and heat-applied graphics. Manufacturer care instructions always win over general advice. Expect the fluorescent colour to fade from sun exposure before the logo wears out; that fade is the garment's real service life, which is why most sites replace hi-vis on a schedule.
How many hi-vis pieces do I have to order, and how long does it take?
There is no minimum on DTF or heat transfer — one vest is a real order. Screen printing starts around 6 pieces and becomes the best value past roughly 24 to 50. Production is 2 to 5 business days after you approve the free mockup and pay, with rush available on most apparel, and outside Ottawa-Gatineau add one to two days of transit. Order winter hi-vis in September or October rather than December, because the popular sizes in outerwear sell out before the cold does.
Does anyone check my logo before it is printed on hi-vis?
Yes. Every order is reviewed by a human designer before it goes to press — a real person checking resolution, colour, sizing and placement against the actual garment, not an automated preflight. On hi-vis that check earns its keep, because the open panel between the reflective bands is often only two to four inches tall and a logo drawn for a polo will not fit it. Send a phone screenshot, a website PNG, a PDF or an AI-generated image; we clean it up or redraw it as vector, and you see exactly where the mark lands on a free mockup before anything prints. Sizing is part of the same review: winter vests get sized over a parka, so a large tee is often an extra large or double extra large vest.
Design it yourself. A human designer still checks every order.
Our free studio gives you the price and the mockup in the browser. What it doesn't do is print your file blindly — every order is reviewed by a real designer before it reaches the press.
- Step 1You design it — free
Upload your logo, drop it on a real garment, set the size and placement, pick colours and quantities. No account, no deposit, no waiting on a reply.
- Step 2A human designer checks it
Before anything prints, one of our designers opens your file and checks resolution, colours, sizing and placement. If it won't print well, we fix it or tell you exactly what's wrong — a person, not an automated preflight.
- Step 3You approve, then we print
You get the corrected mockup back on the actual product. Nothing goes to press until you say yes — then it's ready in 1–2 weeks, or in 1–3 business days with a rush.
Branding on the panels, not on the tape
Send us your logo and the hi-vis style your site requires, and we will map the branding to the open panels and send back a free mockup on the actual garment before anything is printed. Decorated in-house in Ottawa, shipped Canada-wide, 2-5 business days after approval.
Every order is reviewed by a human designer before it goes to press. A person checks artwork resolution, colour, sizing and placement, and either fixes the file or tells the customer what is wrong — it is not an automated preflight.