
Custom Embroidery in Toronto: Logos on Polos, Caps, Jackets and Workwear
Embroidery prices by stitch count, not colour count — and the logo file you already own cannot be sewn until it is digitized into a stitch file. Here's what embroiders beautifully, what quietly falls apart at left-chest size, which garment gets which placement, and when printing is honestly the better call. Written for Toronto businesses buying polos, caps, jackets, toques, aprons and workwear.
- Digitizing
- A one-time setup step, not a per-order fee — your logo is rebuilt as a stitch file once, and every reorder reuses the same file.
- What drives price
- Stitch count and garment, not colour count. A left-chest logo runs roughly $10 per piece on top of the blank garment; bigger designs are more stitches, so we quote those from your actual artwork.
- Turnaround to Toronto
- 2–5 business days in production after mockup approval, then 1–2 days in transit to the GTA.
- Artwork check
- A human designer reviews every order before it goes to the machine — line weight, text size, colour and placement. Not an automated preflight.
- Design it yourself
- Free online studio at yayaprints.ca/mockup-creator — no account, no deposit, place your logo on a real garment and watch the price update.
- Best garments
- Polos, caps, jackets, toques, aprons and workwear — anything with a collar, a structured panel or a heavy fabric.
- Where it is made
- Stitched in-house in Ottawa, Ontario, then shipped to Toronto and the GTA. Printed and sewn in Canada, so no customs holds or surprise duties.
Why Toronto businesses embroider instead of print
Embroidery is not a printing method at all. There is no ink, no screen and no heat press. A machine drives a needle through the fabric several hundred times a minute and builds your logo out of thread, one stitch at a time, following a file that tells it where every needle penetration goes. That single difference explains almost everything else about the process — the setup, the pricing, the artwork limits and the durability.
The reason it dominates corporate apparel in Toronto is that it reads as permanent. A printed logo sits on top of the fabric and announces that it was added later. A stitched one is part of the garment. On a polo shirt handed to a sales team, a softshell jacket worn on a site visit, or a work shirt in front of a customer's house, that difference is worth real money. It is the same logo, but it does not look like a giveaway.
Worth saying plainly up front: we are an Ottawa shop. Everything is stitched in-house on our own machines and shipped to you — Toronto, North York, Scarborough, Mississauga, wherever you are in the GTA. There is no walk-in counter for you here, and we are not going to pretend otherwise. What you get instead is a shop that owns the machines your job runs on, a designer who answers the phone at 613-666-9292, no cross-border customs, and 1–2 days of transit. For a decorated-apparel order that is usually a good trade, because the part that goes wrong is almost never the shipping.
Digitizing: why the logo file you have is not a stitch file
This is the single thing most first-time embroidery buyers do not know, and it causes more confusion than price does. Your logo file cannot be embroidered. Not the PNG, not the PDF, not even the clean vector AI file your designer sent you. Those files describe shapes and colours. An embroidery machine does not understand shapes and colours — it understands a path of needle points, in order, with a stitch type, a direction, a density and an underlay beneath each area.
Converting one to the other is called digitizing, and it is a craft decision, not a file export. A digitizer decides which parts get satin stitch and which get fill, which direction each fill runs so the light catches it right, how much the design should be pulled in to compensate for the fabric stretching under the needle, what order the colours sew in so the fewest thread changes happen, and where to hide the jump stitches. Two digitizers handed the same logo will produce two different stitch files, and one of them will sit flatter and look sharper on the garment.
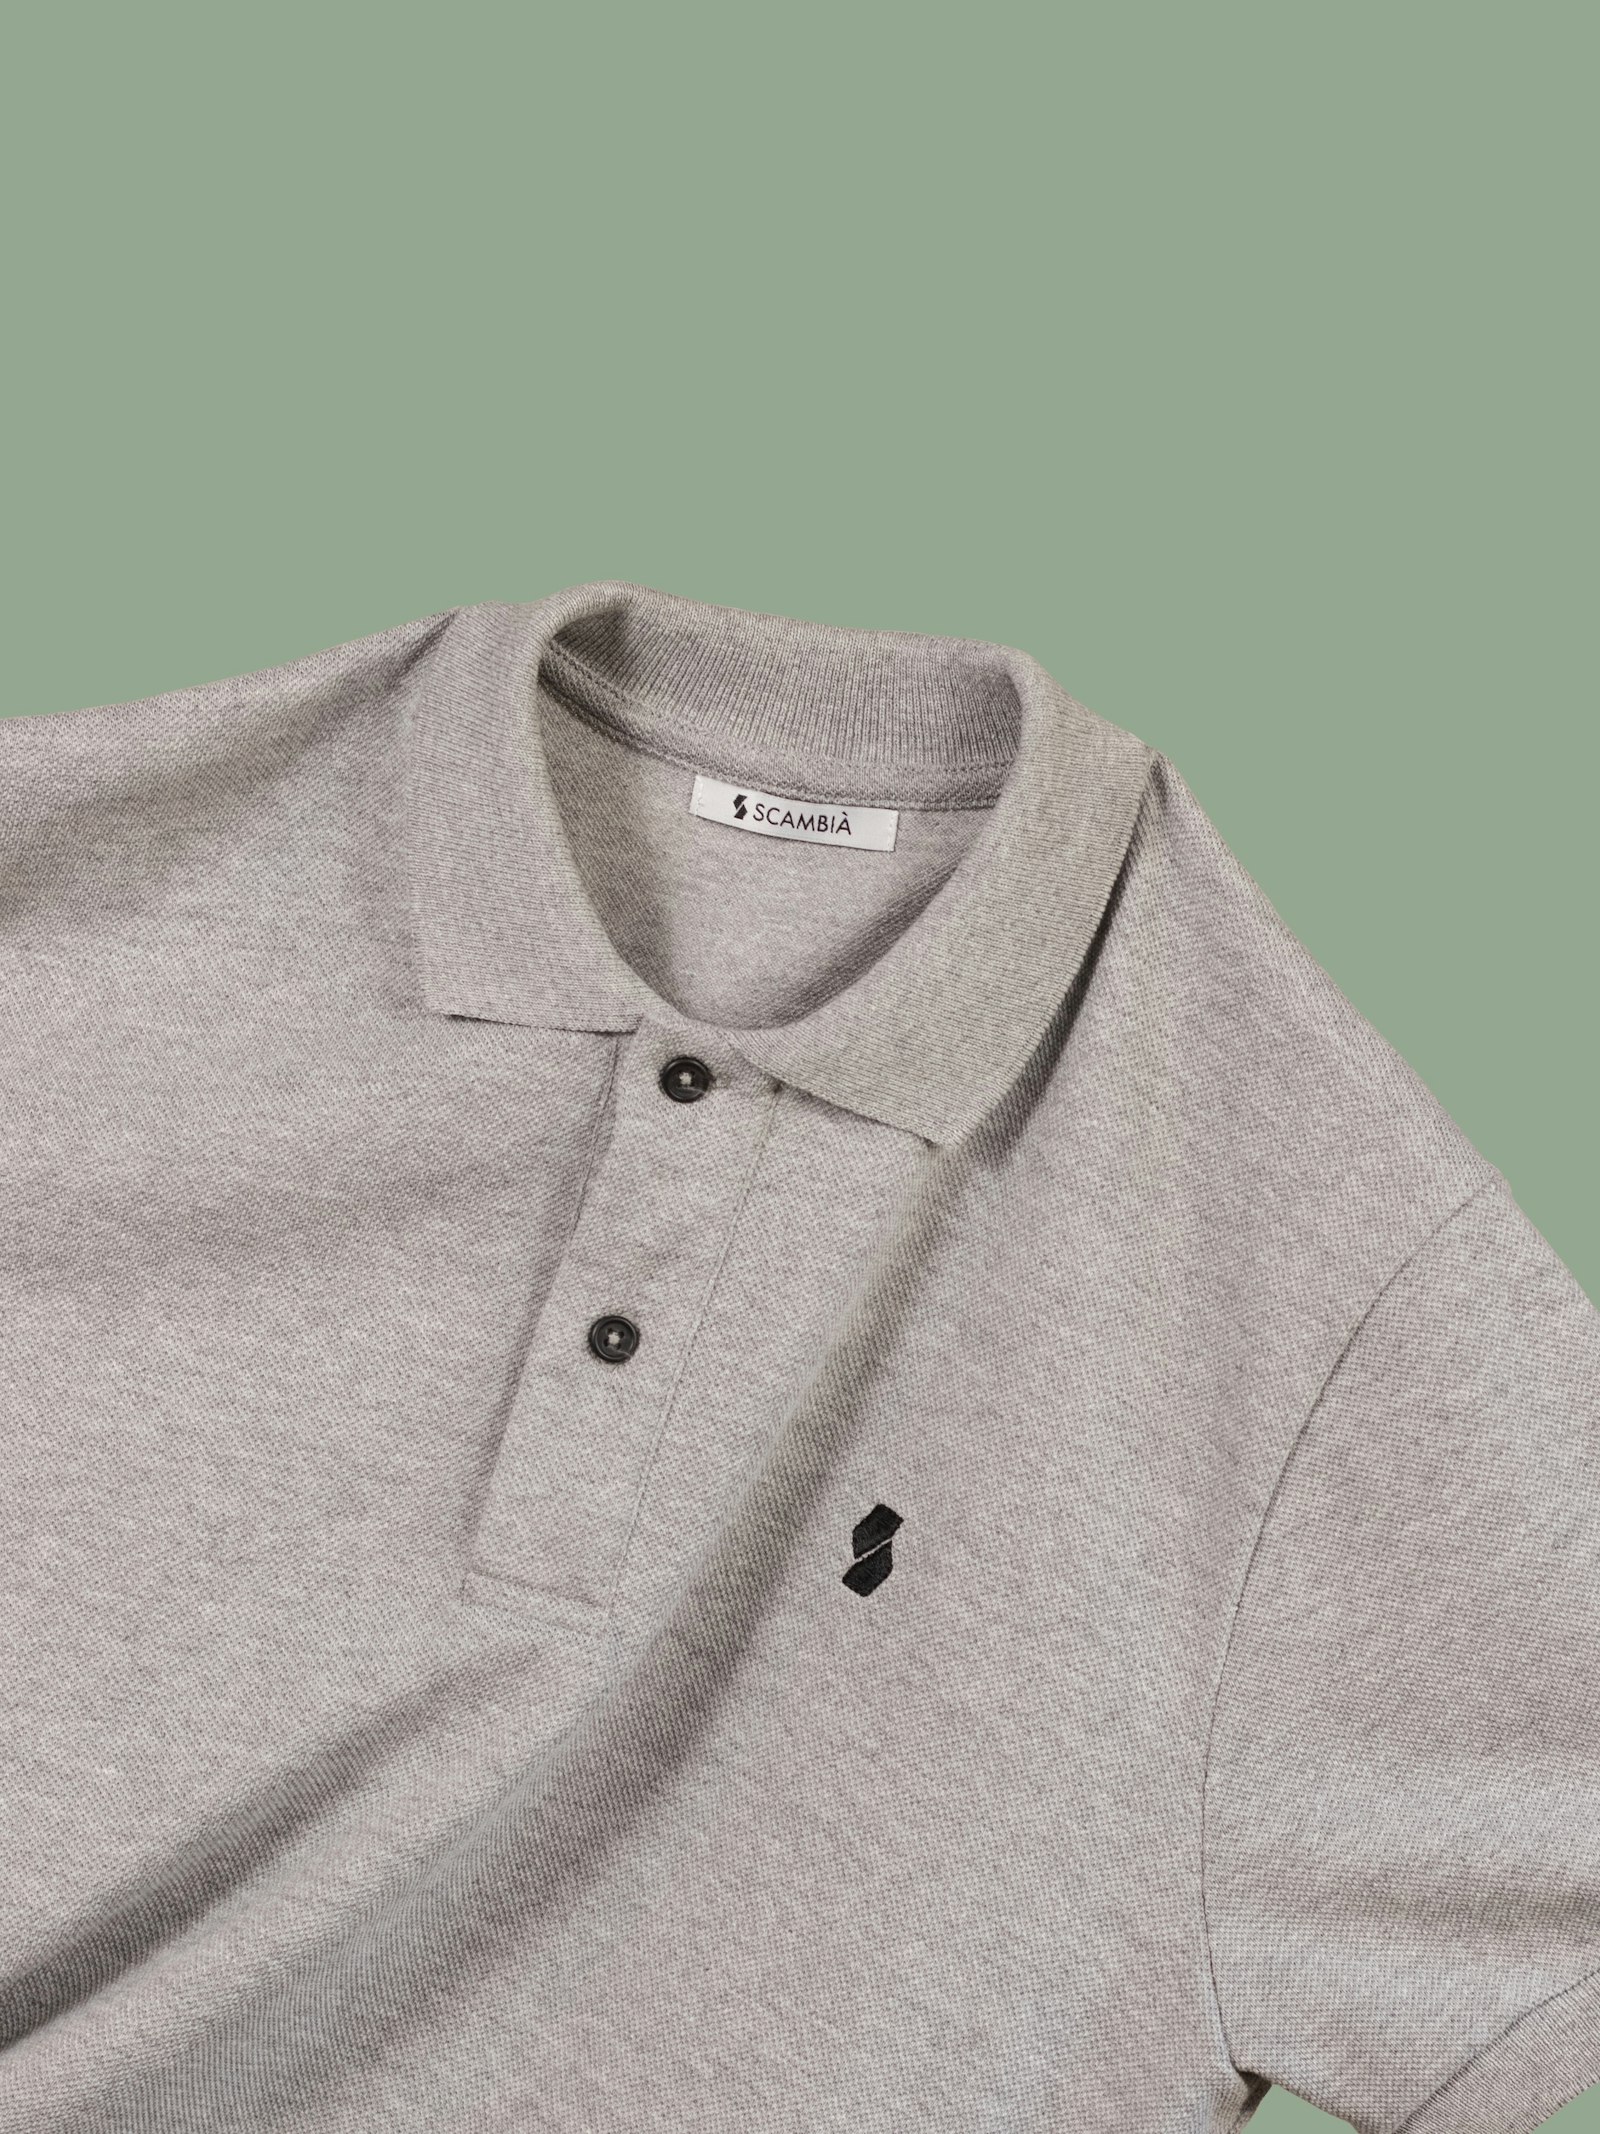
Because digitizing is real work done by a person, it is charged once, up front, per design. It is not a per-order fee and it is not a per-garment fee. Once your stitch file exists we keep it, and every reorder after that — new hires, a second location, the jackets you decide to add in October — runs off that same file with no setup charge again. That is why the first embroidery order always feels more expensive than the second one, and why reordering uniforms gets cheap fast.
You do not need to supply anything special. Send the best version of your logo you have — a vector file if you own one, otherwise a PNG, a PDF, a business card scan or a screenshot. If it is too rough to work from, our vectorization service redraws it as clean artwork first, and then that gets digitized. There is a much deeper walkthrough in our explainer on embroidery digitizing, which is worth ten minutes if you are about to commit a company logo to thread.
Stitch count is the price, not colour count
Here is where embroidery flips the logic people bring from printing. Screen printingcharges per colour, because each colour is a separate screen and a separate pass. In embroidery, colours are nearly free — a machine head holds a row of thread cones and swaps between them automatically. A six-colour crest costs about what a two-colour crest costs, if they are the same size.
What you pay for is machine time, and machine time is stitches. A design with more stitches takes longer, so it costs more. Three things push the stitch count up: physical size, how much solid area is filled in, and how much fine detail the digitizer has to reproduce. A wordmark with open lettering is cheap. The same wordmark set inside a filled circle with a border is not, because that circle is thousands of stitches of fill doing very little visual work.
As a working anchor, embroidery adds roughly $10 per pieceover the price of the blank garment for a normal left-chest logo, and every quote we give is free and comes with a mockup. A large back design on a jacket is several times the stitches, so we quote that from your artwork rather than at the left-chest rate. We do not publish a stitch-count rate card, because the honest answer depends on your actual artwork — but the direction is always the same, and you can use it: if you want it cheaper, make it smaller or make it simpler. Dropping a solid background block out of a design often saves more than shrinking it does.
Quantity is the other lever, but a gentler one than in printing. Screen printing has a steep setup cost that vanishes across a big run, which is why a tee drops under $10 in the hundreds. Embroidery has a one-time digitizing cost and then a fairly flat per-piece rate, so twelve embroidered polos and a hundred cost much closer to the same per piece. That makes it unusually good for small orders — a five-person office can get properly branded polos without the volume economics working against them. Compare the two curves in screen printing versus embroidery.
What embroiders well, and what does not
A needle and a thread have a minimum size. That is the whole rule, and everything below follows from it. Thread has physical width, and the fabric moves. Anything narrower than the thread cannot exist as a stitch, so the digitizer either thickens it, drops it, or lets it come out as a fuzzy suggestion of a line.
Thin lines disappear or thicken.A hairline rule in your logo, a one-pixel outline, a delicate script with tapering strokes — all of these get fattened up to something the machine can actually sew. The result is a logo that reads as heavier and blobbier than the one on your website. That is not sloppy work; it is physics, and a good digitizer manages it deliberately instead of letting it happen.
Small text is the number one problem.Lettering below roughly a quarter of an inch tall stops being legible in thread, and lowercase letters with enclosed counters — a, e, o — are the first to fill in and turn into dots. If your logo has a tagline in small type under the wordmark, the honest options are: drop the tagline, set it larger, or accept that it will read as a texture rather than words. We will tell you which one applies to your file before you pay, not after.
Gradients and fades do not exist in thread.Every stitch is one solid colour. A gradient can only be faked by blending two thread colours in a hatched transition, which reads as a stylistic choice at best and a mistake at worst. Drop shadows, glows, transparency and photographic elements are the same story. If your brand relies on a gradient, the usual answer is a flat one-colour version of the mark for embroidery — most brands already have one, and if yours does not, our designer can build it.
What embroiders beautifully: bold wordmarks, solid geometric shapes, monograms, crests, badge-style lockups, anything designed before about 1995. If your logo would still work as a rubber stamp, it will be a great embroidery. The full side-by-side for polo logos specifically is in embroidery versus a printed logo on polos, and it is worth reading before you settle the "how big should this be" argument with anyone.
Garment by garment: polos, caps, jackets, toques and aprons
Placement is not a style preference. Each garment has spots where a hoop can physically grip the fabric flat, and spots where it cannot, and that constraint decides most of these for you.
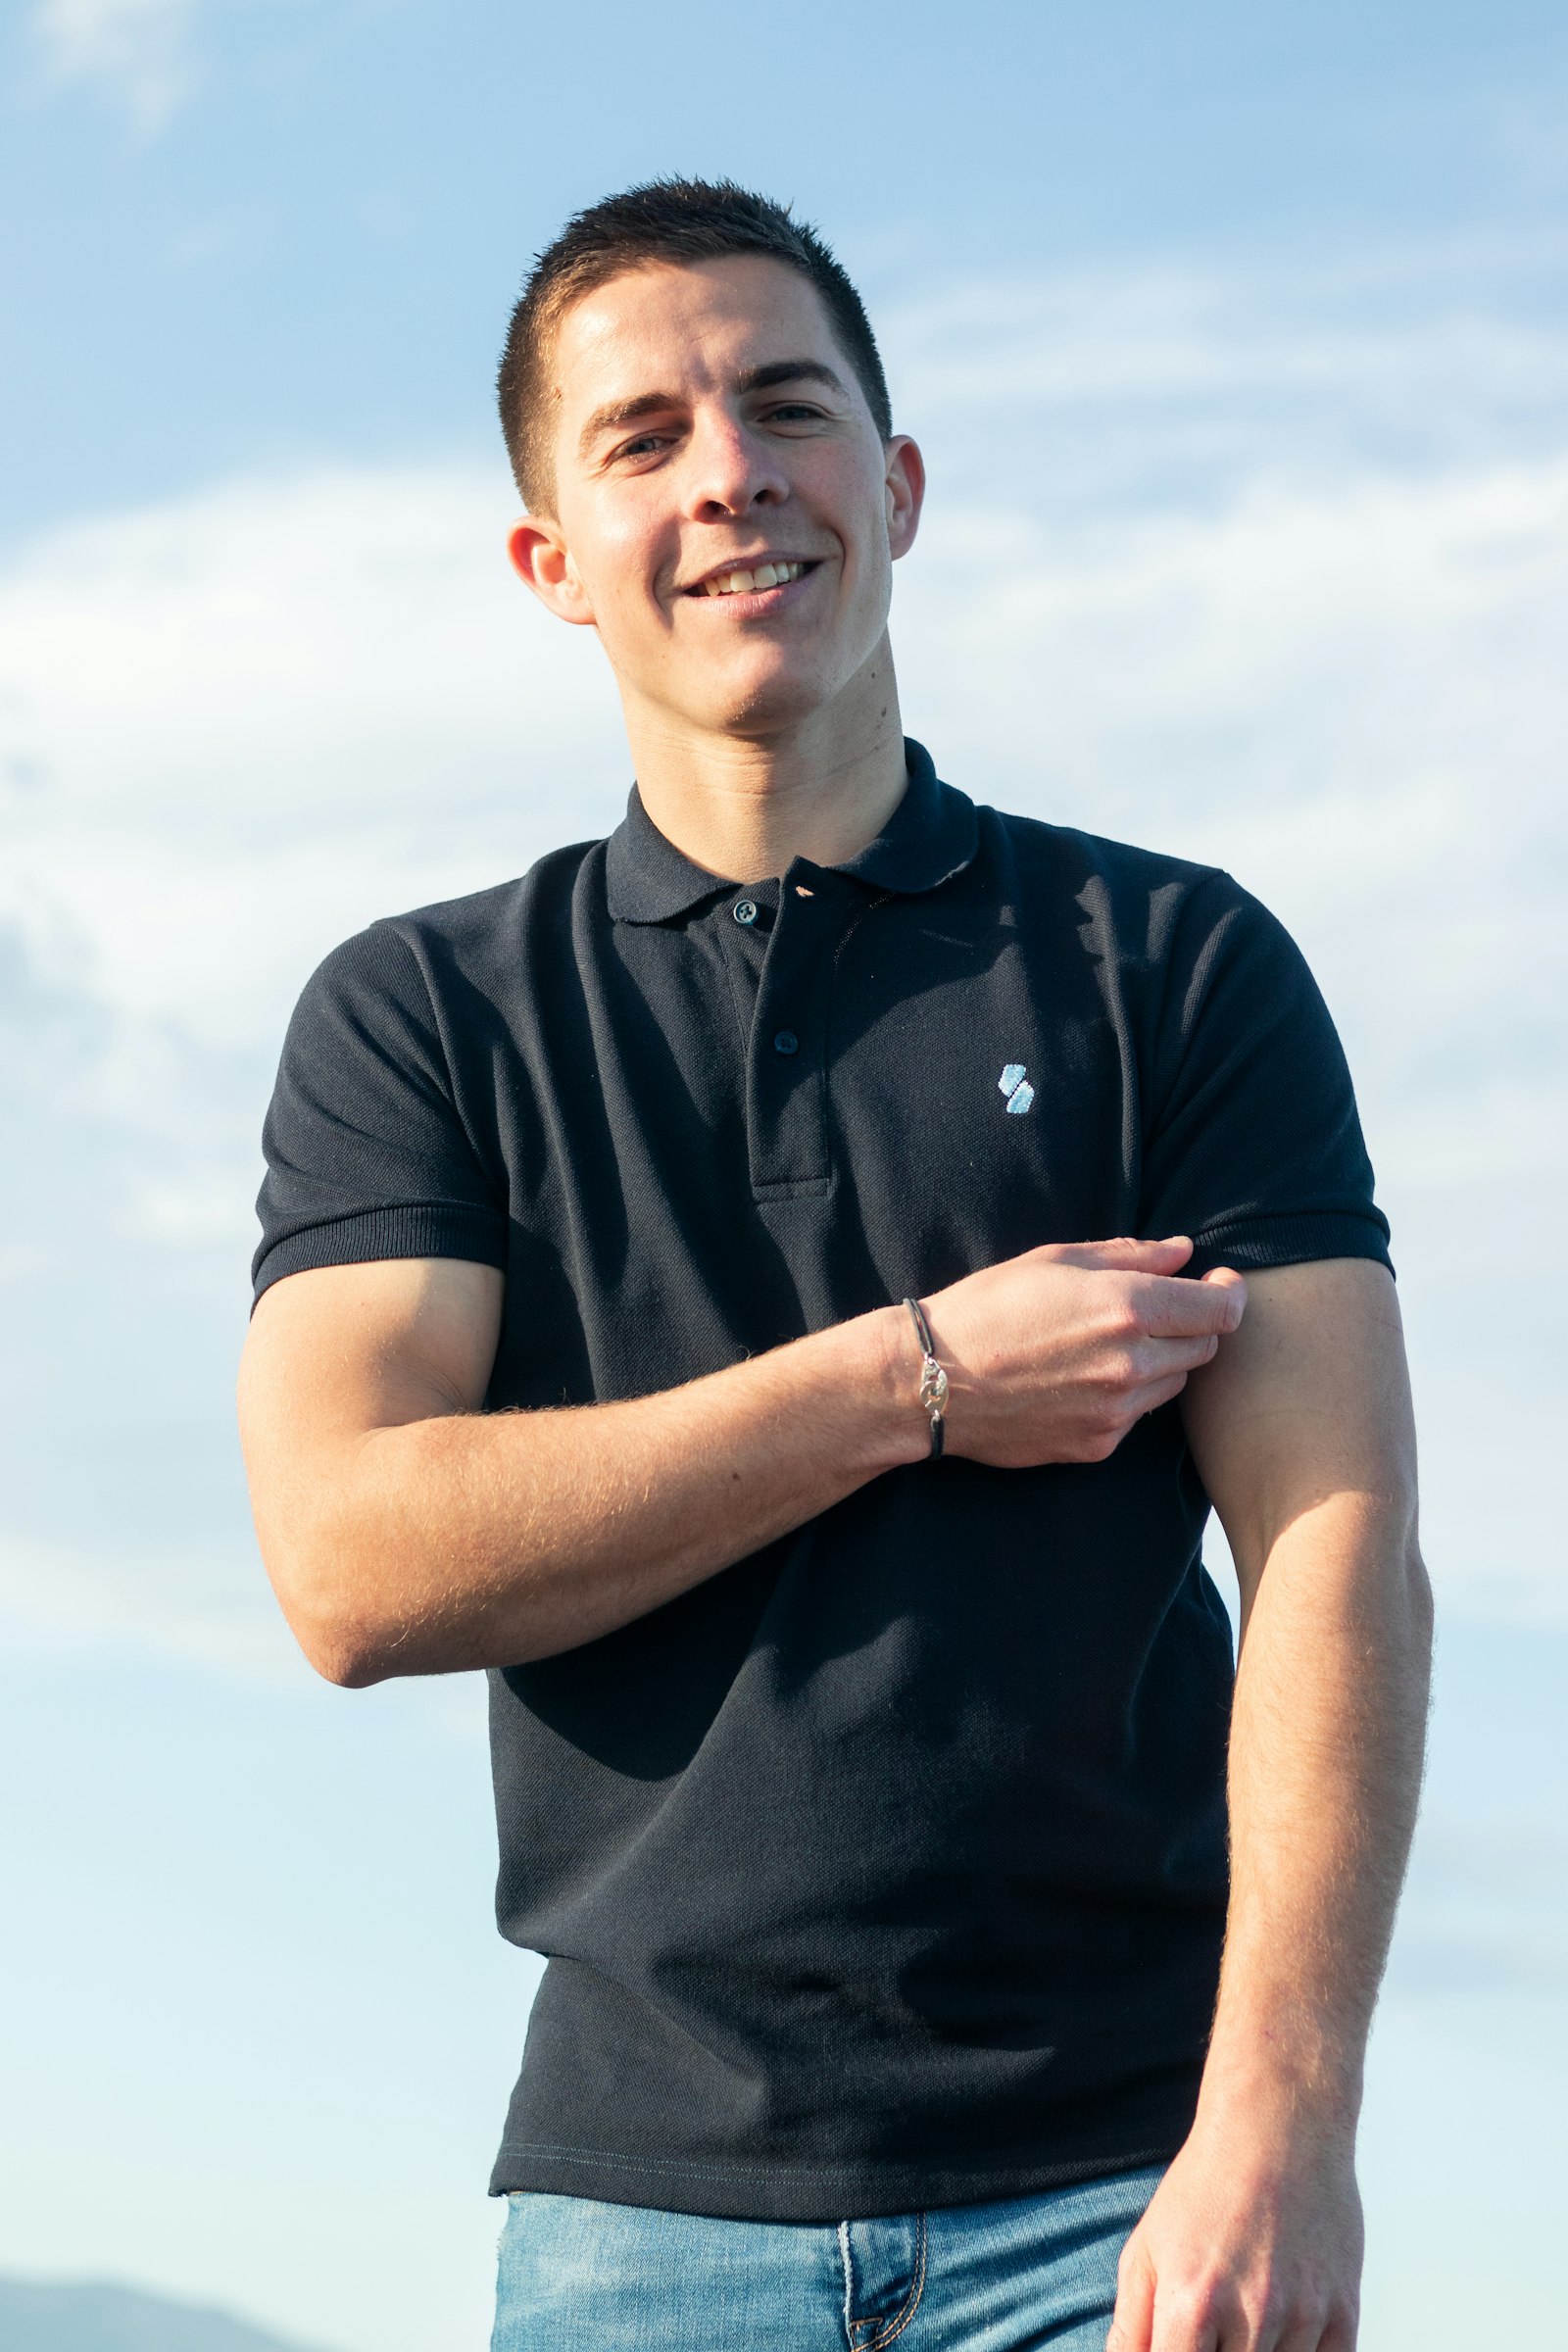
- Polos — left chest. The default, and the safest. It sits above where a pocket would be and clear of the button placket, which matters because the placket is a thick seam the hoop cannot flatten. A modest mark reads as a uniform; an oversized one reads as a sponsor patch. See branded polo shirts for business for sizing and fit notes.
- Caps — front panel. Embroidery is the native decoration for headwear; a heat-pressed graphic on a curved crown almost always looks wrong. Structured caps take a taller design than unstructured ones because the buckram behind the front panel supports the stitches. Side and back placements are available and are a nice second location for a website. Details on custom hats and in our Toronto cap guide.
- Jackets — left chest plus a back. Softshells, fleece and bombers carry embroidery better than almost anything else, and a jacket is the one garment where a large back design earns its stitch count. Watch the lining: quilted and heavily lined jackets limit where a hoop can reach.
- Toques — the cuff. The fold is the placement. Keep it to a wordmark or a compact mark, because knit stretches and a wide design distorts when the cuff is turned up. Options on custom toques.
- Aprons — centre chest or the bib. Flat, unlined canvas is ideal hooping material, so aprons take detail better than most garments. Restaurants and cafes usually go bigger here than they would on a polo. See custom aprons.
- Workwear — chest, and a name.The classic setup is a company mark on one side and an individual name on the other. Names are cheap to add because they are low stitch count, and they are the single thing that makes a crew look like staff rather than like people in matching shirts. Once the stitch file exists, adding a new hire's shirt later is a one-piece order.
If you are not sure which placement you want, the quickest way to decide is to look at it: drop your logo on a real cap or polo in the studio, move it around, and see which one looks like your company.
One caution across all of them: thin, stretchy and unlined fabrics are the hard cases.Performance knits and lightweight tees can pucker around a dense design because the fabric moves while the needle works. Stabilizer solves most of it, but if you want a logo on a light athletic tee, printing is often the better answer — more on that below.
Thread colours and matching your brand
Thread comes in fixed colours from a physical range, the same way paint does. You pick from a card of real spools rather than typing in a hex code. For most brands this is a non-issue — the range is wide, and there is almost always a very close match to a brand colour. For a brand built on one precise, unusual shade, expect close, not identical. Anyone who promises you an exact Pantone match in polyester thread is telling you what you want to hear.
The decision that actually matters is contrast against the garment, and it is the one people get wrong. Thread has sheen, so a colour that looks fine on a screen can sink into a similarly toned fabric under office lighting. Dark logos on dark shirts are the usual casualty. Two reliable fixes: use a light or white version of your mark on dark garments, or lean into it deliberately with a tonaltreatment — black thread on a black polo, where the logo reads as texture and catches the light at an angle. Tonal looks expensive when it is intentional and looks like an error when it is not.
You will see all of this on your mockup before anything is stitched. Pick your garment colour and place the logo yourself in the free online studio — the studio previews size and placement on the actual garment colour, and our designer confirms the thread colours on the proof that comes back to you. Nothing goes to a machine until you have said yes to it.
Durability, and when printing is honestly the better call
Embroidery wins on longevity, and it is not close. Thread cannot crack, peel or fade the way a printed film can, because there is no film — the design is structural. A stitched polo that goes through a commercial wash weekly will usually give up at the collar and the cuffs long before the logo shows any wear. For anything that gets worn hard and washed constantly — restaurant staff, trades crews, front-desk uniforms — that alone justifies the cost.
But it is genuinely the wrong tool in several common situations, and we would rather say so before you order than after.
- Large designs on t-shirts. A full-front graphic in thread would be enormously dense, stiff and expensive, and it would drag on a light shirt. Print it. Start with custom t-shirt printing in Toronto.
- Photos, gradients or full-colour illustration. Thread has no halftones. If the artwork depends on shading, DTF or screen printing will reproduce it faithfully and embroidery will not.
- Very small text.Covered above — below roughly a quarter inch, print keeps it readable and thread does not.
- Lightweight, stretchy or technical fabrics. Dense stitching fights a thin jersey. A printed transfer sits on the surface and lets the fabric behave normally.
- Tight budgets on big runs. Past roughly fifty pieces with a simple design, screen printing gets cheaper per piece than embroidery does, and the gap keeps widening.
Most Toronto companies end up doing both, which is the right answer more often than picking a side: embroidered polos and jackets for staff who face customers, printed tees for the event and the giveaway. One logo, two methods, matched deliberately. Tell us what each garment is actually for and we will tell you which way it should go — including when the answer is the cheaper method.
How to order embroidery from Toronto
The whole path works remotely, and nothing is charged before you have seen what you are buying. There are two ways in, and they land in the same place.
Do it yourself. Open the design studio, pick a garment and a colour, upload your logo, drag it into position, add text in print-quality fonts if you need names, enter your sizes, and watch the price move as you go. It is free, there is no account to create and no deposit to leave, and you can order straight from it. Change the garment, the colour or the placement as many times as you like — nothing is charged until you decide.
Or hand it to us. Send the file and a sentence about what you want to order@yayaprints.ca, call 613-666-9292, or fill in the quote form. We will build the mockup for you. Plenty of our customers never open the studio, and that is fine.
Either way, the next step is the one that matters: a human designer looks at your file before anything happens. A real person on the team — not an automated preflight — checks the resolution, line weight, text size, colour and placement, and either fixes the file or tells you exactly what is wrong with it. If your tagline will not survive at that size, you hear it before you pay. If your logo is a screenshot off a website, we redraw it as clean vector art and digitize that. We would rather have an awkward conversation on Tuesday than ship you fifty polos with a mushy logo on Friday.
Then you approve the free mockup, you pay, and the clock starts: 2–5 business days in production, plus 1–2 days of transit to the GTA. Rush is available on most apparel jobs — call and ask rather than guessing, because whether your date works depends on the garment and the stitch count. Everything is made in Ontario, so there is no customs step and no duty surprise between our machines and your office in downtown Toronto or Mississauga. We work in English and French. And if you want to see the price for your actual logo on your actual garment right now, the fastest route is still to drop it on a polo in the studio and look at the number.
Frequently asked questions
How much does custom embroidery cost in Toronto?
Embroidery adds roughly $10 per piece on top of the blank garment for a normal left-chest logo, plus a one-time digitizing charge to convert your logo into a stitch file. Larger designs — a jacket back, for example — are more stitches, so we quote those from your actual artwork. Colour count barely matters, so a six-colour crest costs about what a two-colour crest costs at the same size. Every quote is free and includes a mockup, and we quote from your actual artwork rather than a rate card.
What is embroidery digitizing and do I have to pay for it every time?
Digitizing is the process of converting your logo into a stitch file — a set of instructions telling the machine where every needle penetration goes, in what order, with what stitch type and density. Your PNG, PDF or vector file cannot be embroidered directly, no matter how clean it is. It is a one-time cost per design, not a per-order or per-garment fee. Once the file exists we keep it, and every future reorder uses it with no setup charge again.
Will my logo work as embroidery?
Bold wordmarks, solid shapes, monograms and crest-style lockups embroider beautifully. Hairline rules, delicate scripts, gradients, drop shadows and text below roughly a quarter of an inch tall do not — thread has physical width and there is no such thing as a halftone in stitching. This is exactly what our human designer check is for: a real person reviews your file before anything is stitched and tells you which elements will not survive at your chosen size, and either adjusts them or proposes a flat one-colour version for embroidery.
Can I design embroidered polos or hats online myself?
Yes. The free studio at yayaprints.ca/mockup-creator needs no account and no deposit. Pick the garment and colour, upload your logo, position and size it on the real product, add names or text, enter your quantities and see the price update as you go, then order online. The studio handles placement and sizing; our designer confirms the thread colours and the stitch file on the mockup that comes back to you before anything goes to a machine.
How long does embroidery take to reach Toronto?
Standard production is 2 to 5 business days, counted from the moment you approve the free mockup and pay — not from your first email. Shipping to Toronto and the rest of the GTA typically arrives 1 to 2 days after it leaves the shop, so plan on about a week door to door for a normal order. Rush is available on most apparel jobs. If your date is genuinely fixed, call 613-666-9292 and we will tell you honestly whether it is realistic.
Is embroidery more durable than a printed logo?
Yes, and it is not close. Thread cannot crack, peel or fade the way a printed film can, because the design is stitched into the garment rather than sitting on top of it. On uniforms that get washed constantly, the collar and cuffs usually wear out before the embroidery shows any age. The trade-off is that embroidery cannot reproduce gradients, photographs or fine detail, and it gets expensive on large designs — so printing is the better tool for those jobs.
Are you actually located in Toronto?
No, and we will not pretend otherwise. We are a print and embroidery shop in Ottawa, Ontario, and everything is stitched in-house on our own machines and shipped to you. Walk-in pickup exists only in Ottawa. For a GTA customer that means 2 to 5 business days in production plus 1 to 2 days in transit, no cross-border customs because it is all made in Ontario, a free mockup before you pay a cent, and a designer who answers the phone at 613-666-9292.
What file should I send for embroidery?
Send the best version you have. A vector file (SVG, PDF, AI or EPS) is ideal because it gives the digitizer clean edges to work from, but a high-resolution PNG or JPG is usually workable too. If all you have is a screenshot, a photo of a business card or an AI-generated image, send that — we clean it up or redraw it as vector art first, then digitize it, and you see the result on a mockup before any payment.
Design it yourself. A human designer still checks every order.
Our free studio gives you the price and the mockup in the browser. What it doesn't do is print your file blindly — every order is reviewed by a real designer before it reaches the press.
- Step 1You design it — free
Upload your logo, drop it on a real garment, set the size and placement, pick colours and quantities. No account, no deposit, no waiting on a reply.
- Step 2A human designer checks it
Before anything prints, one of our designers opens your file and checks resolution, colours, sizing and placement. If it won't print well, we fix it or tell you exactly what's wrong — a person, not an automated preflight.
- Step 3You approve, then we print
You get the corrected mockup back on the actual product. Nothing goes to press until you say yes — then it's ready in 1–2 weeks, or in 1–3 business days with a rush.
See your logo on the garment before you pay
Pick a polo, cap or jacket, drop your logo on it, choose the colours and sizes, and get a free mockup first — checked by a human designer before anything is stitched. Made in-house in Ottawa: 2–5 business days in production, then 1–2 days in transit to Toronto and the GTA.
Every order is reviewed by a human designer before it goes to press. A person checks artwork resolution, colour, sizing and placement, and either fixes the file or tells the customer what is wrong — it is not an automated preflight.