
Custom Aprons for Restaurants, Cafés and Salons: What Survives Service
Most hospitality aprons are bought badly. Here's how to match the style to the job — bib, waist, cross-back, bistro, salon — plus the fabric weight that survives a kitchen, the strap stitching that fails first, the pockets servers actually use, and why embroidery beats print in a commercial wash.
- Style by job
- Bib for line cooks (chest-to-knee coverage), waist or half for servers (speed and pockets), cross-back for long shifts (no neck load), bistro for front of house that wants length, and a coated or dye-resistant apron for salons.
- Fabric weight
- Kitchen aprons want cotton or cotton-rich twill around 7–10 oz per square yard. A light 4–5 oz poly-cotton is cheaper, but polyester bonds with oil and thin fabric abrades through at the tie points first.
- Decoration
- Embroidery is the default because apron twill is heavy and stable and the garment goes through hot commercial washes. Screen printing or DTF is the answer when the art is large, colourful or photographic.
- Thread and bleach
- Ask for polyester embroidery thread if the aprons go through chlorine. Rayon thread looks glossier and loses its colour far faster in a commercial wash formula.
- Human designer check
- Every order is reviewed by a human designer before it goes to press. A person checks artwork resolution, colour, sizing and placement, and either fixes the file or tells you exactly what is wrong — it is not an automated preflight.
- Free design studio
- The free studio at yayaprints.ca/mockup-creator stocks tees, long sleeves, hoodies, polos and caps — not aprons — but it is still the fastest way to see your logo at real size and settle placement before you order aprons on a quote.
- Turnaround
- Production is 2–5 business days after mockup approval and payment, plus 1–2 days transit outside Ottawa–Gatineau. Digitizing a new logo happens once, before that clock starts.
The hardest-working garment in the building
An apron is worn every shift, by a different person each time, and it absorbs every mistake that would otherwise land on a shirt. It gets soaked, scorched, wiped on, knotted, wrung out and washed at a temperature that would destroy most retail apparel. Nothing else a hospitality business buys works that hard, and almost nothing else gets bought with less thought. Six months in, the ties have pulled out at the waistband, the black has gone rusty-orange where the bleach hit it, and everyone is wearing the one apron they hid in their locker. That is not bad luck; it is four or five decisions nobody made.
So this guide takes them in order — style by job, fabric, colour, pockets, straps, then the logo. If you are specifying a full uniform rather than just aprons, our guide to custom restaurant uniforms covers what goes around them, and the restaurant uniform page shows a complete kit.
Apron styles, matched to the job
There are five shapes in real circulation, and each exists because a specific job needed it. Buying the wrong one shows within a week: a server fighting a bib that rides up, or a cook in a half apron with nothing over their chest.
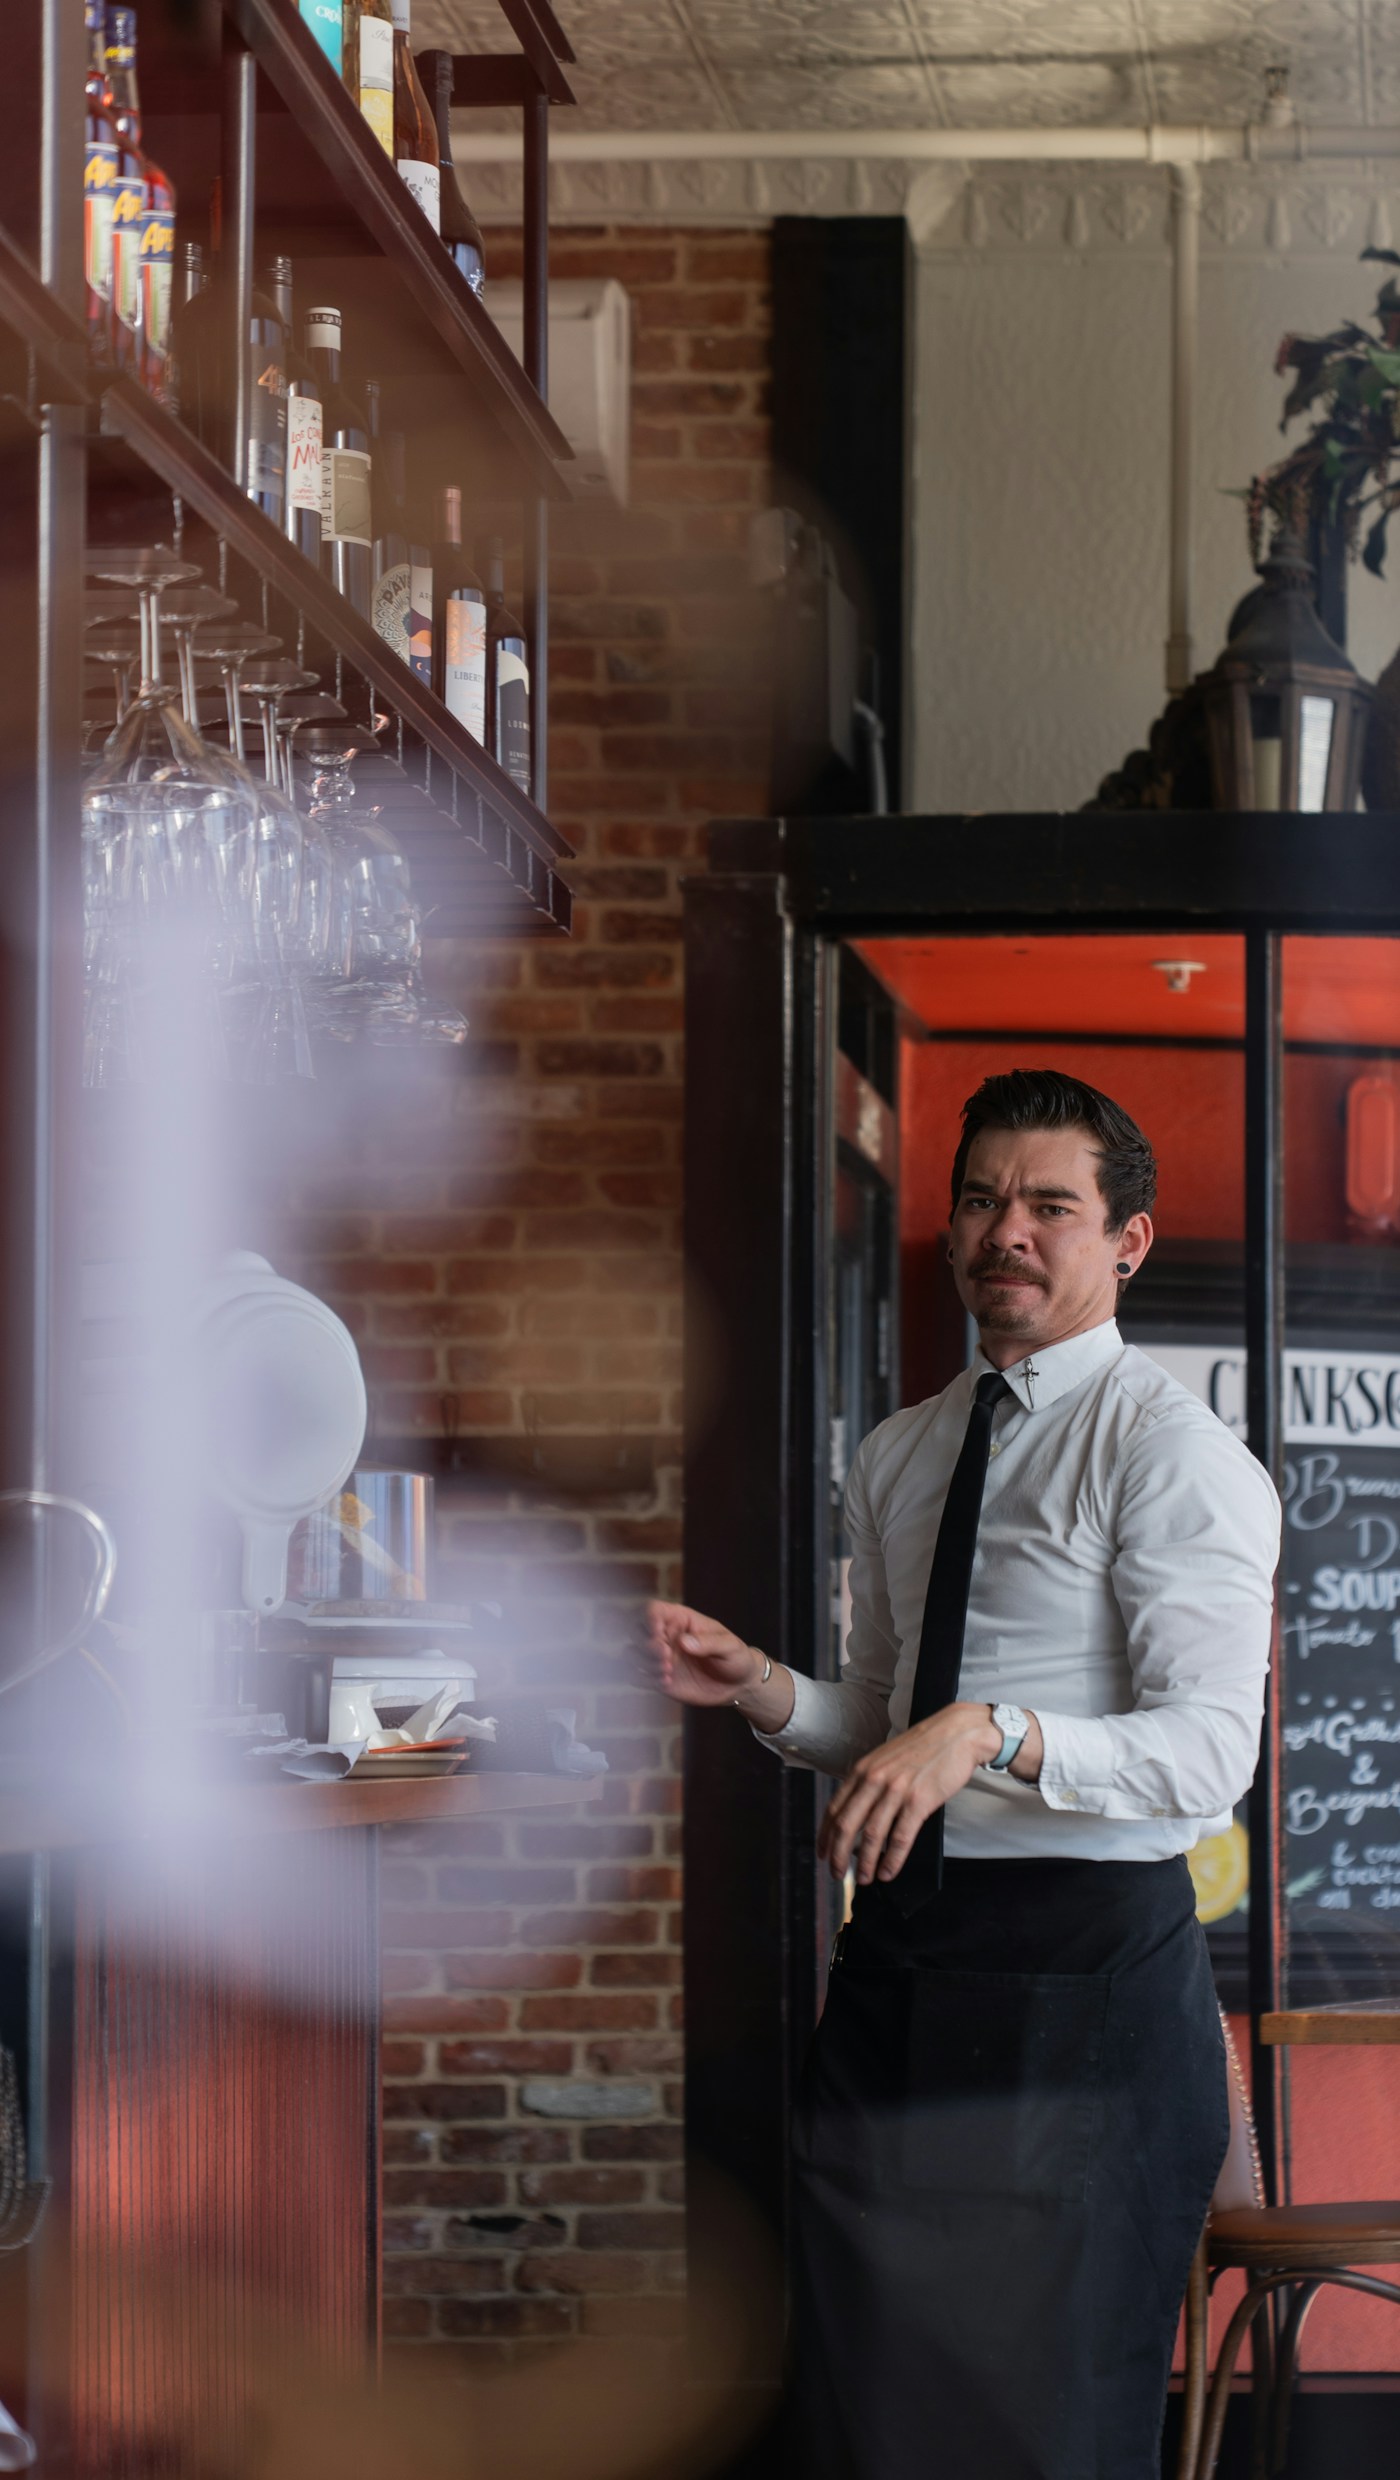
- Bib apron. Chest to knee, neck loop and waist ties. The default for line cooks, prep and dish, because it is the only style that covers the torso.
- Waist apron (short) and half apron (longer). Ties at the waist, no bib. Front of house lives in these: fast to put on, they do not crush a collar or a name badge, and they are essentially a pocket carrier.
- Cross-back apron.A bib with straps that cross behind the shoulders instead of looping the neck. On a long shift that is ergonomics, not styling — a loaded neck loop carries the weight of a wet apron on the neck for ten hours.
- Bistro apron. The long front-of-house classic, below the knee, often with one wide divided pocket. It reads formal and protects trousers, and it is wrong where people climb steps or work under low bar shelving.
- Salon apron. A different animal, covered below.
Cafés sit in the middle, because a barista does bar work, service and cleaning in one shift. Cross-back bibs have quietly become the standard there for that reason. The café branding page covers the rest of that kit.
Salons are solving a chemical problem, not a food one. Hair colour and developer are permanent dyes; once they are in cotton they never come out. So salons do better with coated or tightly woven synthetics that let a splash bead up and be wiped, in black or deep charcoal so whatever gets through disappears. The salon and spa branding page covers how that sits with capes, towels and signage.
Fabric and weight: why a light poly-cotton dies in a kitchen
Fabric weight is quoted in ounces per square yard, the same measure used across textile weights generally. It separates a two-year apron from a two-month one, and nobody asks for it when comparing quotes.
Cotton twill, roughly 7 to 10 oz, is the kitchen workhorse: heavy enough to blunt a splash, dense enough to take embroidery cleanly, and it softens rather than degrades with washing. Canvas or denim at 10 oz and up lasts longer, at the cost of being hot to wear and slow to dry.
A light 4 to 5 oz poly-cotton is where the money gets wasted.It is the cheapest apron on any supplier list and it fails on a line for three separate reasons. Polyester is oleophilic — it bonds with oil — so grease that washes out of cotton stays in a poly blend for good. Thin fabric abrades at the stress points, so the waistband and tie roots wear through while the body still looks new. And polyester melts rather than chars near a flame, which is why heavy cotton has stayed the traditional choice around heat.
Blends are not wrong everywhere. A 65/35 poly-cotton around 6 to 7.5 oz is genuinely good front of house: it wrinkles less and dries faster between shifts. Cotton where there is heat and grease, poly-cotton where there is service and laundry volume, coated synthetics where there are chemicals. And one test catches most bad options: hold the sample to a light, and if you can see through it, it will not stop a splash.
Colour and pattern: hiding what service does to fabric
Black is the default for a reason, though not entirely the right one. It hides grease, sauce, coffee, wine and hair colour better than anything. What it does not hide is flour, sugar, dried water spots and — the big one — bleach. Chlorine strips dyed black cotton to a rusty orange, and once it does, the apron reads as ruined rather than worn.
Patterned twills are the underrated answer. Denim, chambray, herringbone or a fine pinstripe break up the surface, and a broken surface hides marks a flat colour spotlights. The trade-off is contrast: a one-colour mark in white or cream usually beats a full-colour logo on a patterned ground.
Whatever you pick, see it before you commit. Aprons are quoted rather than built online, so send us the colour you are considering and we will mock your logo onto it. If you want a feel for contrast right now, our free design studio lets you drop the same logo onto a dark and a light garment and judge it rather than imagine it.
Pockets people actually use
Suppliers photograph three tidy pockets across the front. What a server needs is somewhere for a pad, two pens that stay put, a wine key, and a phone that will not fall into a bus tub.
Front of houseis best served by one wide pouch divided into two or three compartments, with one narrow slot sized for a pen rather than a general pouch it sinks into sideways. Depth matters more than width: too deep and it dumps its contents when someone bends to clear a low table, too shallow and a pen is lost every time they sit down. Roughly hand-depth is the target. If your staff carry a payment terminal, measure it before you order — that one item turns a good apron into a bad one.
On a hot line, less is more. An upward-facing pocket collects food debris and becomes an inspection conversation. Plenty of chefs want nothing but a chest pen slot and a towel loop at the hip.
Baristas and stylists want opposite things.Behind a bar, watch for pockets that catch on a portafilter or a bar lip; flat patch pockets sitting slightly high, plus a towel loop, cover a shift. In a salon, narrow vertical pockets keep shears, combs and clips upright and separated, where a wide pouch becomes a pile — though plenty of stylists use a tool belt and want the apron purely for coverage. Ask the people wearing them before you decide.
Straps and hardware, or the thousand-knot problem
An apron is tied and untied something like a thousand times a year — a thousand cycles pulling on two small points of stitching, which is where cheap aprons fail long before the fabric does.
Look at how the ties attach. The weak version is a strap stub sewn to the raw edge of the body. The strong version is bar-tacked with a reinforced box stitch or, better, cut as webbing running continuously through the waistband so the load spreads across the seam instead of two points. You can see the difference on a sample in five seconds, and it is most of the durability gap between two aprons that look identical online.
Tie length decides who can wear it. Long ties, roughly 35 to 40 inches per side, let a wide range of body sizes tie in front, which is how most kitchen staff wear an apron anyway. Short ties force a back knot and quietly exclude part of your team. The neck loop is the other half, and a slider, D-ring or cam buckle lets each person set their own drop instead of living with one fixed height.
Hardware corrodes.Plated fittings pit and rust in a wet kitchen, and plastic side-release buckles crack after enough passes through a hot commercial dryer. Solid brass, stainless or plain fabric adjusters are the safe answers. Leather straps and patches photograph beautifully and do not survive commercial laundering — they dry stiff and crack — so buy that look knowing it is a two-season apron.
Embroidery, print, and which one your apron wants
Embroidery is the standard on aprons, and unusually for apparel it is standard for practical reasons rather than aesthetic ones. Apron twill is heavy, dense and stable, which is what an embroidery machine wants under the needle, with none of the stretch problems you get on knitwear. Thread does not crack, peel or lift, and it is the only decoration that genuinely does not care about a hot wash.
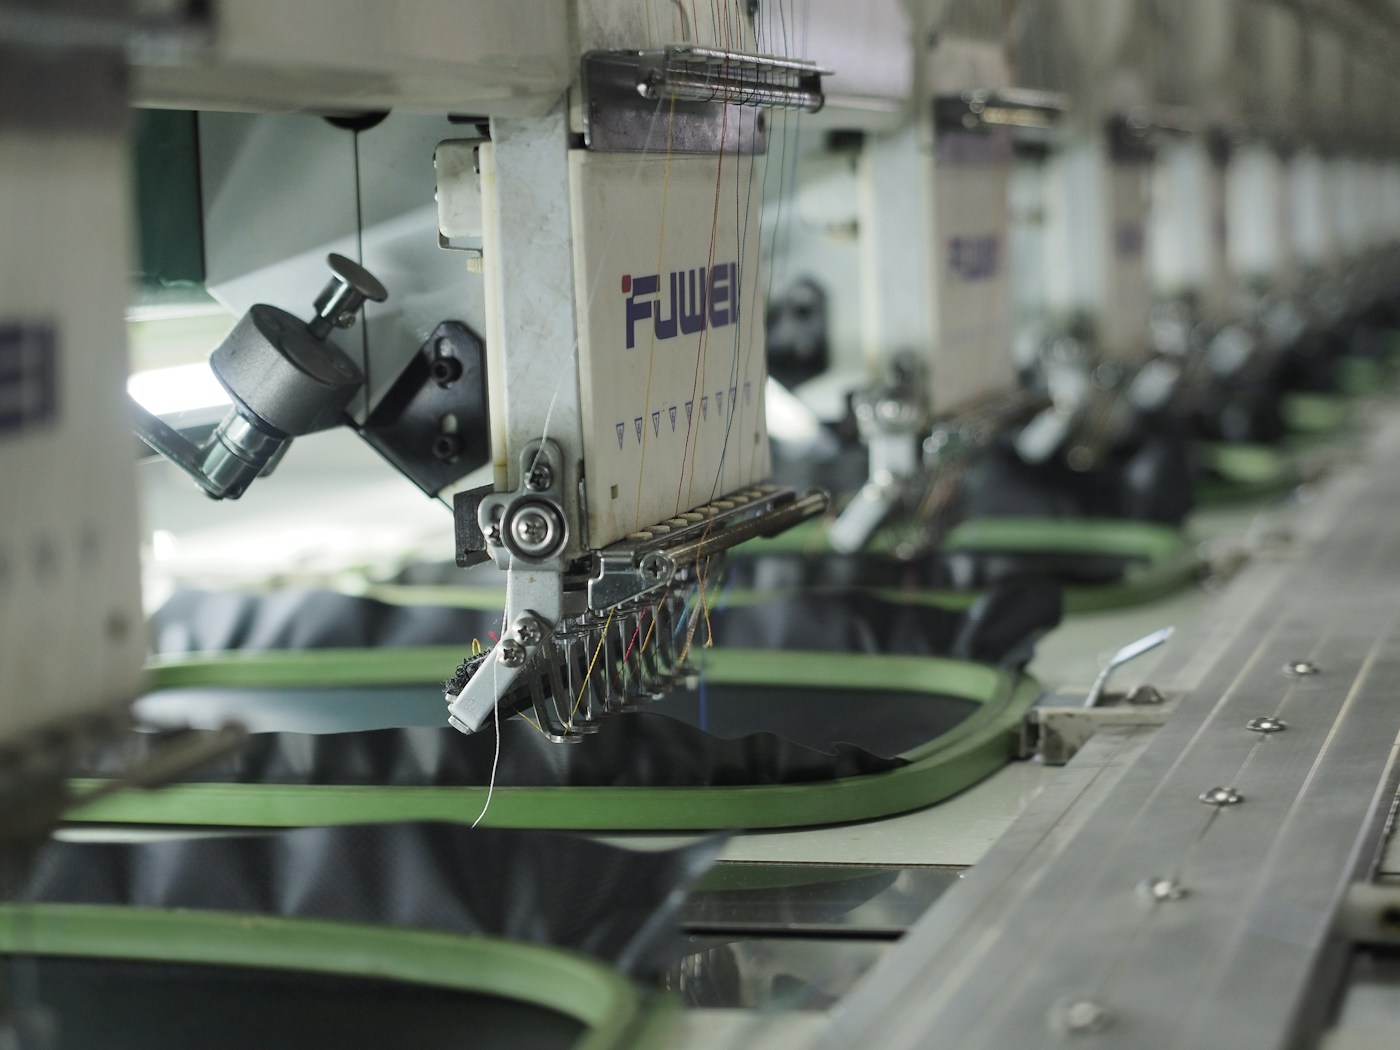
The cost to plan for is digitizing— converting your logo into a stitch file, once, before anything runs. It is a setup rather than a per-piece charge, so it stings on an order of six and disappears by the third reorder. We explain it in embroidery digitizing explained, and the embroidery service page covers what we stitch and onto what.
What embroidery cannot do is fine detail.A needle has a minimum practical size, so thin outlines, small taglines, web addresses and gradients get lost. An apron gives you room — a chest mark three to four inches wide is comfortable — but a delicate logo needs simplifying rather than shrinking, for the reasons set out in the chest logo size guide.
Print is right for large, colourful or photographic art. Screen printing is cheapest for a big run of a bold one- or two-colour mark, and DTF handles unlimited colours with no setup and no minimum, which makes it the practical choice for a single maker's market apron or six for a small café. The caveat is durability: a heat-applied film sits on the surface, and a chlorine wash with a high-heat tumble is the harshest environment it will meet.
A woven or leather-look patch is the third route when a logo is too detailed to stitch directly. See our guide to custom patches for the types, and embroidery versus a printed logo for the same trade-off worked through on staff shirts.
Staff names without repricing the whole order
Personalised aprons with staff names are one of the cheapest hospitality upgrades there is. A guest reads a name and the apron stops being communal property. Hospitality also runs high turnover, which is why names need planning rather than enthusiasm.
The logo runs across the whole order as one job, and names run as a small second pass — one line, one thread colour, one font, placed where it does not compete with the logo. Holding names to a single colour and font is what stops the add-on costing as much as the logo did.
Order spares deliberately. Personalise for the current team, then add a batch carrying the logo only, no name, for new hires. The next person to start wears a proper apron on day one instead of borrowing one, and you are not paying a setup for a single-piece run every time somebody joins.
Watch the placement — never where the apron folds or a tie crosses — and settle the convention before you send the list, because first names, nicknames and full names in one order is what usually triggers a second round of proofs. Reordering is easy once the file exists; our notes on reordering company uniforms explain what we keep on hand. Name layout is worth settling before the order: ask for the longest name on your team on the mockup, and you will see how a nine-letter name sits beside a logo before anyone commits. You can test the same thing yourself in the free design studio on a polo, which reads the same way at chest size.
Commercial laundering, bleach and heat
This decides whether your aprons last, and it is almost never part of the buying conversation. A commercial wash formula is not a domestic cycle with more soap: it is a hot wash, an alkaline break, often chlorine bleach, a sour to neutralise and a high-heat tumble.
Chlorine is the main antagonist. It strips dye, which is what turns black aprons orange, and it degrades some threads much faster than others. Standard polyester embroidery thread holds up well; rayon is glossier, prettier, and loses colour far sooner in bleach. So if your aprons are heading into a chlorine formula, say so when you order and ask for polyester thread. It costs nothing to specify and it is the difference between a logo that stays sharp and one that goes chalky in a season.
If your aprons are printed rather than stitched and they see a high-heat tumble daily, expect the graphic to age faster than the fabric. Our guide to washing DTF-printed garments covers the care that extends it.
So plan a stock number: if aprons are laundered weekly, budget two to three per person so nobody is short while a batch is in the wash, add roughly 15 to 20 per cent spares for new starters and losses, and treat the whole lot as a consumable with a replacement cycle. Aprons are supposed to wear out.
How many, what it costs, and when to order
Sizing is mostly not a size question. Bib and waist aprons are usually one-size, and the fit comes from adjustability rather than a size run, which is why tie length and neck adjustment matter. What is worth checking on a sample is the bib width, the body length, and whether a longer cut exists for staff the standard blank will not cover.
On cost, be suspicious of a single number. The spread between a light poly-cotton server apron and a heavy cotton cross-back bib is wider than the cost of decorating either one, so the blank is what moves your total. As an indicative anchor, embroidery typically adds around ten dollars a piece over an undecorated garment, and screen printing gets cheaper the more you run. Treat those as directions rather than a rate card, since real pricing moves with the blank, the stitch count and the quantity, and get a number from a free quote. Every quote includes a mockup, and nothing prints until you approve it.
On the calendar.Production is 2–5 business days after you approve a mockup and pay, with 1–2 days of transit outside Ottawa–Gatineau, and digitizing happens once before that clock starts. What consumes the time is the front half: agreeing the apron, collecting a usable logo file, settling a name list. For aprons on your floor in the December rush, that decision belongs in September or October — the same timing that governs the rest of the winter kit, from toques to corporate holiday gifts.
Send whatever logo file you have. A phone screenshot, a PNG off your website, a PDF menu, an AI-generated mark — all of it is fine, because a human designer looks at every order before it goes to press and either cleans the file up, redraws it as vector, or tells you exactly what is wrong with it. That is a person, not an automated preflight.
The fastest way in is to build it yourself. Our custom apron page has the styles and a quote form. Aprons are quoted rather than ordered online, but you can size your logo in the free studio right now and send us the placement you settled on — no account, no deposit. If aprons are one piece of something bigger, start from the uniform page or our restaurant branding checklist instead.
Frequently asked questions
Bib apron or waist apron: which one do I need?
Match it to the job. A bib apron covers chest to knee and is the right call for anyone standing over heat, liquid or a prep bench, because it is the only style that protects the torso. A waist or half apron ties at the waist with no bib, and it is what front of house wants: quick to put on, it does not crush a collar or a name badge, and it carries the pockets a server actually uses. Plenty of rooms buy both — one for the kitchen, one for the floor.
What fabric weight should a restaurant apron be?
For a kitchen, cotton or cotton-rich twill around 7 to 10 oz per square yard is the workhorse: heavy enough to blunt a splash, stable enough to take embroidery cleanly, and it softens rather than falls apart in the wash. A light 4 to 5 oz poly-cotton is the cheapest option on any supplier list and it is where money gets wasted on a line, because polyester bonds with oil so grease marks stay, thin fabric abrades through at the tie points, and polyester melts rather than chars near a flame. A 65/35 poly-cotton around 6 to 7.5 oz is a good front-of-house compromise since it dries fast and wrinkles less.
Should custom aprons be embroidered or printed?
Embroidery is the default. Apron twill is heavy and stable, which is ideal for stitching, and thread does not crack, peel or lift in a hot commercial wash. Digitizing your logo is a one-time setup and every reorder afterwards runs from that file. Print is the right answer when the art is large, colourful or photographic: screen printing for a big run of a bold one- or two-colour mark, DTF for unlimited colours with no minimum and no setup. The trade-off is that a heat-applied film has a harder time in a chlorine wash and a high-heat commercial dryer.
What kind of apron works best in a salon?
A salon apron solves a chemical problem rather than a food one. Hair colour and developer are permanent dyes, and once they are in cotton they never come out, so salons do better with coated or tightly woven synthetic fabrics that let a splash bead up and be wiped off. Black or deep charcoal hides whatever gets through. Pocket shape matters too: narrow vertical pockets keep shears, combs and clips upright and separated, where a wide pouch just becomes a pile. Plenty of stylists use a separate tool belt and want the apron purely for coverage.
Can I put each staff member's name on their apron?
Yes. The usual approach is to run the logo across the whole order as one job, then add names as a small second pass — one line, one thread colour, one font, placed so it does not compete with the logo. Because hospitality turnover is high, order extra aprons carrying the logo only, with no name, so a new hire has a proper apron on day one instead of triggering a single-piece rush order. Fifteen to twenty per cent spare is a sensible starting point.
Will commercial laundering destroy an embroidered apron?
It will not destroy the embroidery, but chlorine will change it if the thread is wrong. Standard polyester embroidery thread holds its colour well in a bleach formula; rayon thread is glossier and fades much faster. Tell us the aprons are going into commercial laundry when you order and we will specify polyester thread — it costs nothing to ask for. Chlorine also fades the fabric itself over time, which is why charcoal, navy or a heather often ages better than true black.
What logo file do you need, and what if mine is just a phone screenshot?
Send whatever you already have. A phone screenshot, a PNG pulled off your website, a PDF menu or an AI-generated mark are all fine to send. Every order is reviewed by a human designer before it goes to press — a real person checks resolution, colour, sizing and placement, then either fixes the file, redraws it as vector so it stitches cleanly, or tells you exactly what is wrong with it. That is a person looking at your artwork, not an automated preflight. If you would rather see it yourself first, upload the file free at yayaprints.ca/mockup-creator. It stocks tees, hoodies, polos and caps rather than aprons, but it will show you whether your logo holds together at chest size, which is the same question.
How long does a custom apron order take?
Production is 2 to 5 business days after you approve the free mockup and pay, plus 1 to 2 days of transit if you are outside Ottawa–Gatineau. Digitizing a new logo happens once, before that clock starts. The part that usually eats the calendar is the front half: agreeing the style, collecting a usable logo file and settling a name list. For aprons on the floor in December, decide in September or October.
Design it yourself. A human designer still checks every order.
Our free studio gives you the price and the mockup in the browser. What it doesn't do is print your file blindly — every order is reviewed by a real designer before it reaches the press.
- Step 1You design it — free
Upload your logo, drop it on a real garment, set the size and placement, pick colours and quantities. No account, no deposit, no waiting on a reply.
- Step 2A human designer checks it
Before anything prints, one of our designers opens your file and checks resolution, colours, sizing and placement. If it won't print well, we fix it or tell you exactly what's wrong — a person, not an automated preflight.
- Step 3You approve, then we print
You get the corrected mockup back on the actual product. Nothing goes to press until you say yes — then it's ready in 1–2 weeks, or in 1–3 business days with a rush.
Aprons that survive the shift, not just the photo
Tell us the room — kitchen, floor, bar or salon — and we will suggest a blank, a weight and a decoration method that holds up in your laundry rather than in a catalogue. Free mockup on the actual apron colour before you pay, decorated in-house in Ottawa and shipped Canada-wide.
Every order is reviewed by a human designer before it goes to press. A person checks artwork resolution, colour, sizing and placement, and either fixes the file or tells the customer what is wrong — it is not an automated preflight.